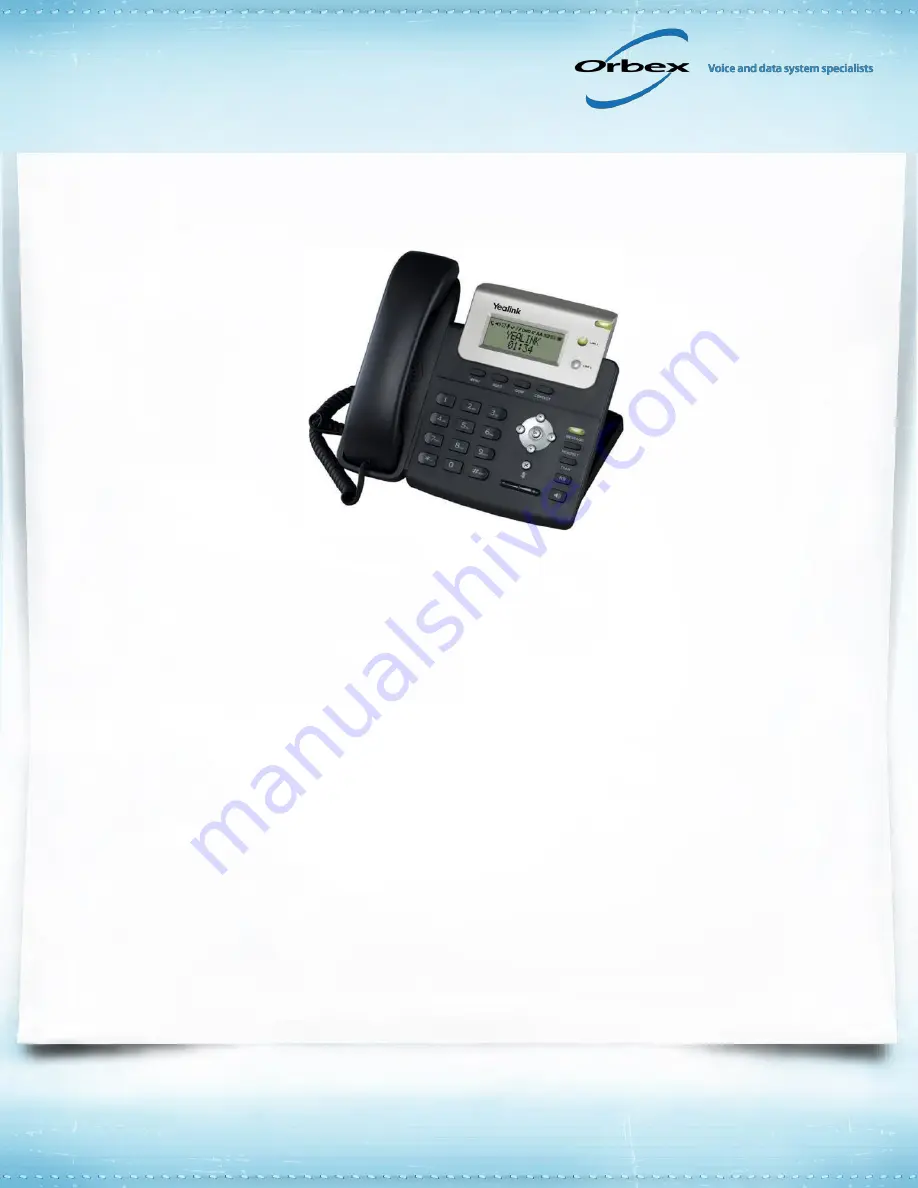
Yealink T20P - initial setup
This guide covers manual configuration of a Yealink T20P phone for use with Orbex services. Please
note that if you have purchased your phone from Orbex you have the option to have an extension setup
on the phone when it is despatched to you - all you need to do is connect the phone.
Connecting the phone
Unpack the phone and cables and plug them together as follows (easiest done with the phone base
upside down):
Connect the base unit and handset together using the curly phone cable. This plugs into the socket with
the handset icon. If using a headset, plug it into the other socket with the headset icon underneath the
base unit (located to the far right of the product label)
Connect the Ethernet socket marked
INTERNET
to one of the sockets on your router using the
coloured network cable (alternatively, if you are using a hub or switch connect the phone to the
appropriate port on that device)
Connect and plug in the power cable (if required). However, Yealink phones support PoE (Power Over
Ethernet) to power the device if this available at your location
The phone should automatically pick up an IP address (unless DHCP is not enabled on your network -
if this is the case please read the section on setting up an IP address below).
If you have purchased the phone from Orbex and requested that we configure an extension on the
device, then you just need to leave the phone for around five minutes. The device will contact our
servers and the configuration will be downloaded onto the phone (if you encounter any problems with
this, please see this guide for more help).
If you wish to configure the device manually, please read the rest of this text.


