


FGDP-50 User Guide
1
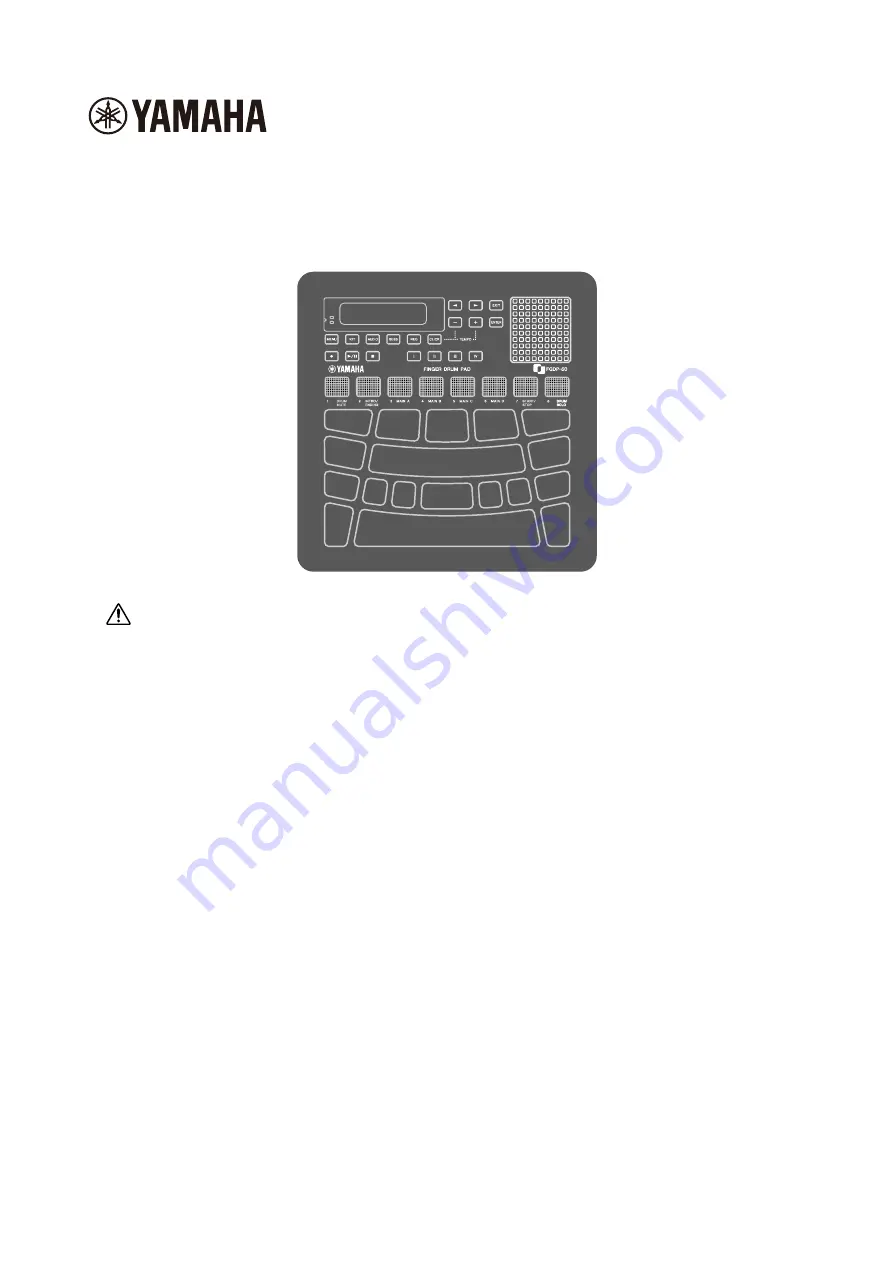
Finger Drum Pad
FGDP-50 User Guide
•
"
CAUTION" messages in this Guide contain information that we ask you to follow in
order to avoid the possibility of physical injury to you or others.
•
"NOTICE" messages in this Guide contain information that we ask you to follow in order
to avoid the possibility of malfunction/damage to the product, damage to data, or
damage to other property.
•
"NOTE" messages in this Guide contain instructions and additional information that
might be helpful.
•
All illustrations included in this user guide are for the purpose of explaining operation.
•
Windows is a registered trademark of Microsoft® Corporation in the United States and
other countries.
•
macOS and App Store are trademarks of Apple Inc., registered in the U.S. and other
countries.
•
IOS is a trademark or registered trademark of Cisco in the U.S. and other countries and is
used under license.
•
Android and Google Play are trademarks of Google LLC.
•
The company names and product names in this guide are the trademarks or registered
trademarks of their respective companies.


