Thank you for choosing Xcellon.
The Xcellon EHD-3.5 SATA Hard Drive Dock is the most convenient way to access data on an
internal SATA drive—instead of dismantling your computer and installing the drive, you simply
insert the drive into the enclosure and attach it to your computer via one of the included high-
speed connection cables.
The EHD-3.5 accommodates a single 3.5” I/II/III hard-disk drive. USB 3.0 and eSATA ports
provide optimal compatibility for connecting to your computer. The enclosure can attain
maximum transfer rates of up to 5.0 Gbps via the USB 3.0 port, which supports plug-and-play.
The EHD-3.5 includes all necessary interface cables and is compatible with Windows and Mac
operating systems.
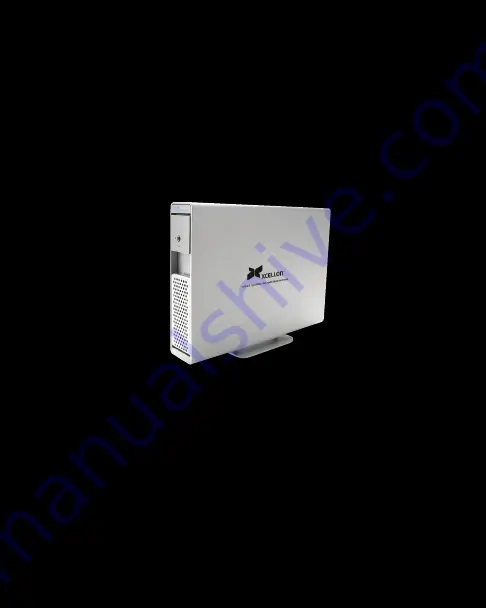
EHD-3.5
External 3.5” SATA
HDD Enclosure
User Manual
Summary of Contents for EHD-3.5
Page 9: ...8 9 12 10 11...
Page 15: ...14 2 3 4 5...