

Worldeyecam, Inc
Bronze DVR Quick Setup
Worldeyecam, INC.
24551 Raymond Way, Suite 270
Lake Forest, CA 92630
Phone:
1-888-211-CCTV (2288)
FAX:
949-305-9977
Email:
http://www.worldeyecam.com
PLAYBACK RECORDED VIDEO
Step 1
Start out by right clicking with the mouse and choose
“
Search”.
Step 2
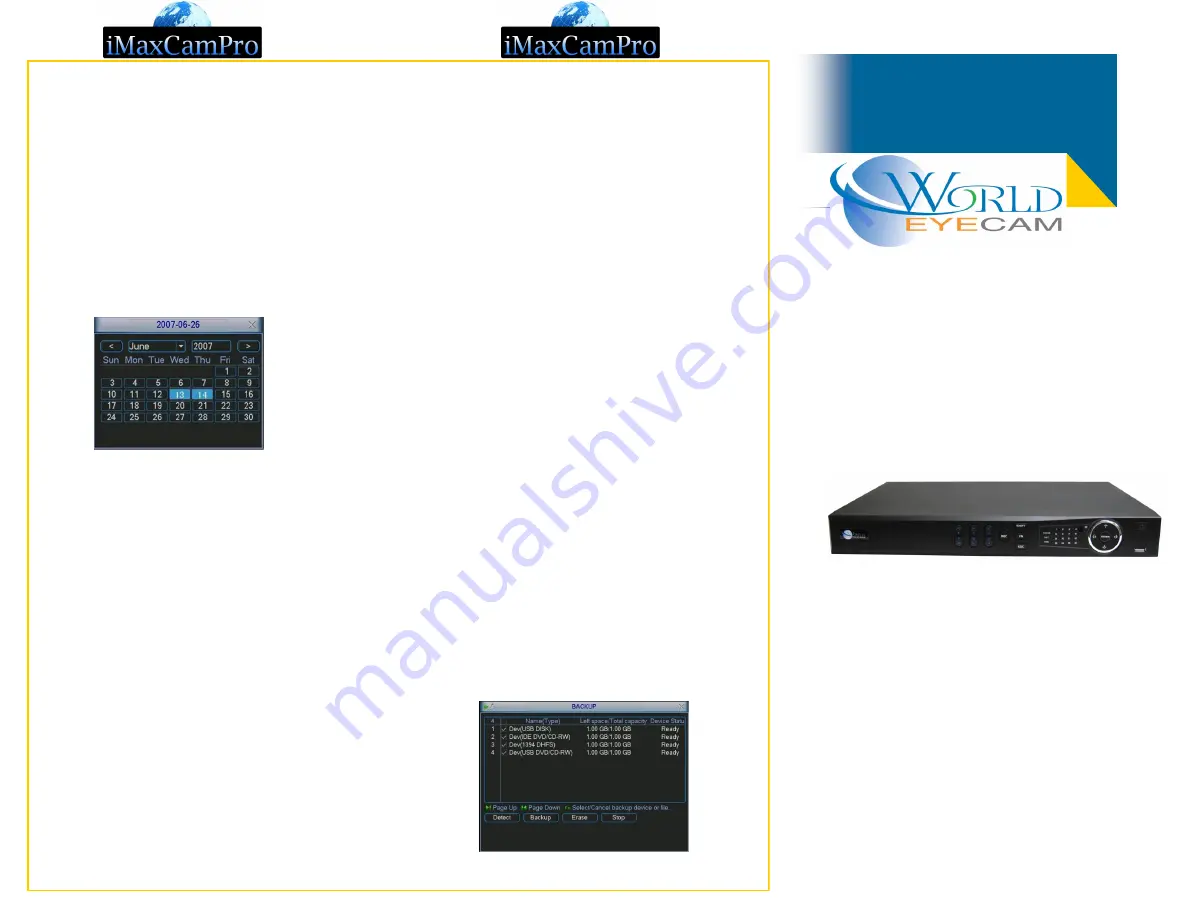
To start a search, first enter the time and date
to-
wards the bottom left
. To the right of the
time and
date
you should see up to 4 numbers listed which are
your channels.
Select the channels you want to
search
. When completed, click the
search button
located on the bottom right (magnifying glass
).
Step 4
Double left click on the result you want to playback on
the right hand side. The video will be shown in the main
window.
Step 5
Click in the individual channel windows to control the
playback – fast forward, backward, pause, etc...
Step 6
Use the Next/Previous channel and Next/Previous
video clip buttons to easily jump through to your other
channels/results.
Note: You may want to move the cursor to each
button on the window to get familiar with its func-
tion which is displayed in the message bar.
BACKUP RECORDED VIDEO
Step 1
Insert your USB drive or blank CD/DVD disk.
Step 2
Login to the DVR as administrator using
888888/888888
for username and password. Press
“
Enter
” Key for the password prompt.
Step 3
Select “
ARCHIVE
” then “
BACKUP FILES
”
Step 5
Verify the system has detected the media correctly.
Look at the top for “Left Space/Total Space." This
shows how much free space you have remaining on
your USB or CDR.
Step 6
Select the “Type”, “Channel”, and fill in the “Start Time”
and “End Time”. Select “Add”. Video clips meet the
criteria will be displayed. You can check/uncheck to
include/exclude the file for the backup.
Step 7
Repeat Step 6 to add video clips from other channels.
Watch for that “Space Required” not to exceed “Space
Remained”.
Step 8
Select “Backup” to start the backup process.


