background image

wolfcraft

®

Save this manual for

future reference

Conservez ce manuel pour

toute référence future

Sírvase guardar este 

manual para consultarlo

en el futuro

OWNER’S

MANUAL

MANUEL

D'UTILISATION

MANUAL DEL

USUARIO

MODEL NO. 4525

MODÉLE N° 4525

N° DE MODELO 4525

Page 7:

Français et espagnol

Frances y Español

CAUTION:

Read, understand and 
follow ALL instructions
before using this Drill
Guide.

ATTENTION:

Lisez, comprenez et 
suivez TOUTES les
instructions avant d'utiliser
ce guide de perceuse.

PRECAUCIÓN:

Lea, comprenda y siga
TODAS las instrucciones
de seguridad antes de
usar esta Guía de
Taladrar.

wolfcraft

®

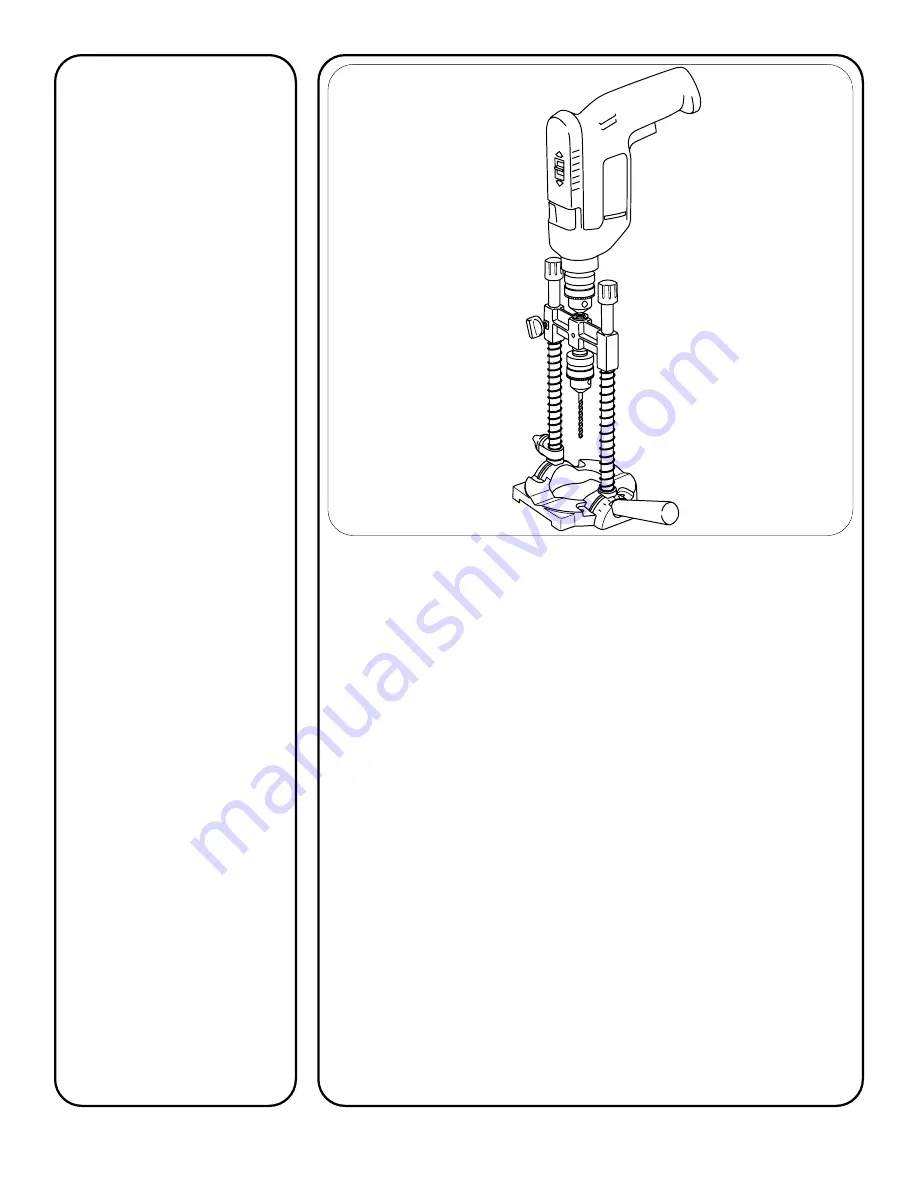
DRILL GUIDE

GUIDE DE PERCEUSE

GUÍA DE TALADRAR

OWNER’S MANUAL

GUIDE DE L’UTILISATEUR

MANUAL DEL USUARIO

Power tool NOT included.

Outil électrique non inclus.

No se incluye la herramienta eléctrica.

46441

RTD10000193AA

Summary of Contents for 4525

Page 1: ...ION Read understand and follow ALL instructions before using this Drill Guide ATTENTION Lisez comprenez et suivez TOUTES les instructions avant d utiliser ce guide de perceuse PRECAUCIÓN Lea comprenda y siga TODAS las instrucciones de seguridad antes de usar esta Guía de Taladrar wolfcraft DRILL GUIDE GUIDE DE PERCEUSE GUÍA DE TALADRAR OWNER S MANUAL GUIDE DE L UTILISATEUR MANUAL DEL USUARIO Power...

Page 2: ...d frees both hands to operate tool 14 DON T OVERREACH Keep proper footing and balance at all times 15 MAINTAIN TOOLS WITH CARE Keep tools sharp and clean for best and safest performance Follow instructions for lubricating and changing accessories 16 DISCONNECT TOOLS before servicing when changing accessories such as blades bits cutters etc 17 AVOID ACCIDENTAL STARTING Make sure switch is in OFF po...

Page 3: ...ns of your Drill Guide as well as your drill owner s manual before attempting to assemble and operate this product 1 Secure handle G to base plate F with nut H The ribs in base plate will hold nut in position while tightening handle 2 Remove springs K from both guide bars A Slide guide bars into cross guide chuck assembly B Position springs back on guide bars 3 Thread thumb screw C into cross guid...

Page 4: ...ss bar chuck assembly Tighten the depth stop thumb screw Release the thumb screw in cross guide chuck assembly You are ready to drill Figure 3 90 Drilling To drill a hole straight down 90 angle to the work piece loosen both guide bars See Figures 4 and 5 and rotate them to align index mark on both bar holders with 0 marks on the base plate Tighten guide bars in posi tion Place the Drill Guide flus...

Page 5: ...de flush with the work piece See Figure 7 Figure 5 FIG 5 0 45 0 45 Figure 6 Figure 7 Edge Drilling Place the Drill Guide on the edge of the work piece to be drilled See Figure 8 Rotate the base plate clockwise until sides of work piece contact the base plate See Figure 9 The drill is now centered on the edge FIG 10 A A A A Figure 8 A Figure 9 Figure 10 Round Stock Drilling V blocks are provided to...

Page 6: ...116620052 Thumb Screw M6 x 10 1 21 117720017 Rubber Stop 4 Workbench Mounting Only for Edge Sanding 1 Use a hole saw to cut a hole no larger than 2 1 4 in the top of your workbench 2 Center the Drill Guide base around the hole on the underside of the bench Push rubber stopper pieces out Secure base to the bench using four 1 4 flat head screws through holes provided in base screws not included See ...

Page 7: ... et permettent d avoir les deux mains libres pour actionner l outil 14 NE VOUS ETENDEZ PAS TROP Gardez les pieds au sol et un bon équilibre en toutes circonstances 15 ENTRETENEZ LES OUTILS AVEC SOIN Maintenez les outils bien affûtés et propres pour davantage de sécurité et un meilleur rendement Suivez les instructions concernant la lubrification et le changement des accessoires 16 DEBRANCHEZ LES O...

Page 8: ...ra sujetar la pieza trabajada cuando resulte práctico Es más seguro que usar la mano y además deja las dos manos libres para manejar la herramienta 14 NO SE ESTIRE Mantenga un buen apoyo y equilibrio en todo momento 15 CUIDE DE LAS HERRAMIENTAS Manténgalas afiladas y limpias para obtener óptimas prestaciones con seguridad Siga las instrucciones para lubricar y cambiar los accesorios 16 DESCONECTE ...

Page 9: ...el usuario del taladro 1 Sujete la manilla G a la placa base F con la tuerca H Las estrías en la placa base mantendrán la tuerca en posición al apretar la manilla 2 Retire los resortes K de las dos barras guía A Inserte las barras guía en el conjunto de barra transversal mandril B Vuelva a colocar los resortes en las barras guía 3 Enrosque el tornillo de apriete manual C en el conjunto de barra tr...

Page 10: ...e de profundidad controla la profundidad con precisión repetida Al manejar la Guía de Taladrar usando el tope de pro fundidad retire los resortes de las dos barras guía 1 Coloque la Guía de Taladrar en el borde del banco de trabajo 2 Presione hacia abajo el taladro hasta llegar a la profundidad requerida del agujero véase la Figura 3 Apriete el tornillo de apriete manual en el conjunto de barra tr...

Page 11: ...cie à trépan pour découper un trou ne dépassant pas 2 1 4 dans la table de l établi 2 Centrez la base du guide de perceuse autour du trou sous l établi Poussez pour faire sortir les pièces de la butée en caoutchouc Fixez la base sur l établi en montant quatre vis à tête plate 1 4 dans les trous pratiqués dans la base vis non fournies voir Figure 11 3 Pour bloquer la mèche en position régler la mèc...

Page 12: ...4 Llave del mandril 1 20 116620052 Tornillo manual M6 x 10 1 21 117720017 Tope de goma 4 REPERE N N PIECE DESCRIPTION QTE 1 116600036 Bouchon à tige 2 2 117220130 Axe 1 3 116700029 Bague de retenue 2 4 116710120 Rondelle 1 5 117110002 Douille à manchon 2 6 116710067 Vis à ailettes M6 x 16 1 7 116410022 Guide transversal 1 8 015100033 Mandrin 1 9 116800011 Vis à tête noyée 1 10 117200008 Glissière ...

Reviews: