Werock Rocktab U200, User Manual
The Werock Rocktab U200 boasts top-quality features and exceptional performance, and now, you can amplify your experience even further with the comprehensive User Manual! Available for free download at manualshive.com, this manual provides step-by-step instructions, ensuring you make the most out of your Rocktab U200.
Share
Download


Reviews:
No comments
Related manuals for Rocktab U200
PENPARTNER 2 -
Brand: Wacom Pages: 2
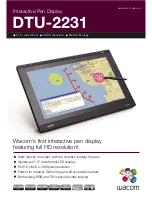
DTU-2231
Brand: Wacom Pages: 2

INTUOS 4
Brand: Wacom Pages: 2

GRAPHIRE 4
Brand: Wacom Pages: 2
CINTIQ 15X
Brand: Wacom Pages: 49

DTU-1031
Brand: Wacom Pages: 63
BAMBOO TOUCH
Brand: Wacom Pages: 2

Cintiq 22HD
Brand: Wacom Pages: 65
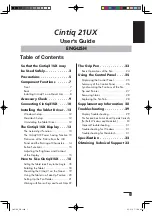
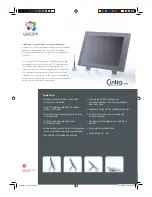
Cintiq 21UX
Brand: Wacom Pages: 34
12WX
Brand: Wacom Pages: 2
Cintiq 21UX
Brand: Wacom Pages: 2
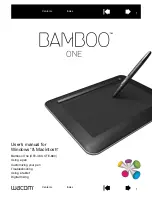
BAMBOO
Brand: Wacom Pages: 56
BAMBOO
Brand: Wacom Pages: 2
DTU-1031AX
Brand: Wacom Pages: 4

Dean
Brand: Gadhouse Pages: 18

Fnac 7 Little
Brand: bq Pages: 52

MioWORK A545
Brand: Mio Pages: 4

INTUOS - FOR MACINTOSH
Brand: Wacom Pages: 163


