background image

Tradition verpflichtet

User manual
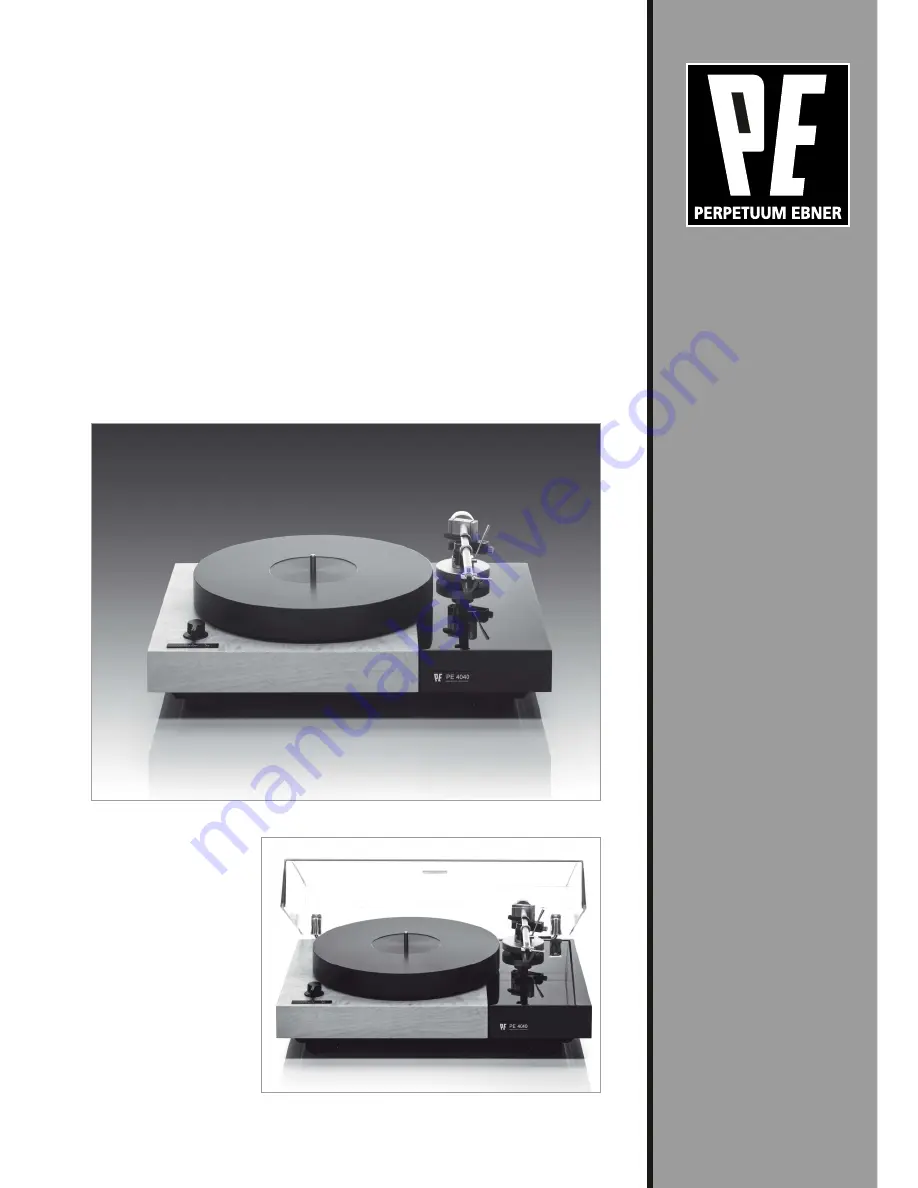
Turntable
High-end Belt Drive

PE 4040

Summary of Contents for PE 4040

Page 1: ...Tradition verpflichtet User manual Turntable High end Belt Drive PE 4040...

Page 2: ...ENTS 1 SAFETY INFORMATION 2 UNPACKING 3 SET UP and ASSEMBLY 4 CONNECTIONS 5 DRIVE SETTINGS 6 TONE ARM and PICKUP CARTRIDGE a Tracking force b Anti skating 7 OPERATION 8 TECHNICAL SPECIFICATIONS 9 SERV...

Page 3: ...te Instead it is your responsibility to dispose of your waste equipment by handing it over to a designated collection point for the recycling of waste electrical and electronic equipment The separate...

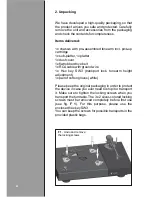
Page 4: ...ble with ground wire 1x Hex key SW3 transport lock tonearm height adjustment 1x pair of cotton gloves white Please keep the original packaging in order to protect the device in case you ever need to s...

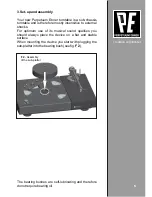
Page 5: ...e to external shocks For optimum use of its musical sound qualities you should always place the device on a flat and stable surface When mounting the device you start with plugging the sub platter int...

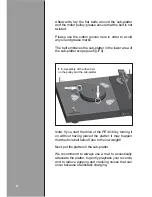
Page 6: ...pe see fig F 3 Note If you start the drive of the PE 4040 by turning it on without having placed the platter it may happen that the drive belt falls off due to the low weight Next put the platter on t...

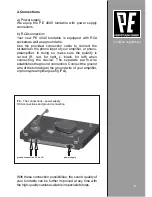
Page 7: ...nection cable to connect the turntable to the phono input of your amplifier or phono preamplifier In doing so make sure the polarity is correct R red for right L black for left when connecting the dev...

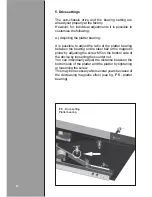
Page 8: ...is possible to adjust the ratio of the platter bearing between the bearing on the steel ball or the magnetic pillow by adjusting the screw M5 on the bottom side of the device by loosening the counter...

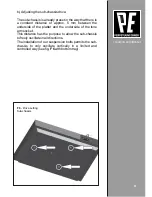
Page 9: ...that there is a constant distance of approx 5 mm between the underside of the platter and the underside of the tone arm socket This distance has the purpose to allow the sub chassis to freely oscillat...

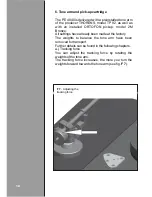
Page 10: ...FON pickup model 2M Bronze All settings have already been made at the factory The weights to balance the tone arm have been removed for transport Further details can be found in the following chapters...

Page 11: ...th lowered tone arm lift over the platter and carefully lower it so that the stylus rests on the tone arm scale In doing so it is absolutely necessary to remove the protective cover of the cartridge P...

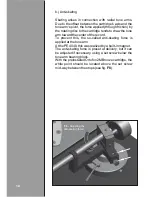
Page 12: ...to draw the tone arm toward the center of the record To prevent this the so called anti skating force is applied at the tone arm At the PE 4040 this was realized by a built in magnet The anti skating...

Page 13: ...ges or other platter covers the height of the tone arm may be adjusted To this you can loosen the screw at the tone arm socket using the enclosed hex key SW3 and adjust the height by rotating the nut...

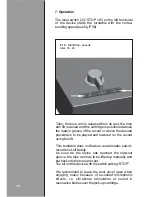
Page 14: ...ve the desired piece track to be played and lowered on the record using the lift This turntable does not feature an automatic end of record shut off facility As soon as the stylus has reached the lead...

Page 15: ...ion 33 45 electronically switchable Speed control via HALL sensors and PID control 3 kg aluminum platter with damping mat High precision platter bearing 10mm steel axle supporting magnet External powe...

Page 16: ...ystems com 9 Service information If you have any questions regarding your new turntable or in the event of problems your PE dealer shall be pleased to assist you You will find the addresses on our web...

Reviews: