W&T P10, User Manual
The Samsung P10 user manual is an essential guide for operating your device effectively. Find the complete manual, available for free download at our website. Discover detailed instructions, troubleshooting tips, and helpful insights to unlock the full potential of your Samsung P10 device.
Share
Download


Reviews:
No comments
Related manuals for P10

Pursuit
Brand: Pantech Pages: 47

QUARTZ
Brand: HTC Pages: 80

1011A
Brand: Alcatel Pages: 2
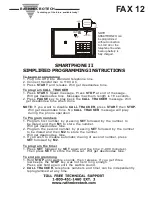
SMARTPHONE II
Brand: RATH MICROTECH Pages: 2

VVX 4 Series
Brand: Polycom Pages: 2

IQ II
Brand: i-mobile Pages: 50

2100-TPC Cellular 120v Tower
Brand: Rath Pages: 9

FX205SE
Brand: FAMOCO Pages: 19

p99
Brand: Quba Pages: 64

Infobar C01
Brand: AU Pages: 96

Chiara
Brand: Qubo Pages: 34

AM515
Brand: AMGOO Pages: 14

CL8500
Brand: Geemarc Pages: 70

CL8360
Brand: Geemarc Pages: 76
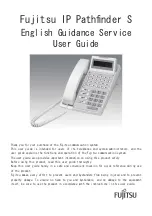
IP Pathfinder S
Brand: Fujitsu Pages: 28

IP Centrex SRS-12i
Brand: Fujitsu Pages: 69

SIP DECT Series
Brand: Teledex Pages: 1

cymbal Z-320
Brand: Zte Pages: 99


