W&H Lisq VA131-17, Инструкция по эксплуатации
Инструкции по эксплуатации для W&H Lisq VA131-17 доступны для бесплатного скачивания на нашем сайте. Загрузите руководство по эксплуатации для этого устройства, чтобы узнать, как правильно его использовать. Научитесь использовать все функции и возможности этого продукта, скачав руководство с manualshive.com.
Поделиться
Скачать


Отзывы:
Нет отзывов
Похожие инструкции для Lisq VA131-17
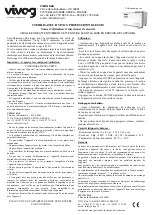
ES018
Бренд: Vivog Страницы: 2
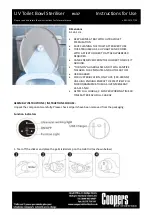
H137
Бренд: Coopers of Stortford Страницы: 3
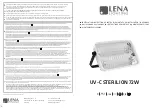
UV-C STERILION 72W
Бренд: Lena Lighting Страницы: 4
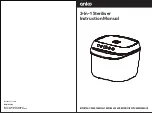
42963080
Бренд: anko Страницы: 6
SLM 400
Бренд: Memmert Страницы: 20
Radfire RI Series
Бренд: Puretec Страницы: 28
MINICLAVE AE-8
Бренд: Raypa Страницы: 21
HyGenikx+ HGX-T-05-O
Бренд: MECHLINE Страницы: 16

Submariner UV-5
Бренд: JBJ Страницы: 16

SMART UV LAMP
Бренд: CELLALLURE Страницы: 10
Vitronic 11 W
Бренд: Oase Страницы: 18
DP664
Бренд: Conrad Страницы: 4

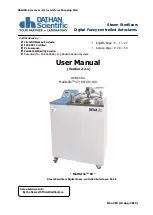
MaXterileTM 47
Бренд: DAIHAN Страницы: 27
SCF291
Бренд: Philips AVENT Страницы: 20
ultrauv
Бренд: Tommee Tippee Страницы: 11
UVClean Tabletop Sterilizer PT2120C
Бренд: Patriot Страницы: 2

AQUA PRO 12 GPM
Бренд: CRYSTALCLEAR Страницы: 15
MaXterileTM 100
Бренд: DAIHAN Страницы: 27


