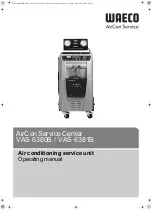
Waeco AirCon Service Center, Operating Manual
Looking for an Operating Manual for your Waeco AirCon? Look no further! You can download the manual for free from manualshive.com. Our Service Center provides easy access to all the information you need to properly operate your Waeco AirCon. Download the manual today and ensure optimal performance!
Share
Download


Reviews:
No comments
Related manuals for AirCon Service Center

M1
Brand: M-Triangel Pages: 6

852
Brand: Jackco Pages: 6

AC2000
Brand: Zell Pages: 32

Chinook II
Brand: Garmat Pages: 13

51678
Brand: XPOtool Pages: 4
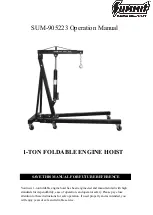
SUM-905223
Brand: Summit Pages: 3

WBSS75
Brand: Matco Tools Pages: 14
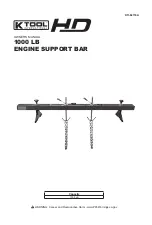
HD KTI-62116A
Brand: K Tool International Pages: 4
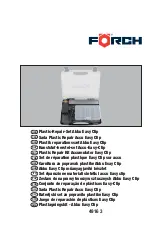
4916 3
Brand: Forch Pages: 36
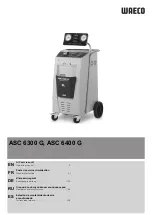
ASC 6300 G
Brand: Waeco Pages: 254

AIR-NEX 9320
Brand: MAHLE Pages: 6

1693BS-US
Brand: Unior Pages: 3
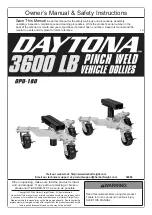
DPD-180
Brand: Daytona Pages: 8
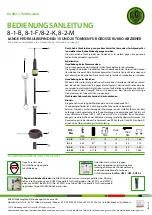
8-1-B
Brand: KUKKO Pages: 2
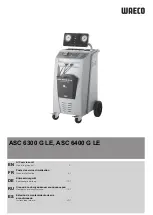
ASC 6300 G LE
Brand: Waeco Pages: 254
TireMan 20165
Brand: stellar labs Pages: 34
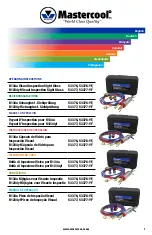
53376
Brand: MasterCool Pages: 24

4-Way Flux
Brand: XENUM Pages: 8


