


USER'S MANUAL
DTH-3220
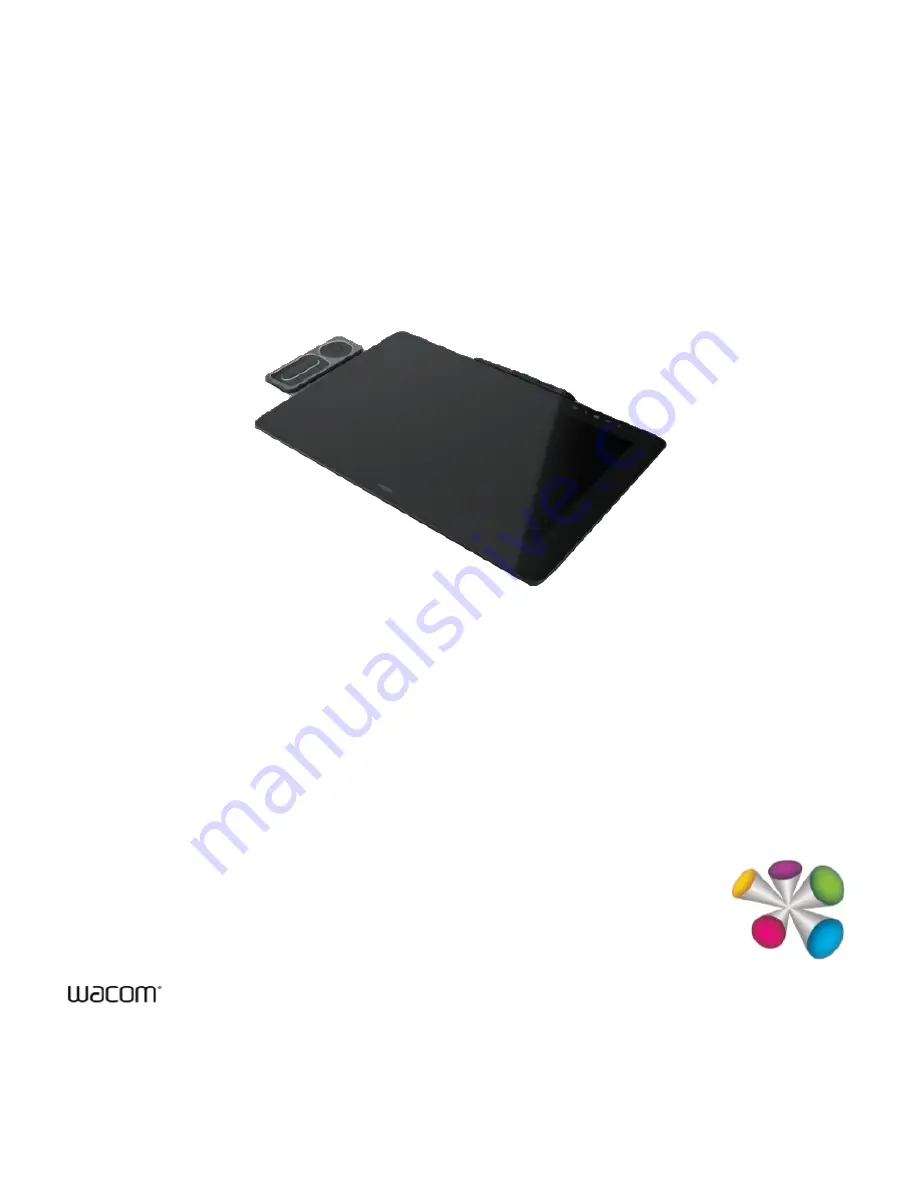
About the Wacom Cintiq Pro
Features of your Wacom Cintiq Pro
Set up your device
Get started with your creative pen display
Work with your pen
Customize your device in Wacom Tablet Properties
Use On-Screen Controls as shortcuts
Access application-specific settings
Multi-Touch
Wacom Desktop Center
Customize Wacom Display Settings
Care for your device
Technical Support
About this Document


