background image

Part Number: 631-0081-00

   August 2011

ViVOtech, Inc. 451 El Camino Real, Santa Clara, CA 95050 Ph: (408) 248-7001

Email: [email protected] URL: www.vivotech.com
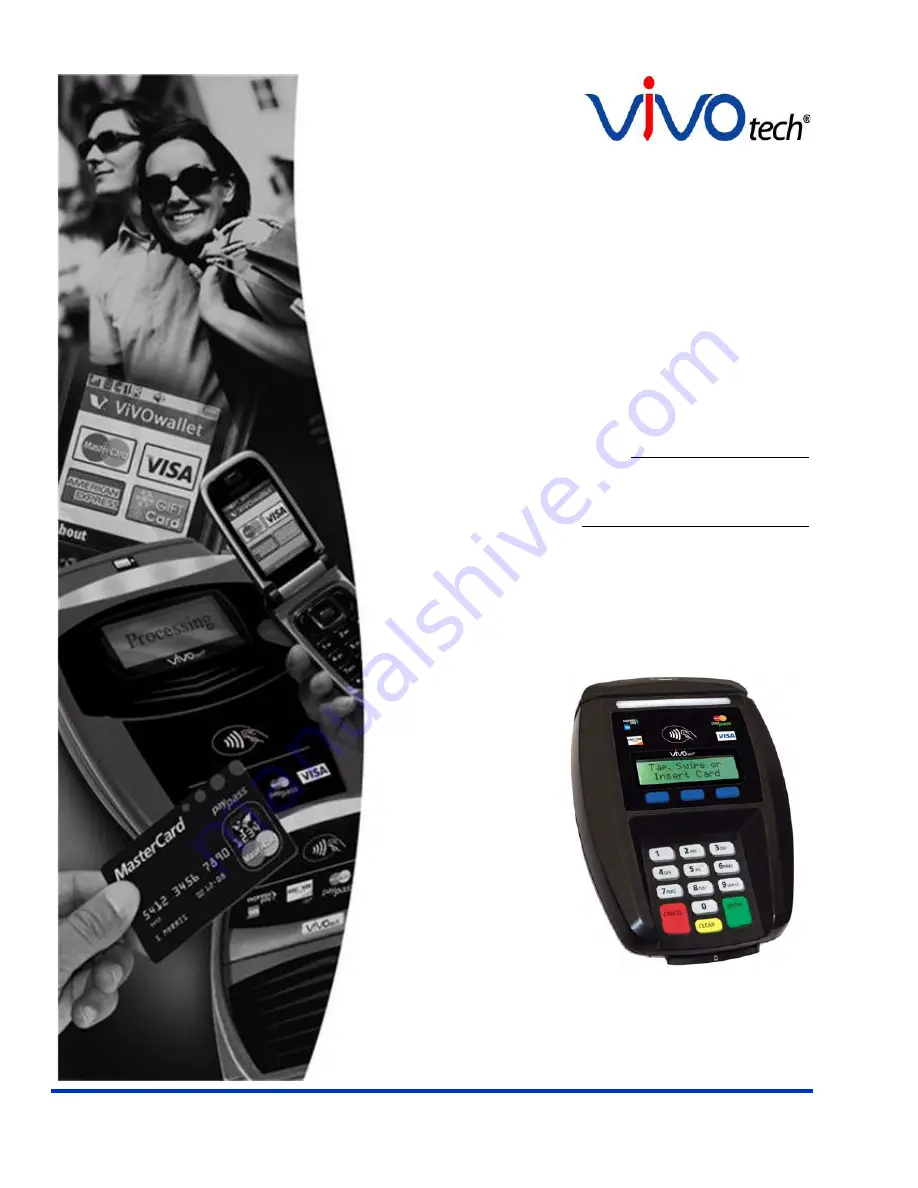
   

ViVOpay

®

8100e User Guide

Revision 1.0

Summary of Contents for ViVOpay 8100e

Page 1: ...Part Number 631 0081 00 August 2011 ViVOtech Inc 451 El Camino Real Santa Clara CA 95050 Ph 408 248 7001 Email info vivotech com URL www vivotech com ViVOpay 8100e User Guide Revision 1 0 ...

Page 2: ... other method or translated into another language or language form without the express written consent of ViVOtech Inc ViVOtech ViVOpay ViVOwallet ViVOcard ViVOplatform ViVOnfc ViVOapps ViVOtag ViVOpos mTouch mLoyalty mPromotion and mPrepaid are trademarks or registered trade marks of ViVOtech Inc Other trademarks are the property of the respective owner Warranty Disclaimer The services and hardwa...

Page 3: ...100e 5 Connector Access 5 Install a SAM Card 6 Connect Data and Power 7 Mount the ViVOpay 8100e to a Surface 8 Mounting the Wedge Bracket 9 Testing the Installation 10 Chapter 3 Troubleshooting and Maintenance 11 Troubleshooting 11 Onboard Diagnostics 12 Accessing the OBD Tests 12 Test Results Summary 13 Test All 14 LCD Test 14 Touch Screen Test 14 Keypad Test 14 LED Test 15 Tone Test 15 Magstripe...

Page 4: ... the Firmware 17 Appendix A Specifications 19 ViVOpay 8100e Specifications 19 Regulatory Compliance 20 FCC Part 15 Class B Equipment 20 FCC Information for User 20 Industry Canada Class B Equipment 20 Industry Canada Information for User 20 Glossary 21 ...

Page 5: ...ications PayPass ISO IEC 144443 MasterCard PayPass Magstripe v3 3 Visa payWave MSD v2 0 2 American Express ExpressPay v1 0 Discover Zip v1 0 Mifare ePurse Passthrough ViVOcard 1 and 2 ViVOpay 8100e also fully supports PIN debit and credit magnetic stripe applications This document assumes that users are familiar with their host POS systems and all related functions Features The following features ...

Page 6: ...ents If you are using other cables or power supply you may be required to install ferrites For your free ferrite core kit with installation instructions please contact ViVOtech support Accessories The following accessories are available for the ViVOpay 8100e ViVOpay 8100e P N 540 2901 XX Data cable varies by POS and length Serial Data Cable P N 220 2463 0X USB Data Cable P N 220 2462 0X These cabl...

Page 7: ...y for example a customer must tilt or rotate the device for better accessibility due to objects blocking a card swipe 2 If the ViVOpay 8100e is elevated on a mounting stand shielding must be provided on the mount to prevent a PIN being viewed by a third party 3 If the ViVOpay 8100e is mounted on a counter top additional shielding which can include other devices such as a cash register as long as c...

Page 8: ...etermine if there is a position where PIN entry can be observed Retesting Requirements If PIN entry on the ViVOpay 8100e is observable in any of the above tests you must reposition the ViVOpay 8100e and completely retest all locations to verify that PIN entry is not visible Consider placing a display to block observation from that position Repositioning the ViVOpay 8100e to block observance of PIN...

Page 9: ...s are Connect to power and POS Mount if required Test the installation Connector Access The ViVOpay 8100e connectors are beneath a cover on the bottom of the reader To access the connectors 1 Turn over the ViVOpay 8100e so that the connector cover is visible 2 Use a Phillips 1 screwdriver to remove the captive screw that holds the connector cover in place ...

Page 10: ...ViVOpay 8100e models have one SAM card slot with the option of a second If you are using a SAM card s in your application insert the SAM card as shown by the SAM card icon Make sure that the SAM card is fully engaged in the slot before inserting all the way Warning Do not insert or remove a SAM card while the ViVOpay 8100e is powered This will cause permanent damage to the SAM card Secondary SAM s...

Page 11: ...application To connect data and power 1 Connect your data cable to the RS232 USB or connect the Ethernet port to a Ethernet switch or hub 2 Connect the power cable 3 Pass the cables through the slots in the connector cover Use the narrow slot for the power cable to provide strain relief 4 Replace the cover and secure it with the retaining screw 5 Connect the power supply to a 110 220 VAC outlet RS...

Page 12: ... power outlet For more troubleshooting information see Troubleshooting on page 11 Mount the ViVOpay 8100e to a Surface The ViVOpay 8100e can be mounted to a surface to prevent it from being accidently dislodged or repositioned To mount the ViVOpay 8100e 1 Drill four 3 5mm 9 64 inch holes in the surface where the ViVOpay 8600 will be mounted Use the hole spacing shown in Figure 1 Figure 1 Mounting ...

Page 13: ...nother 7 for easier viewing The wedge bracket is fastened to the ViVOpay 8100e using the four mounting holes To mount the wedge bracket 1 Align the mounting bracket over the mounting holes with the thickest end over the connector cover 2 Fasten in place with four M3 screws as shown in Figure 2 Figure 2 Attaching the wedge bracket ...

Page 14: ...nstallation and have checked for PCI conformance check that the ViVOpay 8100e and the POS are communicating correctly by performing a sample transaction using a contactless card and a magstripe card You can also test basic functionality using the Onboard Diagnostics OBD described in Onboard Diagnostics on page 12 ...

Page 15: ...orrect firmware is loaded local support representative only Verify that power is on and correct voltage and current are present Verify that power cable plug is fully inserted Replace the reader Some cards fobs phones read but not all Wrong firmware contact your local support representative Possible bad card fob phone Unsupported card used Verify that correct firmware is loaded on reader local supp...

Page 16: ...n program and set the serial communication parameter of the terminal emulation program to the following Baud rate 115200 Parity none Data bit 8 Stop bit 1 Flow control none 3 Connect the BD 9 end of the data cable to the COM port of a computer running a terminal emulation program To enter the Onboard Diagnostics 1 Power off the ViVOpay 8100e by removing the power supply from the power receptacle 2...

Page 17: ...d If you reenter the ViVOpay AR Diagnostics all test are marked as not performed 1 Press 0 on the ViVOpay AR Diagnostics screen The Test Results screen is displayed with the results of all the tests run Main Menu 1 Onboard Diagnostics 2 Setup 3 Test Applications 4 Version Information 5 Boot X Exit ViVOpay AR Diagnostics 1 Test All 2 LCD 3 Touch Screen 4 Keypad 5 LEDs 6 Tone 7 Magstripe 8 RFID and ...

Page 18: ...press CANCEL to fail the test The AR LCD Test screen is displayed 6 Press 3 Both lines of the display are filled with the character 7 Press ENTER if the correct screen is displayed otherwise press CANCEL to fail the test The AR LCD Test screen is displayed 8 Press 4 You can change the contrast by pressing the 7 key for more contrast or the 9 key for less contrast A numeric value 20 high to 42 low ...

Page 19: ...t fail the keypad tamper test should be returned for recalibration LED Test This test asks you to verify that all of the LEDs are working correctly The results will be displayed on the LCD 1 Press 5 on the ViVOpay AR Diagnostics screen The LED Test screen is displayed 2 Press ENTER if all four LEDs flash on and off in sequence otherwise press CANCEL to indicate that the LEDs did not flash The ViVO...

Page 20: ... error is indicated 3 Press any key to return to the ViVOpay AR Diagnostics screen RFID and Antenna Test This test asks you to present a contactless card phone fob close to the touch screen to verify that the antenna is able to detect a contactless card The results will be displayed on the LCD 1 Press 8 on the ViVOpay AR Diagnostics screen The RFID Test screen is displayed 2 Present the card fob p...

Page 21: ...Maintenance The ViVOpay 8100e contains no user serviceable parts within its enclosure Do not open the ViVOpay 8100e enclosure You can upgrade the ViVOpay 8100e s firmware if required Upgrading the Firmware You can upgrade the firmware of the ViVOpay 8100e if required for your application You will need the following from your ViVOpay 8100e distributor New ViVOpay firmware ViVOpay download utility U...

Page 22: ...ectory 4 Connect the USB data cable to the ViVOpay 8100e and PC see Connect Data and Power on page 7 5 Double click the ViVO download utility icon or exe to start the utility 6 Power on the ViVOpay 8100e The bootloader version appears under the ViVOtech logo 7 Click Download Image 8 When prompted locate and select the firmware hex file to download and click OK A progress bar indicates the status o...

Page 23: ... B ISO 18092 Physical Length 190 5 mm 7 5 in Width 129 45 mm 5 1 in maximum Depth 47 63 mm 1 875 in Weight 0 4 Kg 0 9 lbs Environmental Operating Temp 0 to 40 C 32 to 104 F Storage Temp 20 to 60 C 4 to 140 F Operating Humidity 0 to 85 non condensing Operating Environment Indoor only Power Voltage 9 12 Vdc regulated 10 Consumption 5 W maximum ...

Page 24: ...r The users manual or instruction manual for an intentional or unintentional radiator shall caution the user that changes or modifications not expressly approved by the party responsible for compliance could void the user s authority to operate the equipment In cases where the manual is provided only in a form other than paper such as on a computer disk or over the Internet the information require...

Page 25: ...echnology NFC Near Field Communications NFC Phone Near Field Communications NFC phone A technology that enables communication between a secure element in a mobile device and a contactless reader to make credit debit payments Also see UICC PCI 2 1 The Payment Card Industry Security Standards Council PCI SSC mission is to enhance payment account data security PCI 2 1 is a set of standards created by...

Reviews: