Visioneer OneTouch 8100, Installation Manual
The Visioneer OneTouch 8100 is a high-quality scanner that simplifies document digitization. Ensure smooth setup with the included Installation Manual, available for free download from manualshive.com. This comprehensive manual provides step-by-step instructions to maximize the functionality of your scanner. Streamline your scanning process with the Visioneer OneTouch 8100.
Share
Download


Reviews:
No comments
Related manuals for OneTouch 8100

Switch Pro
Brand: Raven Pages: 2

HC36 II DTU-K
Brand: Denso Pages: 52

TRG 8800
Brand: Symbol Pages: 16

RS 1
Brand: Symbol Pages: 52

TriCoder
Brand: Worth Data Pages: 2

iPad PhotoScanner
Brand: Kaiser Baas Pages: 30

CX0098
Brand: Jireh Pages: 141

Lightbeam
Brand: Corpus.e Pages: 8

Pannoramic DESK II
Brand: 3DHISTECH Ltd. Pages: 82

Edge FaroArm
Brand: Faro Pages: 2
KV-S1057C
Brand: Panasonic Pages: 5

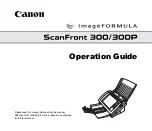
Canoscan CS8000F
Brand: Canon Pages: 77
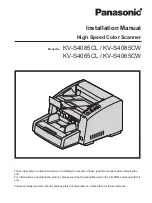
KV-S4085CL
Brand: Panasonic Pages: 24
Optura 300
Brand: Canon Pages: 100

Scan Station 100 Plus
Brand: Kodak Pages: 6

i5000V Series
Brand: Kodak Pages: 4

i1400 Series
Brand: Kodak Pages: 2

PDS-ST440-VP
Brand: VuPoint Pages: 2


