


User Manual
V1111B-THM-TB
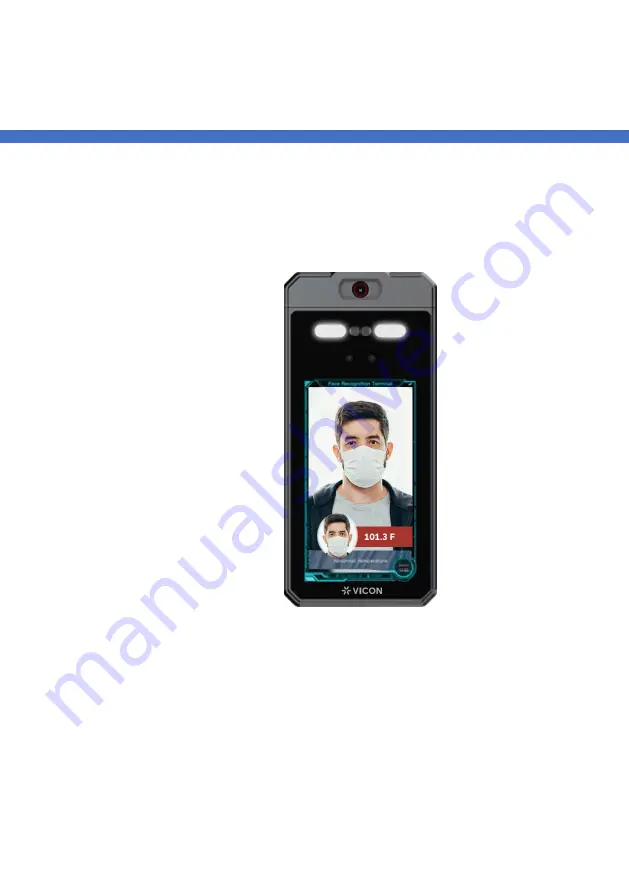
Biometric Kiosk
XX300-45-00
DISCLAIMER: The V1111-THM-TB Biometric Kiosk is a screening device and is not intended for
use in the detection or diagnosis of any disease and, as such, is not an FDA approved medical
device. Subjects that have elevated body temperatures detected by the kiosk should be subject
to secondary evaluation methods, including NCIT or clinical grade contact thermometer.
Document Number: 8009-8300-45-00
Product specifications subject to change without notice.
Issued: 5/2021 Copyright © 2021 Vicon Industries Inc.
All rights reserved.
Vicon Industries Inc.
Tel: 631-952-2288
Fax: 631-951-2288
Toll Free: 800-645-9116
24-Hour Technical Support:
800-34-VICON (800-348-4266) UK:
44/(0) 1489-566300
Summary of Contents for V1111B-THM-TB
Page 2: ......
Page 12: ...Biome Us 1 3 Dimensions Figure 1 4 Dimensions unit in mm 1 1 28 10 1 256 4 7 120...
Page 43: ...Biometric Kiosk User Manual 39 Figure 3 27 Access condition interface...
Page 56: ...Biome Us Figure 5 2 Set detail time User can set the detailed time to search...
Page 57: ......
Page 58: ......


