


Subject to modifications.
© Vestamatic GmbH
1/15
G
Art.-Nr.:
3055 001 GB
2619 A03
• Vestamatic GmbH • Dohrweg 27 • D-41066 Mönchengladbach
• www.vestamatic.com
VHA-Smart Controller
VHA-Smart Controller
Operating Instructions
VHA-Smart Controller
Art.-no.: 01580162
Vestamatic Home Automation System.
G
1. Safety precautions
ATTENTION!
– Check the VHA-Smart Controller for signs of mechanical
damage after unpacking. If you notice any shipping damage,
do not start up the VHA-Smart Controller and notify your
supplier immediately.
– The VHA-Smart Controller should only be used for the pur-
pose specified by the manufacturer (refer to the operating
instructions). Any changes or modifications thereof are not
permissible and will result in loss of all warranty claims.
Ä
3055 001 GB 2619 A03
Contents
1. Safety precautions (safety measures)
2. Legend
3. General usage
4. Short description
5. Scope of delivery
6. Installation
7. Connect to the App
8. Save shortcut on the home screen
8.1 Steps for Google Chrome
8.2 Steps for Safari
9. Description of the App interface
9.1 General
9.2 Login Screen
9.3 Homescreen
9.4 Menu
9.5 Devices – List of devices
9.6 Devices – Add new devices (Automatic Scan)
9.7 Devices – Individual control
9.8 Devices – Individual control / Slat-angle control
9.9 Devices – List of registered devices
9.10 Devices – Motor settings
9.11 List of rooms and groups
9.12 List of registered rooms and groups
9.13 Scenes
9.14 Timer
9.15 Settings
9.16 Service
10. Troubleshooting
11. Contact
2. Legend
Menu
Opens the menu.
Refresh
When activated, the motor data is newly requested and
updated.
Lasts longer, the more motors are paired.
Wizard
Clicking on this button activates the wizard. It explains
functions, buttons or processes that are displayed in
the app.
Add
Click here to add new devices.
Settings
Click here to open the appropriate settings.
Edit
Clicking here opens editing options.
Motor settings
A click here leads to the setting of motors.
Note, Info
Indication that a motor is missing limit positions. A short
info text appears when icon is touched.
Intermediate
position
If an intermediate position is set, clicking this button will
cause the motor to move the set intermediate position.
Cancel
Cancel terminates current settings and discards them.
3. General usage
Motors taught in the app should not be controlled simultaneously via radio
remote controls and the application.
4. Short description
Vestamatic Home Automation System for control of IO-AIR radio receivers.
Bidirectional protocol.
5. Scope of delivery
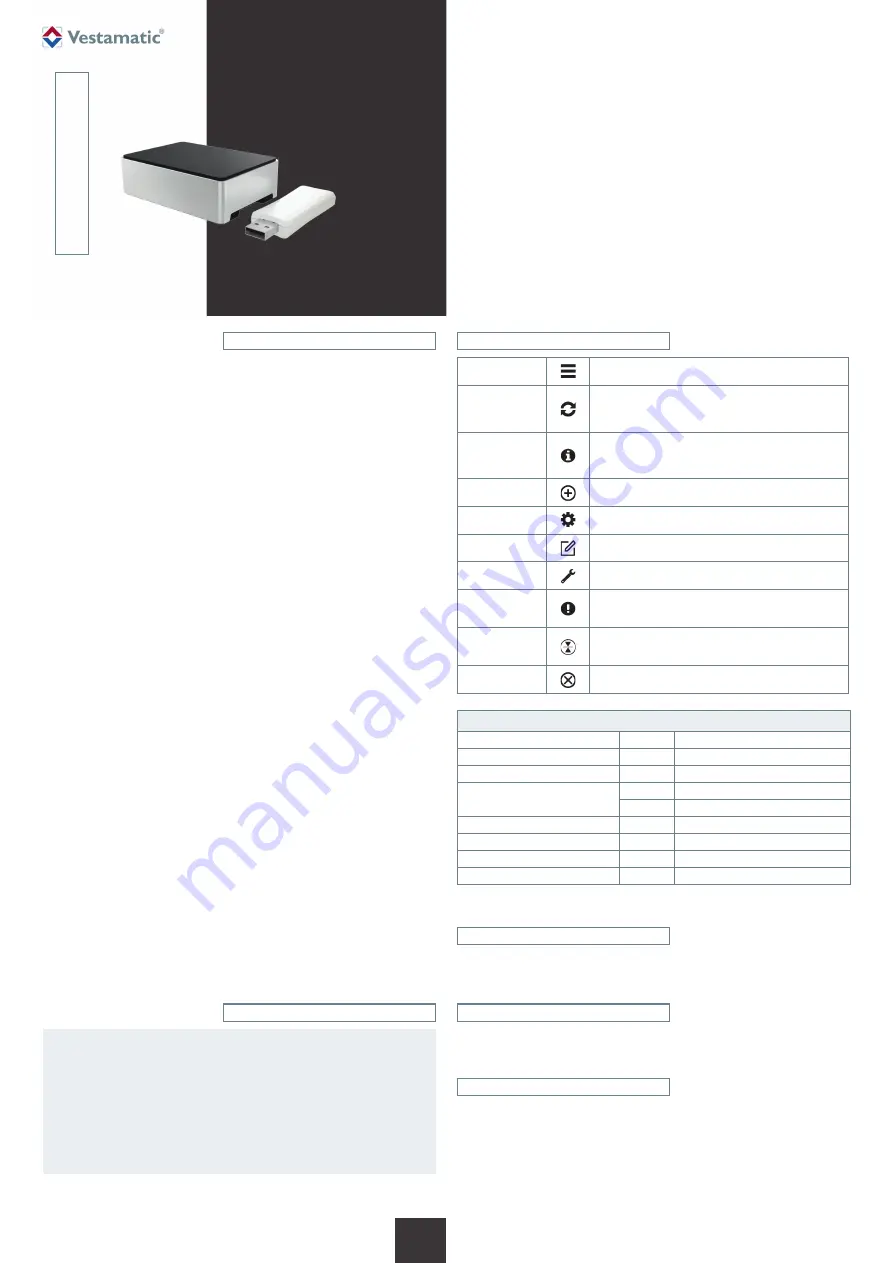
VHA-Smart Controller
Power supply
LAN cable
Micro SD-Card (not included in the scope of delivery)
IO-AIR Transceiver USB (not included in the scope of delivery)
Operating instructions
Article
VHA-Smart Controller
Art.-no.: 01580162
Supply voltage:
VDC
5 (via micro-USB connector)
Rated current:
A
2.5
Interfaces:
USB
4
LAN
1
microSD-Slot:
1
Operating temperature:
°F
0 °C (32 °F) to +60 °C (140 °F)
Protection degree:
IP
20
Dimensions (L × W × H)
mm
93 × 67 × 23 mm


