VERITAS Bessie, Instruction Manual
Introducing VERITAS Bessie, an innovative household appliance that simplifies everyday tasks. Ensure seamless operation with our comprehensive Instruction Manual, available for free download at manualshive.com. Discover step-by-step guidance, useful tips, and troubleshooting solutions to unlock the full potential of your VERITAS Bessie, making life easier at the touch of a button.
Share
Download


Reviews:
No comments
Related manuals for Bessie

CHARGER 2022 ABLT
Brand: NSS Pages: 16

N291
Brand: Duerkopp Adler Pages: 95

Funlock 009DCC
Brand: Bernina Pages: 39

Melodia Classic
Brand: N&W Global Vending Pages: 68

GO-5000M-PGE-1
Brand: JAI Pages: 86

AP-874S
Brand: JUKI Pages: 2

B-1500
Brand: Koblenz Pages: 4
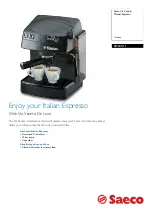
Saeco Via Veneto RI9345/11
Brand: Philips Pages: 2
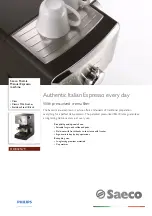
Saeco Poemia HD8325/79
Brand: Philips Pages: 2
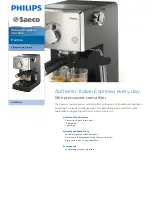
Saeco Poemia HD8325/47
Brand: Philips Pages: 3
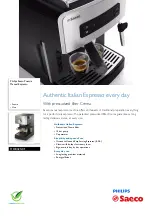
Saeco Poemia HD8425/01
Brand: Philips Pages: 3

522
Brand: Consew Pages: 8

230
Brand: Consew Pages: 6

205RB-1
Brand: Consew Pages: 42

A90-279
Brand: HOMCOM Pages: 23

freeTEL II/S
Brand: HumanTechnik Pages: 132

LS-5500
Brand: Life Fitness Pages: 3

CARDIO HIT
Brand: Pro-Form Pages: 32


