Vaderstad Seed Hawk, Manual
The Vaderstad Seed Hawk is an innovative agricultural equipment designed for precision seeding. To ensure optimal performance, it's crucial to have the correct manual. Download the comprehensive user manual for free from manualshive.com to obtain in-depth instructions and maximize efficiency in your farming operations.
Share
Download


Reviews:
No comments
Related manuals for Seed Hawk
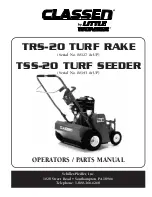
Classen TRS-20
Brand: Little Wonder Pages: 18

MF-07
Brand: LORCH Pages: 20

HYBRIFLEX mMIMO
Brand: RFS Pages: 32

Tar River DRL-048
Brand: Belco Pages: 23

Monica
Brand: Gaspardo Pages: 186

CFU-PWZ
Brand: Olympus Pages: 72

MF2500CM
Brand: Dynapac Pages: 626

OEM-290-249
Brand: Troy-Bilt Pages: 4

Econo 10000
Brand: Equalizer Pages: 35

8701B
Brand: Chapin Pages: 16


