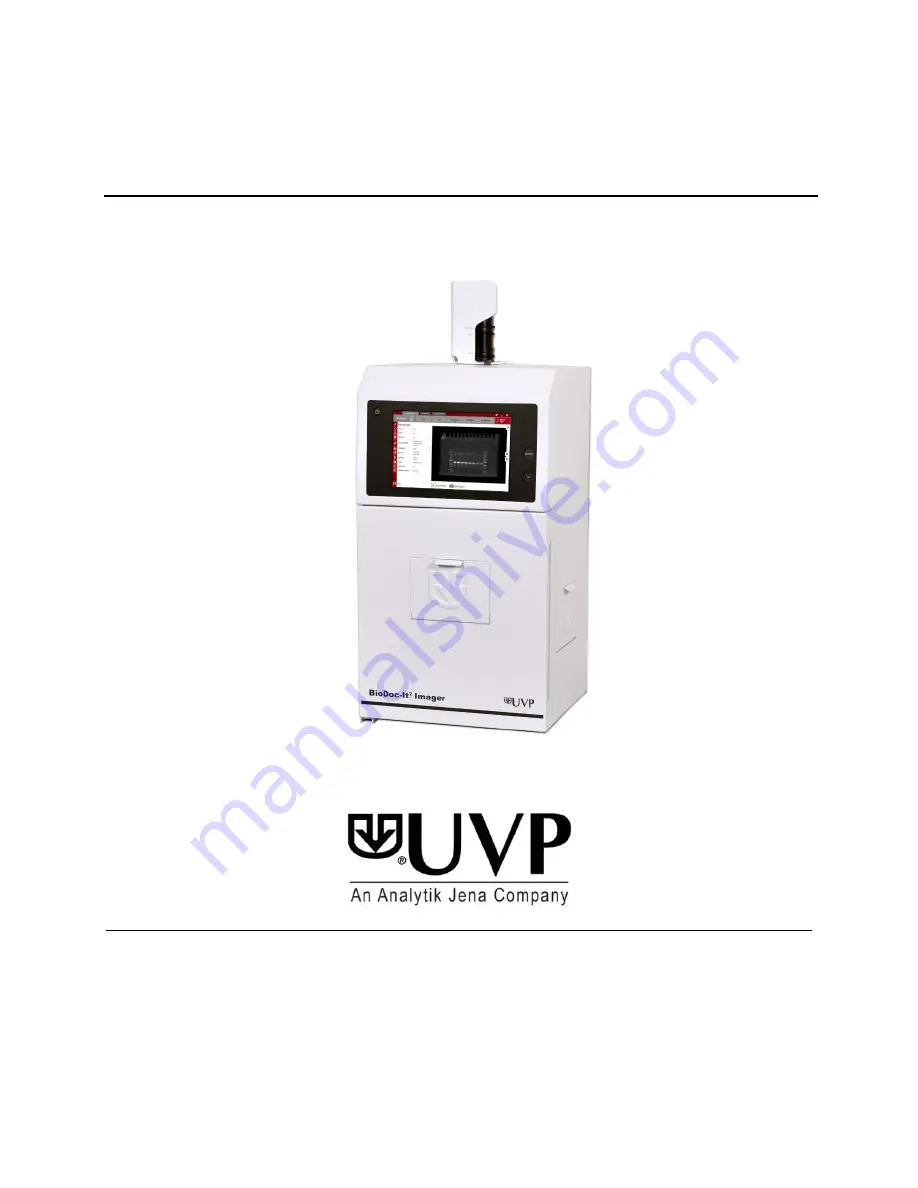
background image

         81-0358-01 Rev E


BioDoc-It

®

2

 Imaging System  


Installation and User Instructions 


UVP, LLC 

Ultra-Violet Products Ltd.  

2066 W. 11th Street  

Unit 1, Trinity Hall Farm Estate 


Upland, CA   91786


Nuffield Road, Cambridge CB4 1TG UK 

Phone: (800) 452-6788 

Phone: +44(0)1223-420022 

Fax: (909) 946-3597 

Fax: +44(0)1223-420561 


Web Site: www.uvp.com 


Summary of Contents for biodoc-it 2

Page 1: ...nd User Instructions UVP LLC Ultra Violet Products Ltd 2066 W 11th Street Unit 1 Trinity Hall Farm Estate Upland CA 91786 Nuffield Road Cambridge CB4 1TG UK Phone 800 452 6788 Phone 44 0 1223 420022 F...

Page 2: ...the UVP factory 7 Note The zoom lens shipped may appear different than pictured 7 Using the System 8 Powering Up the Tablet 9 Operating the VisionWorks touch Interface 9 Using the Transilluminator 9...

Page 3: ...C or Mac programs The BioDoc It2 Imaging System is a cost effective solution for capturing quality images in a compact standalone package as no external computer is required The BioDoc It2 comes stand...

Page 4: ...specific parts and components included with the system 10 Integrated Touch Screen White Light and UV Power Buttons Wide Access Door USB Port Not Shown Two Position Filter Tray Including EtBr Filter T...

Page 5: ...315 uses a USB 2 0 connection All camera settings are factory pre set for optimum performance when viewing gels and films under low light level conditions Contact UVP Technical Support before making a...

Page 6: ...e the Touch Screen Interface section in this manual Fluorescent Focus Target The UVP Fluorescent Focus Target fluoresces when placed on a UV transilluminator or when exposed to overhead UV The Target...

Page 7: ...o a surge protected power outlet 2 Connect the jumper cable from the darkroom to the rear of the transilluminator Installing Emission Filters To install the 50mm2 ethidium bromide EtBr filter and any...

Page 8: ...f the lens and the rubber gasket beneath the darkroom bracket 4 Plug the camera cable into the top of the camera and the other end into a USB port on back of the darkroom Camera and lens assembly Came...

Page 9: ...interface press either the close X or minimize _ buttons at the top right corner of the software window Refer to Touch Screen Interface in this manual for further instructions on using the software U...

Page 10: ...ive film from the Fluorescent Focus Target see the Fluorescent Focus Target section of this manual for more information 2 Turn on the transilluminator and place the Target on the transilluminator surf...

Page 11: ...n in the upper right corner of the main TS screen and selecting from the following tabs General Settings Post Processing Saving The following pop up screen will appear General Settings Tab Language Us...

Page 12: ...e TIFF file format is selected and Save Selected Original Formats is also selected both compressed and uncompressed TIFF files will be saved Save Images To Select the location where images are to be s...

Page 13: ...interface language and image save format See the Setting User Preferences section of this manual for further information Templates Press the Templates button to access the list of templates Press aga...

Page 14: ...s to select modes for image capture Use the vertical slider bars and or the and buttons to make adjustments to the desired portion of the exposure time sec ms or microseconds To adjust capture modes s...

Page 15: ...exposed image decrease the aperture or exposure time until the yellow or red overlay disappears To activate saturation warning press the Saturation Warning slider until the check mark appears Action P...

Page 16: ...e Minimize button to close full screen mode Close Press the Close button to the right of the image to close the active image If the image is unsaved the user will be prompted to save the image before...

Page 17: ...l the check mark appears This will add mmm dd yyyy hh mm ss to the bottom right corner of the image NOTE The time stamp is not saved to the image unless Save Burned is selected as described earlier in...

Page 18: ...ving 3 To access saved templates press the Templates button as shown 4 To select the quick access templates to be shown at the top of the TS screen press the Templates button until the list of saved t...

Page 19: ...for network configuration To minimize the VisionWorks touch interface and access Microsoft Windows for network configuration press the Minimize _ button in the upper right corner of the software Inst...

Page 20: ...de 50mm Square 38 0220 01 Filter SYBR Green 50mm Square 38 0219 01 Filter SYBR Gold 50mm Square 38 0221 01 Transillumination Accessories White Light Converter Plate 21x26cm 38 0191 01 White Light Conv...

Page 21: ...the Screen 1 An error message that is related to the VisionWorks touch interface or Microsoft Windows may appear on the screen If the message is related to Microsoft Windows such as a reminder to acti...

Page 22: ...ffices at the locations below or visit www uvp com If you are in North America South America East Asia or Australia If you are in Europe Africa the Middle East of Western Asia Call 800 452 6788 or 909...

Reviews: