UNIS A-399, Operation Manual
The UNIS A-399 Operation Manual is essential for understanding and utilizing the full potential of this remarkable product. You can easily download this comprehensive manual for free from manualshive.com, enabling you to access clear instructions and maximize your experience with the UNIS A-399.
Share
Download


Reviews:
No comments
Related manuals for A-399

PAC-MAN BATTLE ROYALE DELUXE
Brand: NAMCO Pages: 80

BOXER MACHINE
Brand: Pro Games Pages: 14

SOLID AS 6x10
Brand: Evend Pages: 41

SilverStrike 2009 Bowler's Club
Brand: Incredible Technologies Pages: 106

20838-0105
Brand: Luna Pages: 28
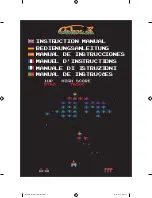
GALAXIAN
Brand: Quarter Arcades Pages: 20

Super-7
Brand: Bally Pages: 51

Samba Top
Brand: Necta Pages: 76
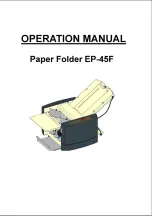
EP-45F
Brand: Unitec Pages: 22

LF291
Brand: Techko Pages: 2

1358412
Brand: MDsports Pages: 10

Marubot Football League 4 Players
Brand: IR Robot Pages: 45

A040.010.00
Brand: COUGAR Pages: 12


