U-Line Wine Captain 2218WC, User Manual
The U-Line Wine Captain 2218WC is a sleek and efficient wine cooler that can store up to 31 bottles at the perfect temperature. To get the most out of this amazing appliance, be sure to download the user manual for free from manualshive.com to unleash its full potential.
Share
Download


Reviews:
No comments
Related manuals for Wine Captain 2218WC
JQ-332A
Brand: Haier Pages: 8
JQ-332A
Brand: Haier Pages: 8
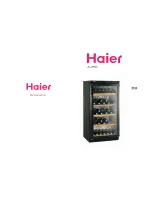
JC-298G
Brand: Haier Pages: 6

CTPNE120
Brand: La Sommeliere Pages: 140

LBWC-30SB2
Brand: Avantgarde Pages: 10

HWC20FCBH
Brand: Hanseatic Pages: 53

HVA037-5S - 08-03
Brand: Haier Pages: 15

KUWS246EBL02
Brand: KitchenAid Pages: 2

VT-12 BIZONE
Brand: Fagor Pages: 38

259 Bottle Wine Cellar
Brand: WineEnthusiast Pages: 9

264 08 59 0Y
Brand: WineEnthusiast Pages: 18

KA24WR
Brand: Kadeka Pages: 16

BVFTB40DPABB
Brand: Liberty Pages: 36

D183
Brand: Eurocave Pages: 17

D-BEV-LVDUS
Brand: Eurocave Pages: 16

5000 Series
Brand: Eurocave Pages: 57


