


Reviews:
No comments
Related manuals for UCBF632-SS12A
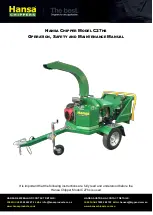
C27HS
Brand: Hansa Pages: 16
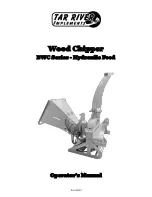
BWC Series
Brand: Tar River Pages: 68

T24C
Brand: Cobra Pages: 13

680 Series
Brand: Troy-Bilt Pages: 16

ACO D 103
Brand: Whirlpool Pages: 56

CHIP700L
Brand: Cobra Pages: 19

21A-682J766
Brand: Troy-Bilt Pages: 64

Field Profi 3001
Brand: Ziegler Pages: 52

CWW 18/C Series
Brand: Clint Pages: 10

UAA-ST3M
Brand: Daikin Pages: 84

FN620J
Brand: Rally Pages: 24

9065033
Brand: P.Lindberg Pages: 120

5912307901
Brand: Scheppach Pages: 124

MAX 3.0
Brand: UNIA Pages: 30

PTL-4300
Brand: Ozito Pages: 10

780 QG-V23
Brand: Garland Pages: 136

R-134a
Brand: York Pages: 28

YT Millennium
Brand: York Pages: 156


