


PAGE 1 OF 9
0821 IH-1784
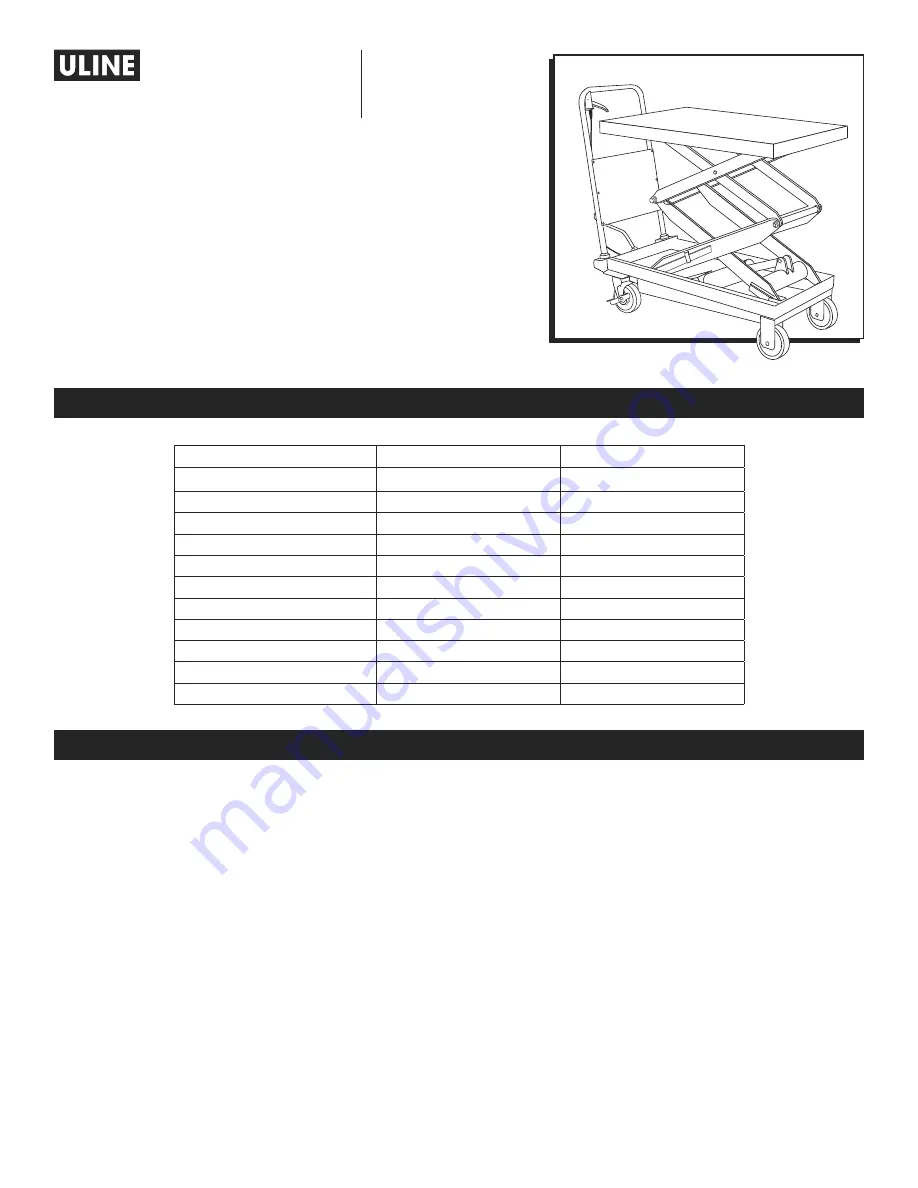
DOUBLE SCISSOR
LIFT TABLES
1-800-295-5510
uline.com
H-1784, H-8152
TECHNICAL INFORMATION
SPECIFICATIONS
H-1784
H-8152
Capacity
770 lbs.
1,760 lbs.
Height Raised
51"
59"
Height Lowered
13.8"
18.7"
Table Size
36 x 20 x 2"
48 x 24 x 2"
Total Height
30.3"
37.9"
Overall Length
42"
54"
Foot Pedal Cycles to Max. Height
46
70
Wheel Diameter
5"
6"
Weight
223 lbs.
379 lbs.
Working Volume of Oil Cylinder
310 ml
180 ml
Oil Capacity
400 ml
275 ml
1. Read all instructions carefully before operating the
lift table.
2. DO NOT overload the lift table and always operate
it within the rated load. Overloading will cause
damage to the lift table and the operator.
3. DO NOT stand or sit on the table to work.
4. DO NOT put hands or feet under the table when
lowering.
5. Apply the brakes while loading to prevent the table
from moving.
6. The load must be distributed uniformly across the
whole table.
7. DO NOT load loose or unstable loads onto the table.
8. DO NOT leave the table loaded for extended
periods of time.
9. DO NOT move the truck while lifting.
10. The table should only be used on flat solid surfaces.
11. Make sure not to overload the table when it is in
the raised position. The safety valve only works as
the table is lifted. Overloading in the raised position
may damage the table.
12. When loading and unloading goods in the raised
position, do not drag loads across the table.
This may cause offset loading and the table may
turn over.
13. When maintaining and repairing the table, the
stand bar should be used to support the fork arm in
order to prevent table from falling. There should not
be a load on table while maintaining and repairing
the table.
GENERAL INFORMATION
Para Español, vea páginas 4-6.
Pour le français, consulter les pages 7-9.


