


NA HD F11/F10
NA RCA L32HDF11
\\tclking-hzoa0\
\
\
3\
\
: ,
BOM
SK2009-12-066R0
72-32F116-E001A
2009.12.18
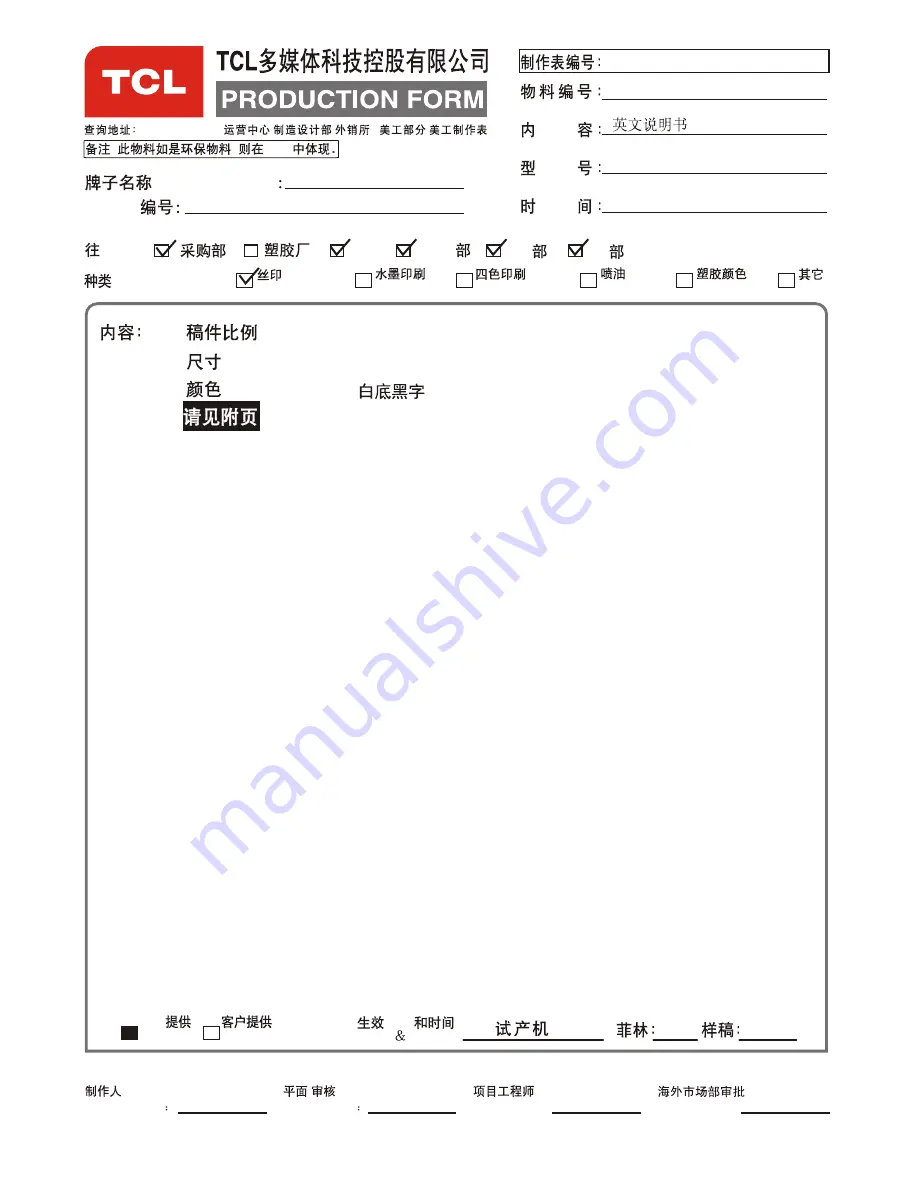
(BRAND NAME)
B.O.M.
i)
ii)
iii)
iv)
(SCALE)
(SIZE)
(COLOUR)
:
:
:
TCL
ODF
ODF
DATE:
1:1
42
(TYPE OF JOB.):
QA
² ¿
Æ ·
² ¿
IQC
PE
² É
¹ º
² ¿
Ï ã
¸ Û
(TO):
CUSTOMER
Silk Screen Printing
Wash Printing
Four-Colour Printing
¹ ¤
³ Ì
² ¿
Spraying Paint
Plastic Colour
TCL
Others
² É
¹ º
² ¿
² É
¹ º
² ¿ ² É
¹ º
² ¿
PMC
A5
--
PREPARED BY
CHECKED BY:
REVIEWED BY:
/
CHECKED BY
H3-32F116Q-USA0WAA


