background image

Copyright ©2004.  All Rights Reserved. TRENDware International, Inc.  

TRENDnet

TRENDware, USA

What's Next in Networking

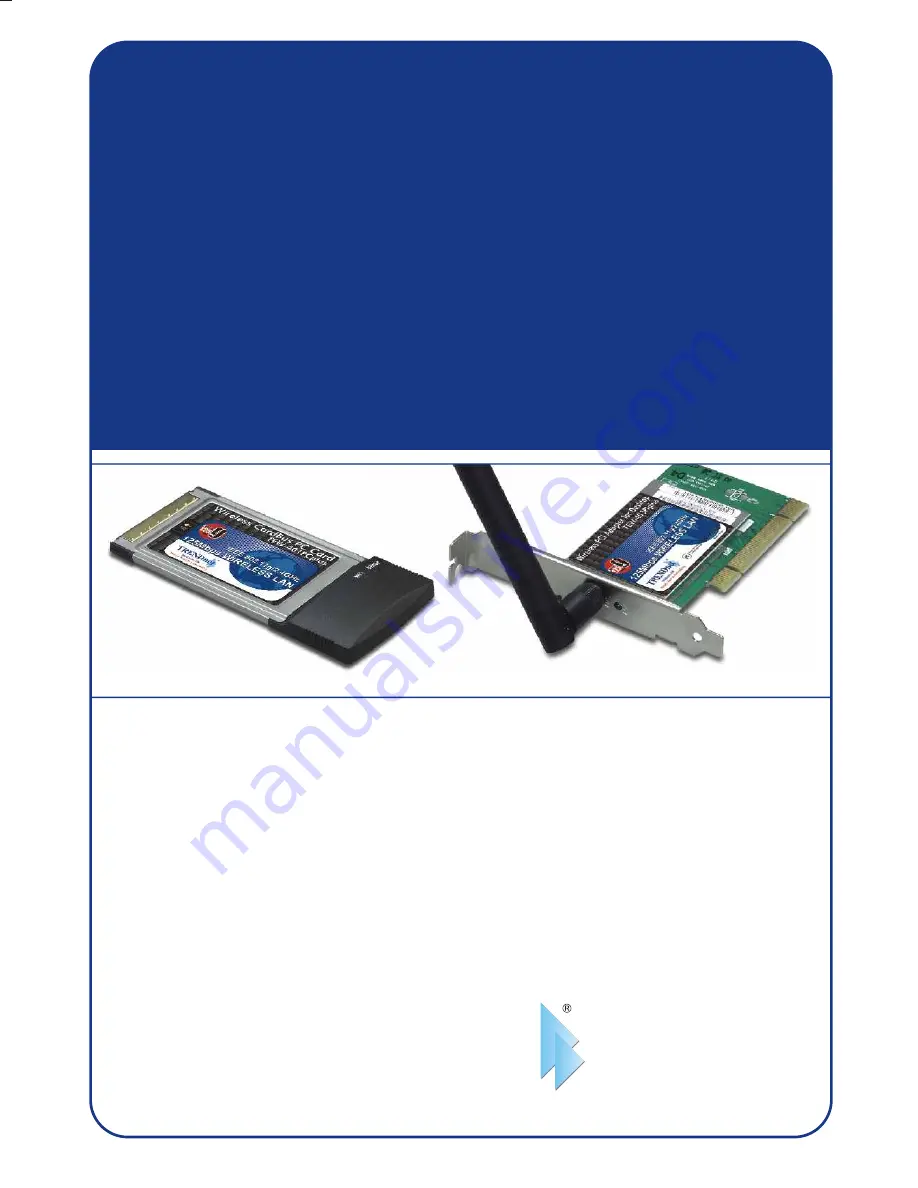
TEW-401PCplus/TEW-403PIplus

Version 06.01.04

125Mbps 802.11g Wireless Cards

Quick Installation Guide

Guide d'installation rapide pour le

Cartes Sans Fil 125Mbps de standard 802.11g

Schnell Anleitung

125Mbit/s 801.11g Wirless Karten 

Guía de Instalación Rápida para

Tarjetas inalámbricas de 125Mbps 802.11g

Summary of Contents for TEW-401PCplus

Page 1: ...king TEW 401PCplus TEW 403PIplus Version 06 01 04 125Mbps 802 11g Wireless Cards Quick Installation Guide Guide d installation rapide pour le Cartes Sans Fil 125Mbps de standard 802 11g Schnell Anleitung 125Mbit s 801 11g Wirless Karten Guía de Instalación Rápida para Tarjetas inalámbricas de 125Mbps 802 11g ...

Page 2: ...Table of Contents English Troubleshooting 1 1 2 5 7 10 18 1 Prepare for Installation 2 Install Wireless Configuration Utility 3 Install Hardware 4 Install Drivers 5 Configure Wireless Utility ...

Page 3: ...ller TEW 401PCplus only 5 802 11g Access Point Infrastructure Mode or another 802 11g wireless adapter Peer to Peer Mode Verify Equipment TEW 403PIplus TEW 401PCplus Utility Driver CD ROM Quick Installation Guide TEW 401PCplus Utility Driver CD ROM Quick Installation Guide TEW 403PIplus with detachable antenna NOTE Do not insert the WLAN Adapter in your computer until you have finished installing ...

Page 4: ...rive the installation menu window will appear automatically If the window does not appear automatically click Start click Run and type E Autorun exe in the text field Click OK 2 On the Installation Menu Select the Wireless Card and click Install Utility button NOTE Replace E in E Autorun exe with whichever letter is assigned to your CD ROM drive ...

Page 5: ...Wizard s instructions to install the wireless configuration utility click Next to start 4 Simply go through the License Agreement and then click Yes to proceed 5 Now the window will load the utility onto your computer click Next to continue ...

Page 6: ...ification will appear Click Yes for Windows 2000 and Continue Anyway for Windows XP to proceed 7 The Configuration Utility has been installed click Finish to complete the installation NOTE For Windows 98SE ME Windows will prompt a message for restarting the computer select No I will restart my computer later and click Finish ...

Page 7: ... slot 3 Reboot your computer If you are installing the TEW 403PIplus Wireless PCI Card Proceed only if you have already completed the steps in Section 2 1 Shut down your computer 2 Open your computer case to reveal the motherboard and expansion slots Please refer to your computer s user manual if you need help opening the case 3 Insert the wireless card into one of motherboard s free PCI slots Pre...

Page 8: ...ish 4 Screw the PCI card s metal bracket into your case with a standard bracket screw Attach the included antenna to the connector on the back of your card 5 Close your computer case and reboot your computer ...

Page 9: ...r automatically 2 After the driver is installed windows will prompt the following message click Yes to save the changes and restart the computer 3 Driver installation is now complete 2 When Digital Signature Not Found Window appears click Yes to continue 3 Driver installation is now completed NOTE TRENDnet s Wireless Adapters have been fully tested under all supported Windows Operating Systems and...

Page 10: ...ver 2 A warning message will tell you that the device you re installing has not yet been certified for Windows XP compatibility Click Continue Anyway Windows XP NOTE TRENDnet s Wireless Adapters have been fully tested under all supported Windows Operating Systems and have been approved for their functionality ...

Page 11: ...9 English 3 Now the driver has been installed click Finish to complete the installation 4 Restart your computer ...

Page 12: ...Access Point Connection 1 Double click the wireless computer icon in your system tray next to the clock in the bottom right corner of your screen 2 From the Wireless Monitor window select Profile Setting tab then click Add 3 Type in a Profile Name and then click Next ...

Page 13: ...work Name and click Next 5 If your wireless network does not require security setting click Next to continue NOTE If you would like to set the Authentication Mode select the option from the drop down menu and make sure the setting matches your wireless network s security settings ...

Page 14: ... Select the Profile you just created and click on the Connect button to connect NOTE IP Setting is Disable means the wireless card will Obtain an IP address automatically from a DHCP server Otherwise please specify an IP address to meet your wireless network s configuration ...

Page 15: ... button If you see connection information your card s wireless configuration is complete 1 Double click the wireless computer icon in your system tray next to the clock in the bottom right corner of your screen Your Wireless Card is now configured and ready for use Ad Hoc Mode PC to PC connection ...

Page 16: ...14 English 2 From the Wireless Monitor window select Profile Setting tab then click Add 3 Create a Profile Name and then click Next ...

Page 17: ...e Authentication Mode select the option from the drop down menu and make sure the setting matches your wireless network s security settings 4 Create a Network Name for your Peer to Peer network and use the drop down menus set the Network Type to Peer to Peer Transfer Rate to Automatic and select a Channel Click Next to continue ...

Page 18: ... 255 255 255 0 NOTE On the second computer follow the same steps 1 9 On step 9 you must specify a different IP address For example you may use the IP address 192 168 1 11 but the Subnet Mask remains 255 255 255 0 16 English 6 If your wireless network does not require security setting click Next to continue 8 Click Complete to finish the configurations ...

Page 19: ... and click More If you see connection information your card s wireless configuration is not complete Your Wireless Network Adapter is now configured and ready for use 17 English 9 Once you have configured both computers for Peer to Peer connection select the Profile Name then click Connect ...

Page 20: ...astly you may consider moving the card to a different PCI PC Card Slot Go to your device manager control panel system to make sure the adapter is installed properly If you see a networking device with a yellow question mark or exclamation point you will need to reinstall the device and or the drivers Troubleshooting If you still encounter problems please refer to the User s Guide CD ROM or contact...

Page 21: ...NDnet TRENDware USA What s Next in Networking Product Warranty Registration Please take a moment to register your product online Go to TRENDware s website at http www TRENDNET com TRENDware International Inc 3135 Kashiwa Street Torrance CA 90505 http www TRENDNET com ...

Reviews: