


1
Before use
CONTENTS
OWNER’S MANUAL
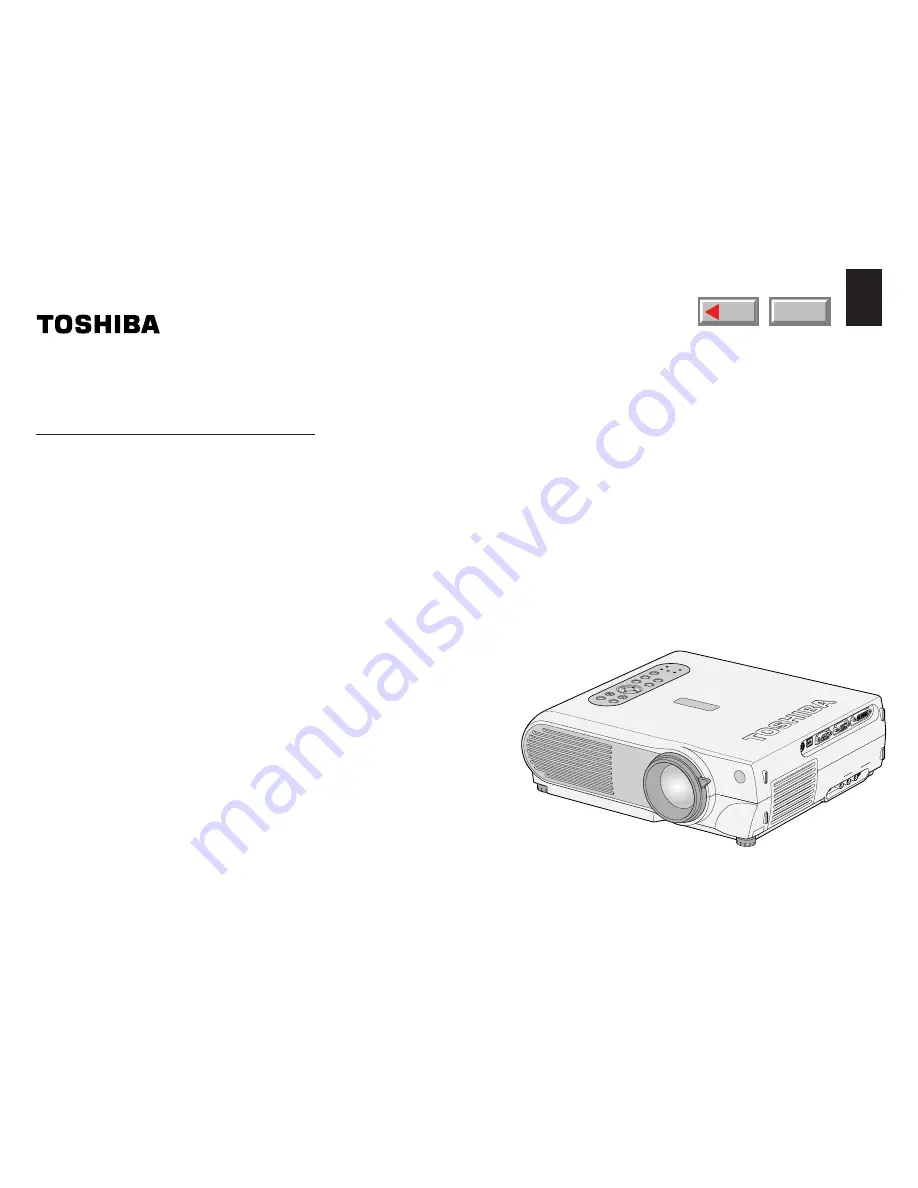
3LCD DATA PROJECTOR
TLP-X10E
TLP-X11E
TLP-X20E
TLP-X21E
TLP-X10Y
TLP-X11Y
TLP-X20Y
TLP-X21Y
(WITH DOCUMENT IMAGING CAMERA)
(WITH DOCUMENT IMAGING CAMERA)
TLP-X10E
TEM
P
LAM
P
ON
BUSY
F A
N
ON/ST
ANDBY
KEYST
ONE
SET
AUT
O
AUT
O
EXIT
ENTER
MENU
INPUT
VOL/ADJ
.
USB
MONIT
OR OUT
COMPUTER IN 1
( Y/P
B
/P
R
)
COMPUTER IN 2
CONTR
OL
S-VIDEO
VIDEO
VIDEO IN
R - A
UDIO - L
AUDIO
IN
AUDIO
OUT
MENU
(WITH DOCUMENT IMAGING CAMERA)
(WITH DOCUMENT IMAGING CAMERA)


