


J2K20101A SH
07/02
K
Following information is only for EU-member states:
The use of the symbol indicates that this product may not be treated as household waste. By ensuring this product
is disposed of correctly, you will help prevent potential negative consequences for the environment and human
health, which could otherwise be caused by inappropriate waste handling of this product. For more detailed
information about recycling of this product, please contact you local city office, your household waste disposal
service or the shop where you purchased the product.
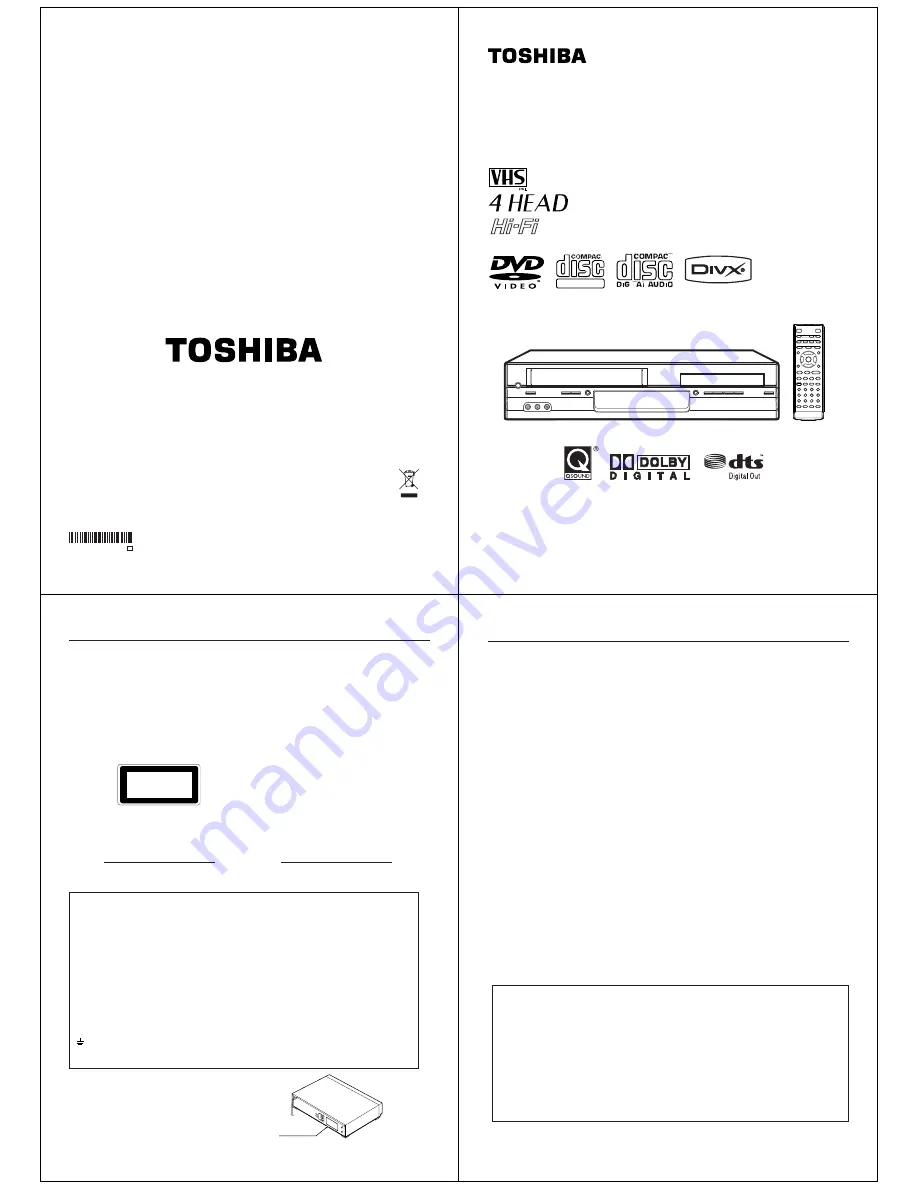
DVD PLAYER
&
Hi-Fi VIDEO
CASSETTE
RECORDER
OWNER’S MANUAL
SD-38VBKB
DIGITAL VIDEO
© 2007 Toshiba Corporation
2
WARNING:
TO REDUCE THE RISK OF FIRE OR ELECTRIC SHOCK, DO NOT EXPOSE THIS
APPLIANCE TO RAIN OR MOISTURE. DANGEROUS HIGH VOLTAGES ARE PRESENT
INSIDE THE ENCLOSURE. DO NOT OPEN THE CABINET. REFER SERVICING TO
QUALIFIED PERSONNEL ONLY.
CAUTION:
This Digital Video Disc Player employs a Laser System.
To ensure proper use of this product, please read this owner’s manual carefully and retain for
future reference. Should the unit require maintenance, contact an authorized service location
-see service procedure.
Use of controls or adjustments or performance of procedures other than those specified herein
may result in hazardous radiation exposure.
To prevent direct exposure to laser beam, do not try to open the enclosure.
Visible and invisible laser radiation when open and interlocks defeated.
DO NOT STARE INTO BEAM.
CAUTION:
Servicing instructions are for use by qualified service personnel only. To reduce the risk of
electric shock do not perform any servicing other than that contained in the operating
instructions unless you are qualified to do so.
In the spaces provided below, record the Model and Serial No. located on the rear panel of your DVD video
player.
Model No.
Serial No.
Retain this information for future reference.
The following information applies only to the model for U.K.
General Information
If the socket outlets in your home are not suitable for the plug supplied with this unit, the plug must be cut off
and an appropriate one fitted.
The plug severed from this mains lead must be destroyed as it is hazardous if inserted into a live socket.
IMPORTANT
The wires in this mains lead are coloured in accordance with the following code:
BLUE: NEUTRAL
BROWN: LIVE
As the colours of the wires in the mains lead of this unit may not correspond with the coloured markings
identifying the terminals in your plug, proceed as follows:
The wire that is coloured blue must be connected to the terminal in the plug which is marked with the letter N
or coloured black.
The wire that is coloured brown must be connected to the terminal which is marked with the letter L or
coloured red.
Do not connect either wire to the earth terminal which is marked by the letter E or by the safety earth symbol
or coloured green or green-and-yellow.
Use a 5A fuse which is approved by ASTA or BSI to BS1362.
Always replace the fuse cover after changing the fuse.
Location of the required label
The rating plate and the safety caution are on the rear of the unit.
CLASS 1
LASER PRODUCT
SAFETY PRECAUTIONS
3
SAFETY PRECAUTIONS
SOME DOS AND DON’TS ON THE SAFE USE OF EQUIPMENT
This equipment has been designed and manufactured to meet international safety standards but, like any electrical
equipment, care must be taken if you are to obtain the best results and safety is to be assured.
**************
DO
read the operating instructions before you attempt to use the equipment.
DO
ensure that all electrical connections (including the mains plug, extension leads and inter- connections between
the pieces of equipment) are properly made and in accordance with the manufacturer’s instructions. Switch off and
withdraw the mains plug before making or changing connections.
DO
consult your dealer if you are ever in doubt about the installation, operation or safety of your equipment.
DO
be careful with glass panels or doors on equipment.
DO
place the unit close to the AC outlet, and keep the mains plug within reach.
**************
DON’T
remove any fixed cover as this may expose dangerous voltages.
DON’T
obstruct the ventilation openings of the equipment with items such as newspapers, tablecloths, curtains, etc.
Overheating will cause damage and shorten the life of the equipment.
DON’T
allow electrical equipment to be exposed to dripping or splashing, or objects filled with liquids, such as vases,
to be placed on the equipment.
DON’T
place hot objects or naked flame sources such as lighted candles or nightlights on, or close to equipment.
High temperatures can melt plastic and lead to fires.
DON’T
use makeshift stands and NEVER fix legs with wood screws - to ensure complete safety always fit the
manufacturer’s approved stand or legs with the fixings provided according to the instructions.
DON’T
listen to headphones at high volume, as such use can permanently damage your hearing.
DON’T
leave equipment switched on when it is unattended unless it is specifically stated that it is designed for
unattended operation or has a stand-by mode. Switch off using the switch on the equipment and make sure that your
family know how to do this. Special arrangements may need to be made for infirm or handicapped people.
DON’T
continue to operate the equipment if you are in any doubt about it working normally, or if it is damaged in any
way -switch off, withdraw the mains plug and consult your dealer.
ABOVE ALL
—NEVER let anyone especially children push anything into holes, slots or any other opening in the case -
this could result in a fatal electrical shock;
—NEVER guess or take chances with electrical equipment of any kind
—it is better to be safe than sorry!
*************
EXCLUSION CLAUSE
Toshiba shall under no circumstances be liable for loss and/or damage to the product caused by:
i)
fire;
ii)
earthquake;
iii)
accidental damage;
iv)
intentional misuse of the product;
v)
use of the product in improper conditions;
vi)
loss and/or damage caused to the product whilst in the possession of a third party;
vii)
any damage or loss caused as a result of the owner’s failure and/or neglect to follow the instructions set out
in the owner’s manual;
viii) any loss or damage caused directly as a result of misuse or malfunction of the product when used simultane-
ously with associated equipment;
Furthermore, under no circumstances shall Toshiba be liable for any consequential loss and/or damage including
but not limited to the following, loss of profit, interruption of business, the loss of recorded data whether caused
during normal operation or misuse of the product.


