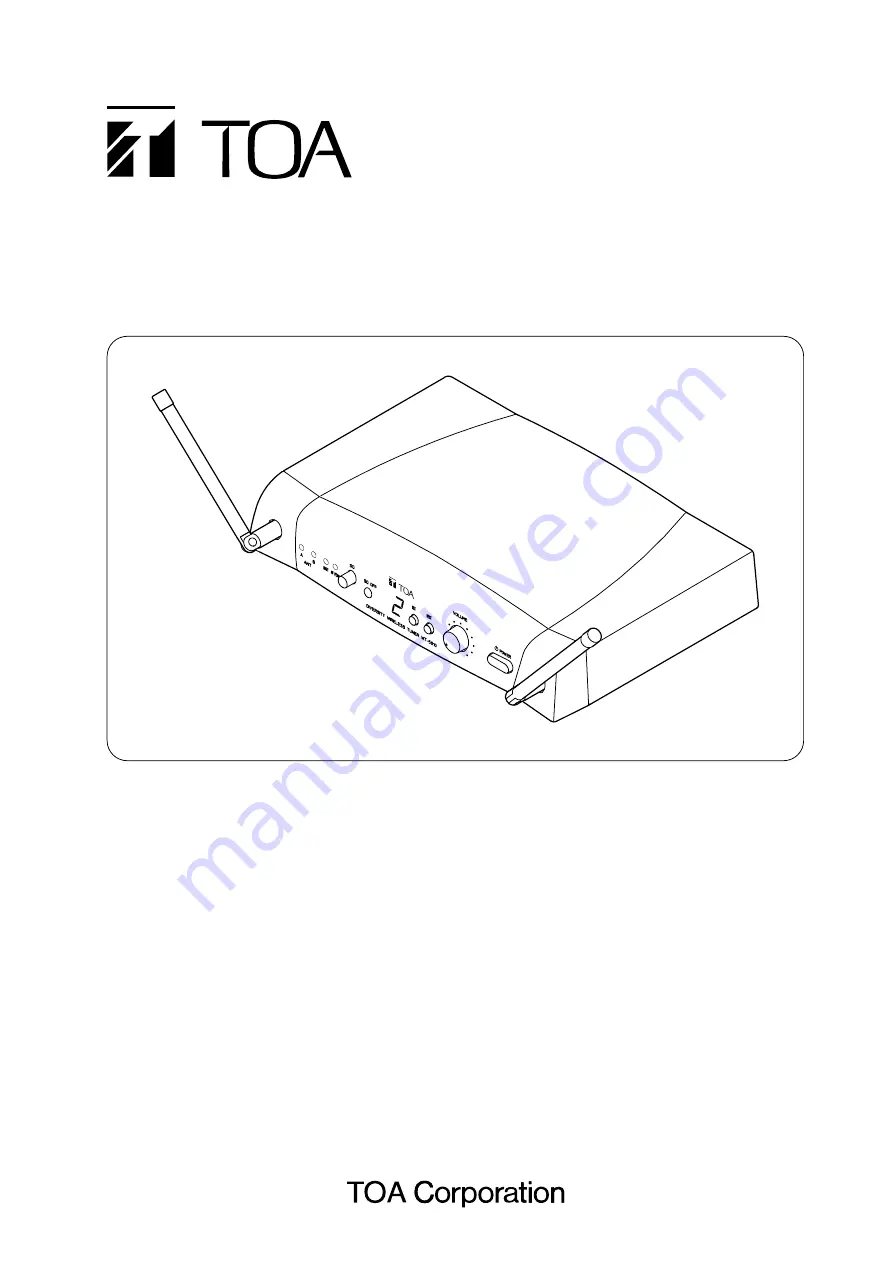
background image

OPERATING INSTRUCTIONS

WIRELESS TUNER

WT-5810

1. SAFETY PRECAUTIONS 

........................... 2

2. GENERAL DESCRIPTION 

......................... 3

3. FEATURES 

................................................. 3

4. HANDLING PRECAUTIONS 

...................... 3

5. NOMENCLATURE AND FUNCTIONS

Front ............................................................ 4
Rear ............................................................. 4

6. OPERATION 

............................................... 5

7. CHANNEL NUMBER SETTING 

................. 6

8. HOW TO CHECK AND DEAL 

WITH INTERFERENCE

8.1. Order of Actions (Action Flowchart) ..... 6
8.2. Checking Ambient Signal Condition ..... 7
8.3. Reducing Radio Interference 

by the Squelch Control ......................... 7

9. SPECIFICATIONS 

...................................... 8

Accessory .................................................... 8

Thank you for purchasing TOA's Wireless Tuner. 
Please carefully follow the instructions in this manual to ensure long, trouble-free use of your equipment.

TABLE OF CONTENTS

Summary of Contents for WT-5810

Page 1: ...L NUMBER SETTING 6 8 HOW TO CHECK AND DEAL WITH INTERFERENCE 8 1 Order of Actions Action Flowchart 6 8 2 Checking Ambient Signal Condition 7 8 3 Reducing Radio Interference by the Squelch Control 7 9 SPECIFICATIONS 8 Accessory 8 Thank you for purchasing TOA s Wireless Tuner Please carefully follow the instructions in this manual to ensure long trouble free use of your equipment TABLE OF CONTENTS ...

Page 2: ... damage To prevent lightning strikes install the unit at least five meters away from a lightning rod and yet within the protective range angle of 45 of the lightning conductor Lightning strikes may cause a fire electric shock or personal injury Since the unit is designed for in door use do not install it outdoors If installed outdoors the aging of parts causes the unit to fall off resulting in per...

Page 3: ...cally In addition insert the plug in the wall outlet securely Switch off the power and unplug the power supply plug from the AC outlet for safety purposes when cleaning or leaving the unit unused for 10 days or more A fire or electric shock may result 2 GENERAL DESCRIPTION The WT 5810 Wireless Tuner is designed for use on the UHF band and suitable for vocal or speech reinforcement applications It ...

Page 4: ...int about 3 dB below the clipping level 6 Squelch control Adjusts the squelch level 7 RF check button Switches off the squelch for monitoring the receiving frequency 8 Channel number display Indicates the current channel number in normal state In setting mode the indicated channel number flashes until registered 9 Channel setting keys SET and NEXT keys Used to select the receiving channel frequenc...

Page 5: ...e battery cover down to open it in the case of the lavaliere microphone Step 2 Turn on the power of the tuner and microphone Step 3 Adjust the microphone s audio level control using a screwdriver The sensitivity increases as the control is rotated clockwise and decreases as rotated counterclockwise Step 4 Set the volume control so that its knob points to the 2 o clock position If the AF peak lamp ...

Page 6: ...sed Refer to p 7 8 2 Checking Ambient Signal Condition Refer to p 7 8 3 Reducing Radio Interference by the Squelch Control Use as is Refer to p 6 7 CHANNEL NUMBER SETTING Use as is Use as is 7 CHANNEL NUMBER SETTING Step 1 Press the Set key for about a second until the displayed channel number blinks Step 2 Select the desired channel number with the NEXT key and press the Set key for about a secon...

Page 7: ...s the squelch function that virtually eliminates ambient noise and unwanted other wireless microphone systems by silencing the output when the signal received is lower than a certain level of signal strength This signal strength level can be varied by means of the squelch control The sensitivity is the highest and radio signals can be received in wide areas when the control is in the fully counter...

Page 8: ...ssory AC DC adapter 1 8 4 Channel Detection Step 1 Press the Set key and the Next key at the same time for over a second Channel detection begins and an idle channel number is indicated blinking on the channel number display Step 2 Press the Next key to select the channel Step 3 To set the channel to the unit press the Set key for over a second until the blinking number turns to steady light 8 5 R...

Reviews: