ThermoTex Nagel GmbH
Schutterstraße 14, D-77746 Schutterwald
Tel.: +49 (0)781/9616-0, Fax: +49 (0)781/9616-50
[email protected], www.thermo-tex.de
GBTT4SBA.002
Operating manual for
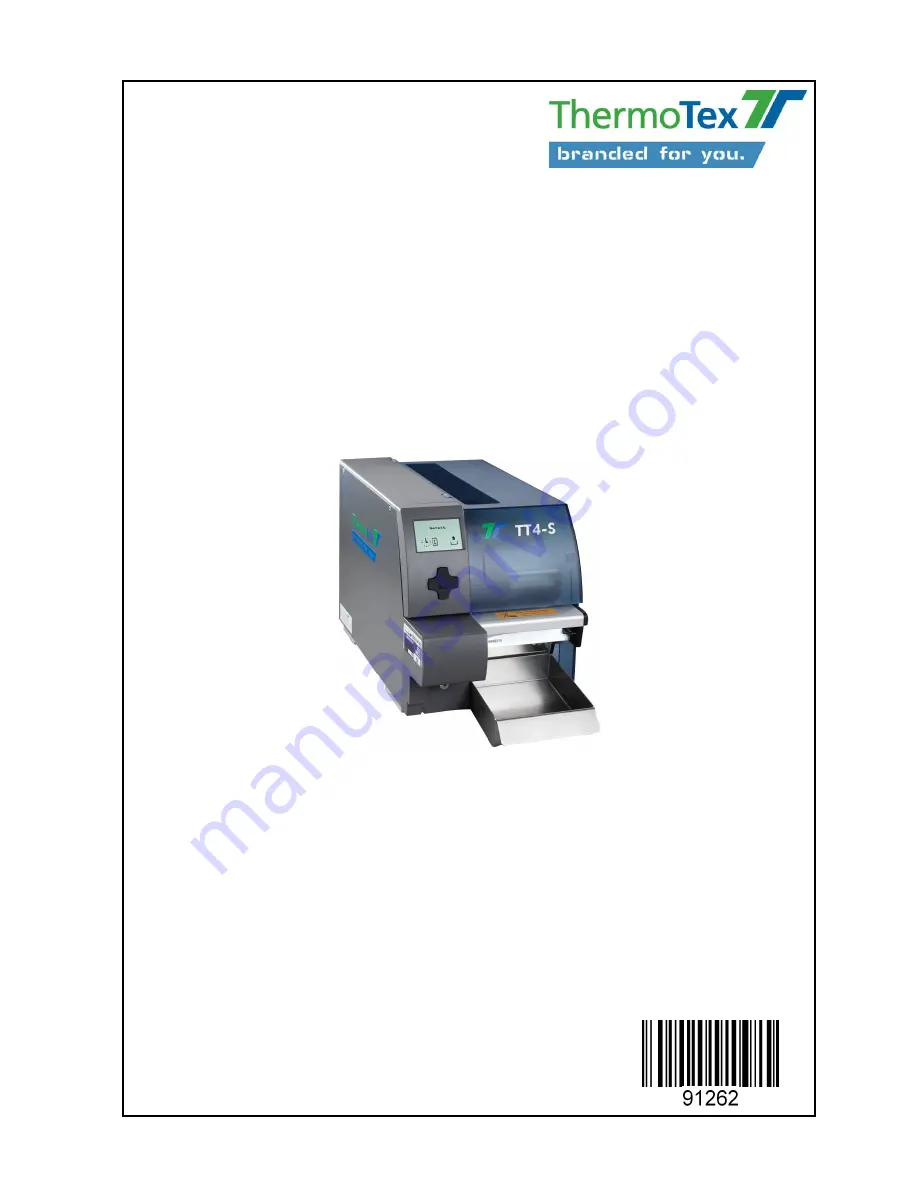
TT4-S
- Translated version of the original operating manual -
The ThermoTex TT4-S is a cutting-edge device designed for effective pain relief and muscle relaxation at home. Enhance your comfort with our versatile and user-friendly product. To ensure optimal usage, we provide a comprehensive Operating Manual for free download at manualshive.com, allowing you to fully explore the benefits of ThermoTex TT4-S.
ThermoTex Nagel GmbH
Schutterstraße 14, D-77746 Schutterwald
Tel.: +49 (0)781/9616-0, Fax: +49 (0)781/9616-50
[email protected], www.thermo-tex.de
GBTT4SBA.002
Operating manual for
TT4-S
- Translated version of the original operating manual -