


Software Version 05.04.1
, Document #13-280138 Rev. H
February 2014
Teo Technologies, Inc.
11609 49
th
Place West
Mukilteo, WA 98275-4255
(800) 524-0024 (425) 349-1000
Fax (425) 349-1010
www.teotech.com
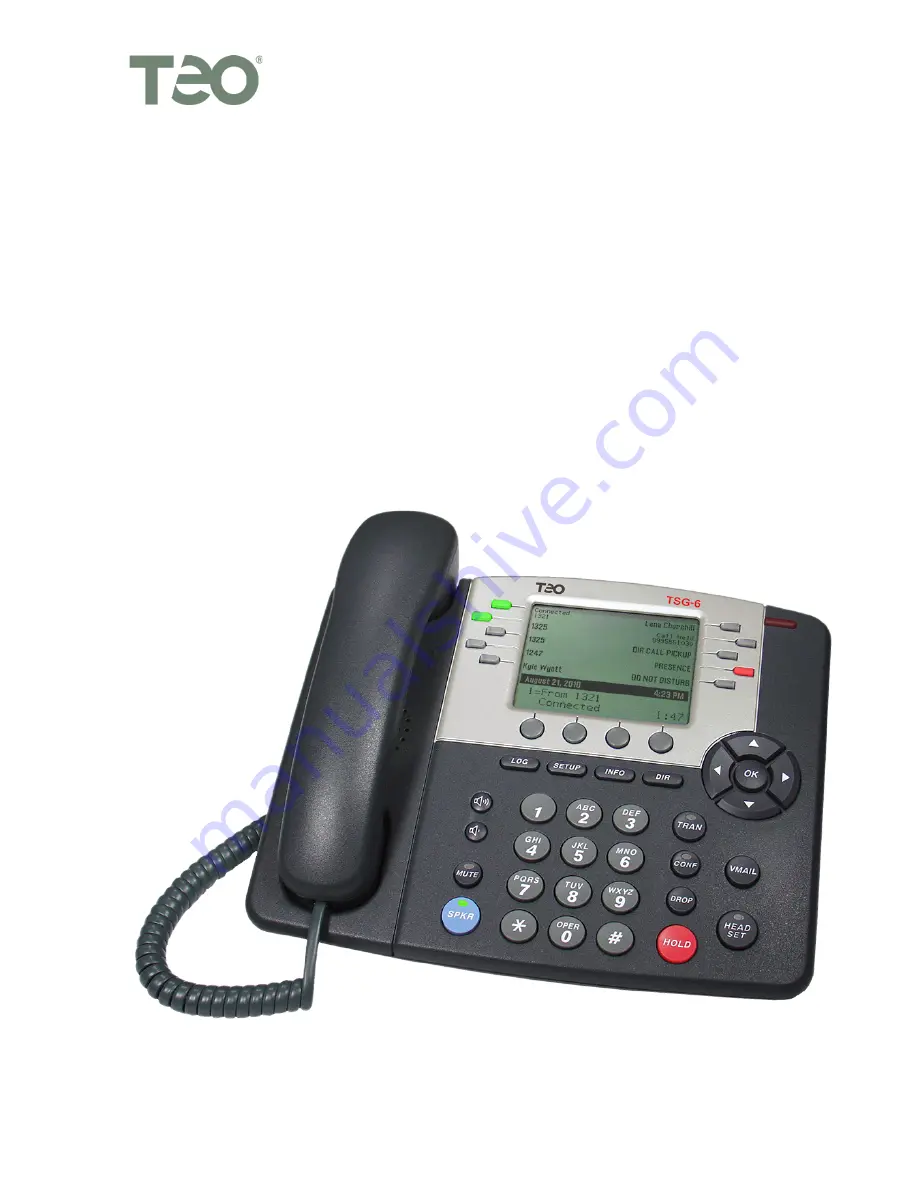
I
I
P
P
P
P
h
h
o
o
n
n
e
e
7
7
8
8
1
1
0
0
T
T
S
S
G
G
S
S
e
e
r
r
i
i
e
e
s
s
I
I
n
n
s
s
t
t
a
a
l
l
l
l
a
a
t
t
i
i
o
o
n
n
I
I
n
n
s
s
t
t
r
r
u
u
c
c
t
t
i
i
o
o
n
n
s
s
Summary of Contents for 7810
Page 4: ...Teo IP Phone 7810 TSG Series Installation Instructions Page 4 13 280138 Rev H ...
Page 10: ...Teo IP Phone 7810 TSG Series Installation Instructions Page 10 13 280138 Rev H ...
Page 22: ...Teo IP Phone 7810 TSG Series Installation Instructions Page 22 13 280138 Rev H ...
Page 64: ...Teo IP Phone 7810 TSG Series Installation Instructions Page 64 13 280138 Rev H ...
Page 82: ...Teo IP Phone 7810 TSG Series Installation Instructions Page 82 13 280138 Rev H ...


