background image


Telstra IP Telephony Media Phone VVX500 Feature Guide May 2012


1


Telstra IP Telephony - Media Phone VVX 500 Feature Guide 

1.


QSetup (Quick setup) 

If you are required to initially configure you IP 

phone you will be advised of the Username and 

Password.  This information only needs to be 

entered once via the QSetup soft key. 


Tap the 

QSetup

 soft key 


Tap the 

Server User 

 field 


Enter the Server User credentials (obtain 

this information from Telstra.   

This number will be your phone number) 


Tap the 

Server Password 

 field 


Tap the 

Mode

 soft key and tap 

123

 (to 

select numbers) 


Enter the Server password (obtain this 

information from Telstra) 


Tap 

Save Config

 to Save the Config 

You will now need to manually reboot the 

phone 


Press the 

Home

 button 


Tap 

Settings


Tap  

Basic

 , swipe your finger up the screen 

and 


Tap  

Restart


Phone


Tap the 

Yes

 soft key (to confirm) 

2.  The


Touch screen


Your phone has a touch-sensitive screen.  To 

access features or obtain information, 

tap 

the 

menu items, soft keys (the keys along the 

bottom of the touch screen) and field that 

display on the touch screen 

To access further screens, 

swipe 

the screen 

(move your finger across the screen), either left 

or right to display further screens 


3.  Navigating the Touch screen 


To enter the Home View main menu, 

press


To return to the Line View, 

press


To select a menu item, 

tap

 the menu icon 


To select a soft key, tap the 

soft key


To select an option in a list, 

tap

 the option  


To scroll through menu items listed on 

more than one screen, 

touch 

the screen  

and drag your finger in the required 

direction 

(Up, Down, Left or Right)


OR 


Swipe

 the screen, by moving your finger 

across the screen in right  to


left or left to


right motion to display further screen 

options


To return to previous screen, tap

 Back  


4.  Adjusting the Ringer, Handset/Headset  
Volume 


During a call, press the 

 to adjust 

the call volume 


While the phone is idle, to adjust the Ringer 
volume, press the 

 volume buttons. 


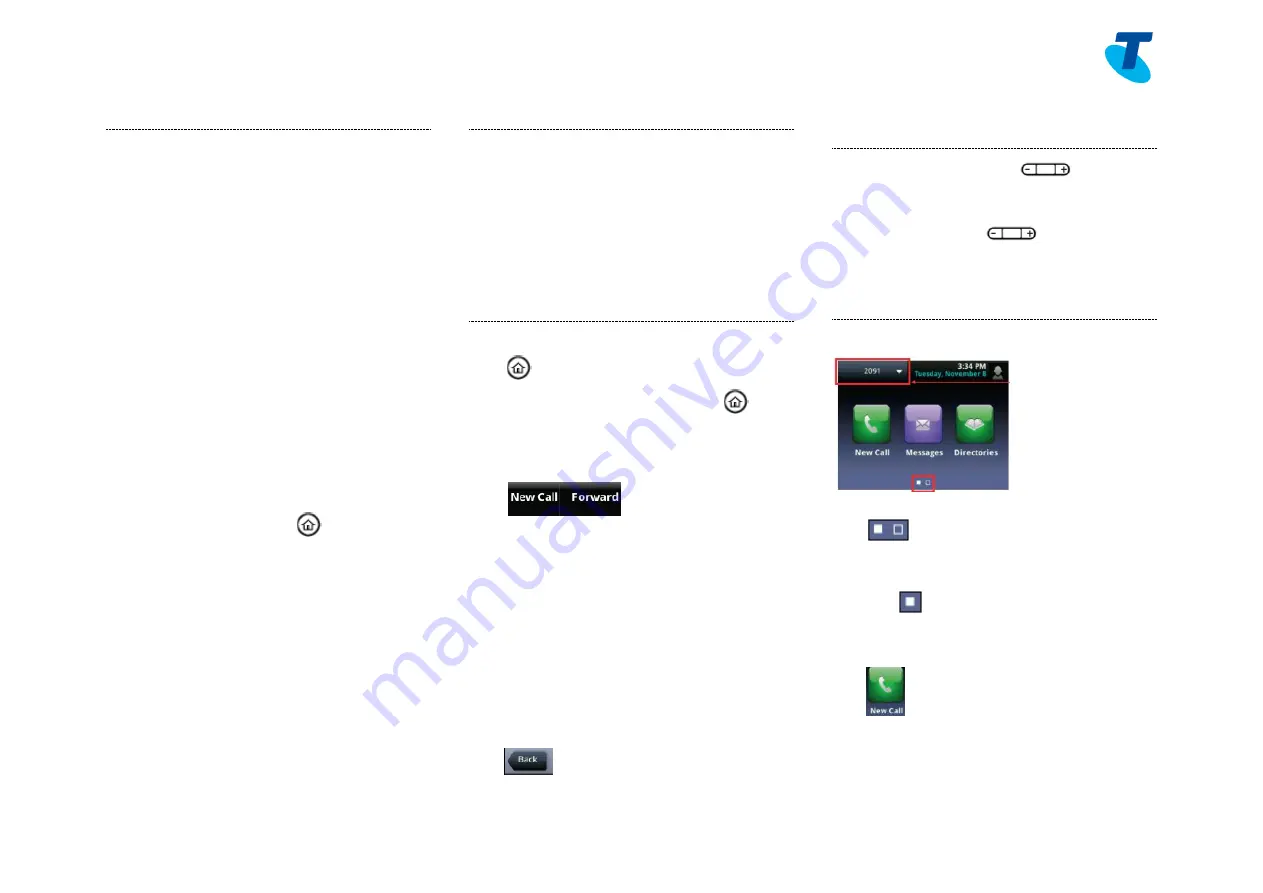
5.  Home View 

Home View shows 3 main icons: 


If you press and hold the page indicator, 

Home View expands to display 

additional icons 


To hide the additional icons, press and 

hold


Alternatively, you can 

Swipe

 the screen to 

display additional cons 


  New Call 


Tap 

New Call

  to display 

Dialler


From the Dialler, you can enter a number 

or URL and place a call 


Summary of Contents for VVX500

Page 1: ... that display on the touch screen To access further screens swipe the screen move your finger across the screen either left or right to display further screens 3 Navigating the Touch screen To enter the Home View main menu press To return to the Line View press To select a menu item tap the menu icon To select a soft key tap the soft key To select an option in a list tap the option To scroll throu...

Page 2: ... you can Tap a phone line to access the Dialer Swipe to switch between Line View and Idle browser if available If your phone has calls the phone line indicates the number of calls you have and if they are active or held An active call displays a green bar A held call displays a flashing red bar 7 Active Call View This view displays the name and number of the person you are talking with and the dur...

Page 3: ... hold to select it Tap the Resume soft key or press the Hold button To join all three parties onto an impromptu conference call With 2 calls in progress 1 call on hold and 1 call active Tap Join 13 Muting the microphone While Mute is activated you can hear all other parties however they cannot hear you During a call press the mute button The mute button is illuminated in red To turn off mute press...

Page 4: ...umber if you are engaged on a call Tap the Forward soft key Tap Busy Enter the required number to which to forward your calls Tap the Enable soft key Call Forward Busy deactivation Tap the Forward soft key Tap Busy Tap Disable Call Forwarding is not available on Shared Lines 17 Do Not Disturb activation When you enable Do Not Disturb DND you prevent your phone from ringing and send all incoming ca...

Page 5: ...u do not want to answer the second incoming call Tap the Reject icon call will go directly to Voice Mail OR Tap Ignore soft key this will re direct call to Voice Mail after a nominated amount of rings OR Tap Forward then enter a number you wish to forward the incoming call to then tap forward incoming call will be forwarded to nominated number You cannot receive additional calls while both lines a...

Page 6: ...Yes to confirm deletion 22 Call History Your phone maintains lists of Missed Received and Placed calls Each list can hold up to 100 entries Call History icons Missed Calls Received Calls Placed Calls Tap History icon in active call view will show call history starting from most recent call To scroll through Recent call list touch screen and drag list in required direction From recent call list tap...

Page 7: ...an switch to handset or speaker mode Tap Settings icon Tap Basic Tap Preferences Tap Headset Tap Headset memory Tap Enabled soft key Press To access Headset memory mode press headset key twice The headset button will flash when enabled 27 Warning icon If your phone is unable to perform certain tasks a warning icon will display in the status bar The warning icon lets you know that your phone has on...

Page 8: ...rn to Voice Messaging main menu Repeat menu 34 Change your mailbox No Answer greeting Tap the Messages icon Enter your passcode and press Press 1 to access your voice mailbox Press 3 to change your Mailbox No Answer greeting 1 Record new No Answer Greeting 2 Listen to current No Answer Greeting 3 Revert to system default No Answer Greeting Return to Voice Messaging main menu Repeat menu 35 Listen ...

Page 9: ...ter the assigned code 72 Type the phone number to which calls will be forwarded followed by Replace the telephone handset The Call Forwarding Always service is on 39 Call Forwarding Always Deactivation Lift the telephone handset Enter the assigned code 73 Replace the telephone handset The Call Forwarding Always service is off 40 Call Forwarding Busy Activation Lift the telephone handset enter the ...

Page 10: ...on Hold Enter the assigned code 68 Type the extension of phone on which the call is to be parked Replace the telephone handset The call is parked at the indicated extension 51 Call Park Retrieve Lift the telephone handset enter the assigned code 88 Dial the number where the call was parked followed by You are connected with the call you parked 52 Call Pickup Lift the telephone handset enter the as...

Page 11: ...ft the telephone handset enter the assigned code 50 Dial the intended phone number The Push to Talk call is connected Note This feature can be used between 2 users This feature needs to be configured by the Customer Group Administrator in CommPilot 64 Clear Voice Message Waiting Indicator Lift the telephone handset Enter the assigned code 99 The visual message waiting indicator light on your phone...

Page 12: ...Press the shared line to activate Enter the assigned code 12 To deactivate a shared line location Press the shared line to deactivate Enter the assigned code 13 Note When a shared line location has been deactivated the line indicator will still flash red for an incoming call however the phone will not ring and the call cannot be answered from the flashing line With a shared line location being dea...

Reviews: