Synology DS3611xs, Quick Installation Manual
The Synology DS3611xs is a powerful network attached storage (NAS) solution designed for large-scale businesses. Ensure a hassle-free setup with the Quick Installation Manual, available for free download at manualshive.com. This essential manual provides step-by-step instructions to effortlessly install and maximize the capabilities of your DS3611xs.
Share
Download


Reviews:
No comments
Related manuals for DS3611xs
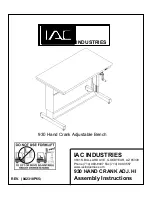
930
Brand: IAC INDUSTRIES Pages: 8

TOWERRAID TR5M1
Brand: Sans Digital Pages: 82

UltraHD 20296
Brand: Seville Classics Pages: 7

Nexsan Unity
Brand: Nexsan Pages: 76

Biometric Hard Drive
Brand: LaCie Pages: 44

SM192
Brand: Campbell Pages: 30

TS7650 PROTECTIER DEDUPLICATION APPLIANCE
Brand: IBM Pages: 218

Universal Working Table WT 840
Brand: Elektra Beckum Pages: 4

SLR AUTOLOADER PROGRAMMER
Brand: Tandberg Data Pages: 62

STORY Station
Brand: Samsung Pages: 35

SC9000
Brand: Dell Pages: 18

SC180
Brand: Dell Pages: 37

Storage Center SCv2000
Brand: Dell Pages: 110

SC5020
Brand: Dell Pages: 15

SD7000-S
Brand: Dell Pages: 129

PowerVault TL1000
Brand: Dell Pages: 192

SCv2080
Brand: Dell Pages: 49

SCv3000
Brand: Dell Pages: 109


