Cabinet Mount Vanity Tops & Bowls
Product Warnings
Safety Guidelines
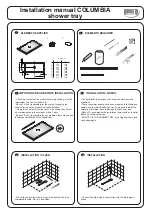
Kit Contents
Required Tools
Preparation Tips
Installation Procedure
Cleaning & Maintenance
Surface Repair
Warranty Information
Register your warranty at www.swanstone.com.
Read and Underst
and
Before Inst
alling
Form #255-1
Models:
Chesapeake Vanity (Single Bowl)
Chesapeake Vanity (Double Bowl)
Contour Vanity (Single Bowl)
Ellipse Vanity (Single Bowl)
Ellipse Vanity (Double Bowl)
Europa Vanity (Single Bowl)
Hilo Vanity Bowl
Islandia Vanity Bowl
Palladio Above-Counter Washbasin
Summary of Contents for Chesapeake Vanity
Page 19: ......