


User
User
’
’
s Manual
s Manual
MPEG4 DVR SERIES_V0.989
Please read instructions thoroughly before operation and retain it for future reference.
150
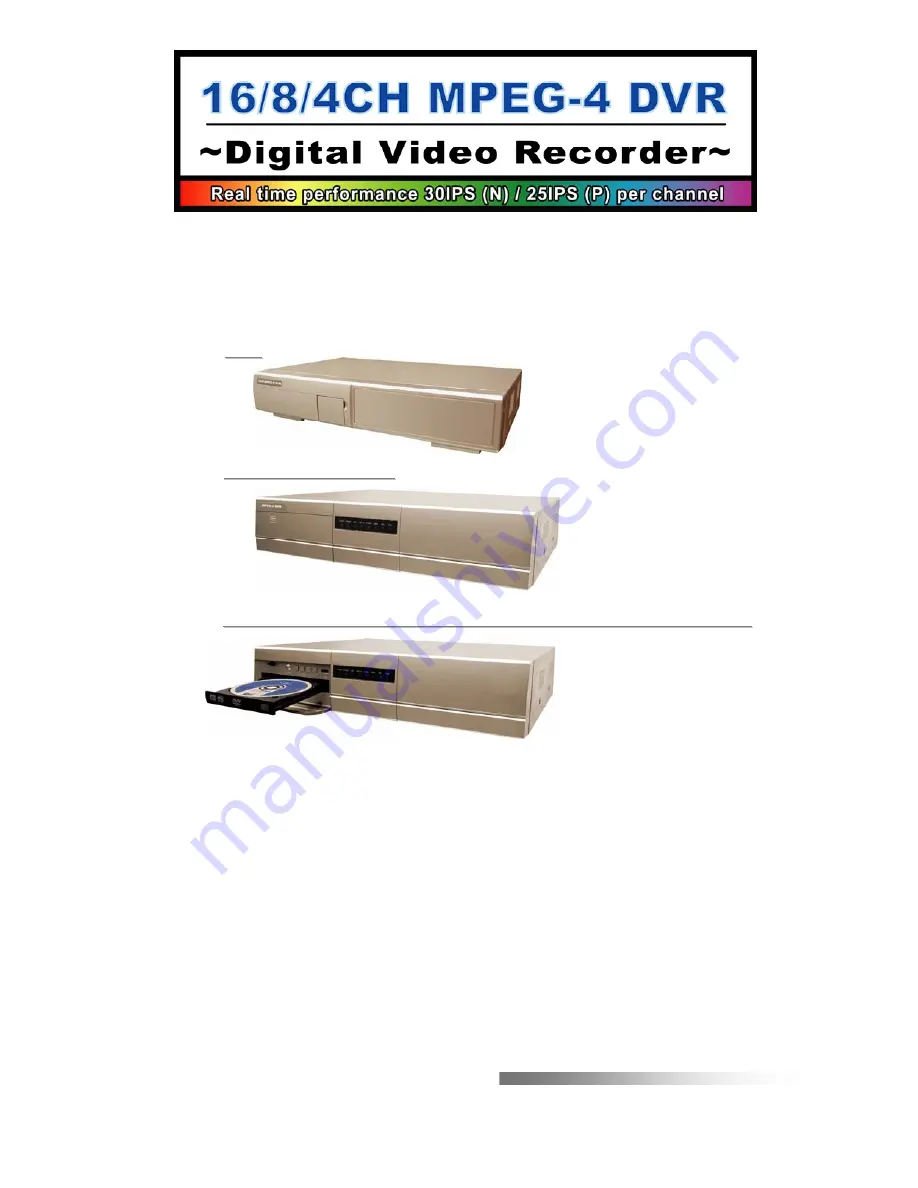
16CH / 8CH / 4CH
16CH / 8CH / 4CH
4CH
4CH
16CH / 8CH / 4CH Built
16CH / 8CH / 4CH Built
-
-
in DVD
in DVD
-
-
RW Writer or CD
RW Writer or CD
-
-
RW Writer
RW Writer
Summary of Contents for 16CH
Page 60: ......


