background image

CV502-4CH

1  

SVAT ELECTRONICS

now you can see

QUICK START GUIDE

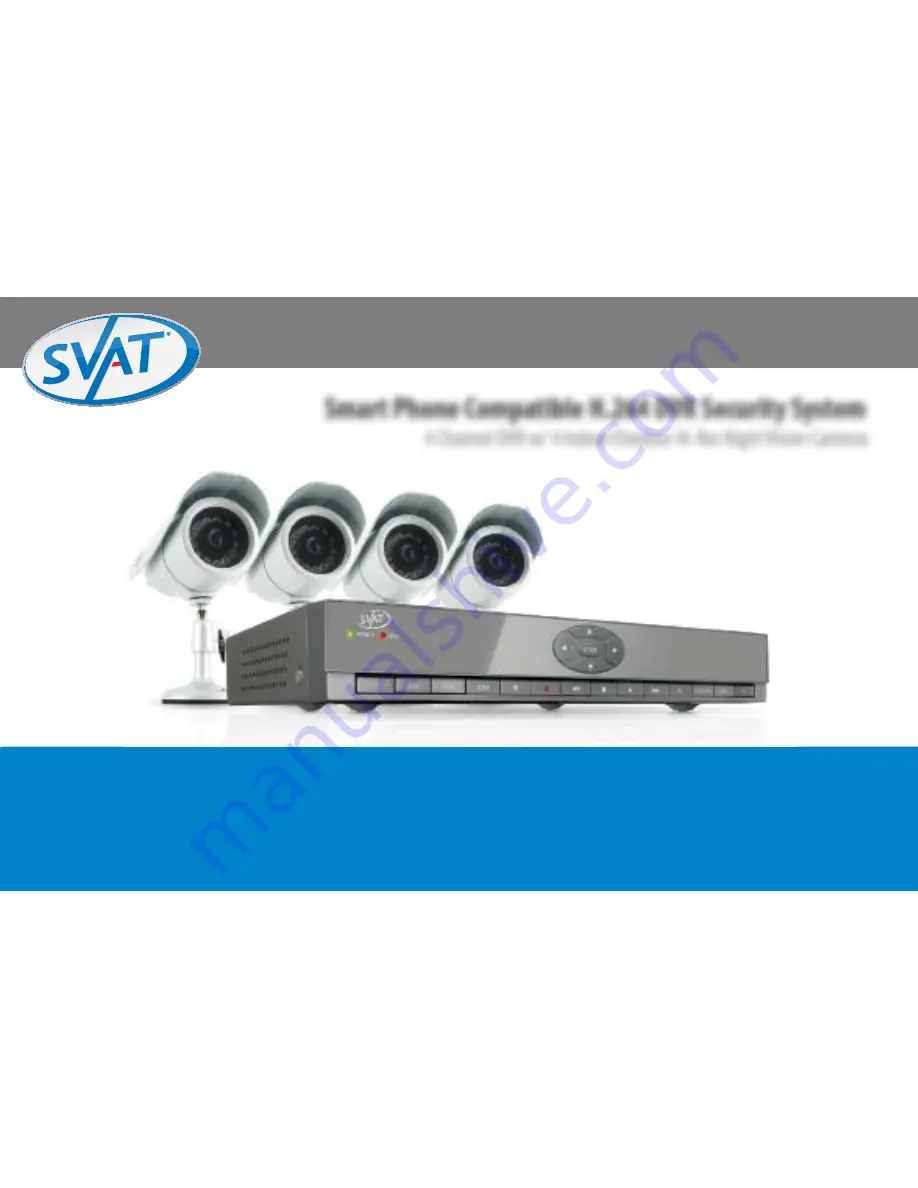
Smart Phone Compatible H.264 DVR Security System

4 Channel DVR w/ 4 Indoor/Outdoor Hi-Res Night Vision Cameras

Congratulations on your purchase of the CV502-4CH! This user friendly system will allow you to monitor and protect your home or business.  The coaching iMenu makes setting 

up and using your DVR very easy with helpful information bubbles that appear to assist you.  The CV502-4CH comes equipped with H.264 compression which allows you to record 

and store more footage using less space, so you will never miss an important event. This manual was written to ensure that you get the most out of your CV502-4CH DVR. 

QUICK START GUIDE

Summary of Contents for CV502-4CH

Page 1: ... will allow you to monitor and protect your home or business The coaching iMenu makes setting up and using your DVR very easy with helpful information bubbles that appear to assist you The CV502 4CH comes equipped with H 264 compression which allows you to record and store more footage using less space so you will never miss an important event This manual was written to ensure that you get the mos...

Page 2: ...ing scenario by rotating it to the required position 2 Screw the mounting bracket into the camera s mounting hole turning it clockwise 3 Mount the camera in the desired location no more than 60 ft from the DVR unless you have purchased additional wiring You may mount the cameras on a wall ceiling or desk 4 Ensure that the cameras are strongly secured into the wall 5 Adjust cameras to the desired v...

Page 3: ...onnect the 4PIN DIN female connection on the camera E into the 4PIN DIN male connection on the 60ft video power wire F 4 Plug the power jack G from the 60ft video power wire into one of the ports of the four port power supply D 5 Attach the BNC to RCA connector L to the video inputs J on the back of the DVR 6 Connect the yellow male RCA plug H from the 60 ft cable to the BNC to RCA K connector on ...

Page 4: ...utlet recommended 3 Insert the power supply wire into the rear DC 12V port on the DVR After a few seconds the splash screen will appear and the DVR will start up Connect to a power source FormoreinformationonbasicsetuppleaseseePg 9 10ofmanual CONNECTING A MONITOR 1 Connect a BNC to RCA connector to the topVIDEO OUT connection on the back of the DVR 2 Plug the RCA cable into the BNC connector 3 Att...

Page 5: ...he included USB mouse makes using the CV502 4CH simple and efficient Using the mouse will make controlling the DVR very similar to using a computer It will allow you to easily click on items to select them and make desired changes The mouse is not necessary for operation MakesurethatthemouseisconnectedtothetopUSBport onthebackoftheDVRbeforepoweringon Full Screen Quad Screen VIEWINGYOUR CAMERAS By ...

Page 6: ...ess select on the remote or press enter on the front of the DVR MAIN MENU Formoreinformationonthe functionmenupleaseseePg 12ofthemanual FUNCTION MENU 1 Byrightclickingthemouse To access items on this menu with the mouse move the mouse pointer over the option to highlight it and left click To exit move the pointer off the menu and left click 2 Pressingselectontheremote To access items on this menu ...

Page 7: ...indows XP Vista or newer The brand and model number of your router this is usually located on the back or bottom of the router The port web port and IP address that the DVR is programmed to run off of To view what ports are being used with your DVR see the network setup menu on your DVR 1 Power off the DVR by removing the power cable from the back of the DVR 2 Connect the included network cable to...

Page 8: ...omatically retrieve an IP address from the router that it is connected to Unless your network requires a static IP address leave the DVR IP mode set as DHCP ONCEACQUIRED YOURIPADDRESS WILLAPPEARHERE Note IfyourrouterdoesnotsupportDHCP contactyour networkadministratortosupplyyouwiththeproperIP information IftheDVRneedstostorePPPoE DSL ADSL settingscontactyourISP InternetServiceProvider forthe prope...

Page 9: ...not marked as safe PROMPT Run ActiveX controls and plug ins ENABLE Script ActiveX controls marked safe for scripting ENABLE Ifthisisanoption Allow automatic prompting for file and code downloads ENABLE 1 Open up Internet Explorer 2 Click onTOOLS 3 Click on INTERNET OPTIONS 4 Click on the SECURITY tab then click on the CUSTOM LEVEL button in this tab 6 Click OK 7 Click Apply 8 Close out of the Opti...

Page 10: ...l need to uncheck the selection box TheIPaddressusedintheexampleaboveisforinternal networkviewing IfyouaretryingtoaccesstheDVRfroma remotelocationyouwilladdthe ExternalIPAddress tothe trustedsiteslist See TestingPortForwarding Pg 15 9 Change the default settings for theTRUSTED SITES zone to low Click on DEFAULT LEVEL and change the security level of the zone to low This can be done by sliding the ...

Page 11: ...r is not connected to the same router and is at a remote location you will need to use the external IP address for the DVR to view the DVR from that computer NETWORKING GUIDE Log in to the DVR Using Internet Explorer By default the DVR will require a user to input a password before being able to view the DVR online The default password for the web interface of the DVR is 123456 Installing the Acti...

Page 12: ...ven in the pop up window 5 Once you have completed the port forwarding steps found in the online networking guide seeTESTING PORT FORWARDING Select your DVR CV502 4CH Select your router model Follow instructional video PLEASE MAKE SURETO FORWARD PORTS 80 AND 9000 FOR ONLINEVIEWING IFYOUWOULD LIKETO USE MOBILEVIEWING BE SURETO FORWARD PORT 1024 ASWELL NETWORKING GUIDE VIEWINGYOUR DVR OUTSIDE OFYOUR...

Page 13: ...a list of programs that require port forwarding you can select any type of system as the instructions for port forwarding are the very similar for all products 6 Follow the step by step instructions for your router on www portforward com Be sure to use the set ports on the DVR Default Port 80 and 9000 The instructions will walk you through the port forwarding process from start to finish Yourroute...

Page 14: ...r external IP address will be listed and underneath it you will see a box saying what port 6 In the box insert the port number you set the DVR to The default ports are 80 and 9000 you have to forward both please make sure you check both ports 7 Click the Check button and scroll down 8 You will see a message that tells you that it can successfully see your port This means you have successfully comp...

Page 15: ...d for your DVR in the following format http 76 62 21 22 80 3 Follow the login screen for your DVR The default password is 123456 4 Install any ActiveX controls or software settings that may pop up 5 Once everything is properly installed you will be viewing the online software Online software instructions can be found on Pg 64 of the manual TOVIEW ONLINE SOFTWARE USING EXTERNAL IP ADDRESS NETWORKIN...

Page 16: ...Menu on the DVR and select NETWORK SETUP Insert password if required The default password 123456 2 Highlight and select DDNS setup 3 Change DDNS SETTING to ON 4 Set your DDNS server to DYNDNS 5 Once you have created your DYNDNS account you will need to fill out the host name user name and password you use for the account in this section of the DVR before you can view your footage Fill out DDNS set...

Page 17: ...ddress bar 2 Create a new account by clicking the Create Account link in the top right hand corner of the site 3 Enter your preferred user name email address and password 4 Optional information can be left blank unless you would like to enter it 5 Read and agree to the Acceptable Use Policy AUP by checking the box and click Create Account 6 An account verification email will be sent to the email a...

Page 18: ...ly name or your business name as long as it is easy for you to remember 6 Choose a domain name from the drop down menu We recommend using dyndns org 7 In the IP address field type in the external IP address that you got earlier 8 Leave all of the other options as they are and click Create New Host 9 Follow on screen instructions to activate and view your free DDNS host name 10 Your dynamic DNS set...

Page 19: ...se your external IP address in Internet Explorer if on a different computer or your DVR s internal IP address in Internet Explorer if on a computer connected to the same router Before you view the online software you are asked to login with a password you can use the admin or user password and the footage will pop up The login screen also has the option to adjust which connection you are viewing t...

Page 20: ...avecertainfunctions thathavethesamemeaningfor eachmenu Next Does not apply to your DVR Default To restore all settings to the default settings select the Default button on the bottom of the screen Apply To save changes select apply at the bottom of the screen Exit To exit the menu select exit at the bottom of the screen ONLINE SOFTWARE ...

Page 21: ... user name and password which a mobile user would use to access the DVR footage 3 Insert a port for the mobile footage to run from Port 1024 is a good default port to use Make sure that you port forward this port on top of the other two ports 4 Select apply to save your settings Port Forwarding Follow the port forwarding instructions found in the port forwarding section of the manual and use the p...

Reviews: