Owner’s Manual
For packing and maintenance of
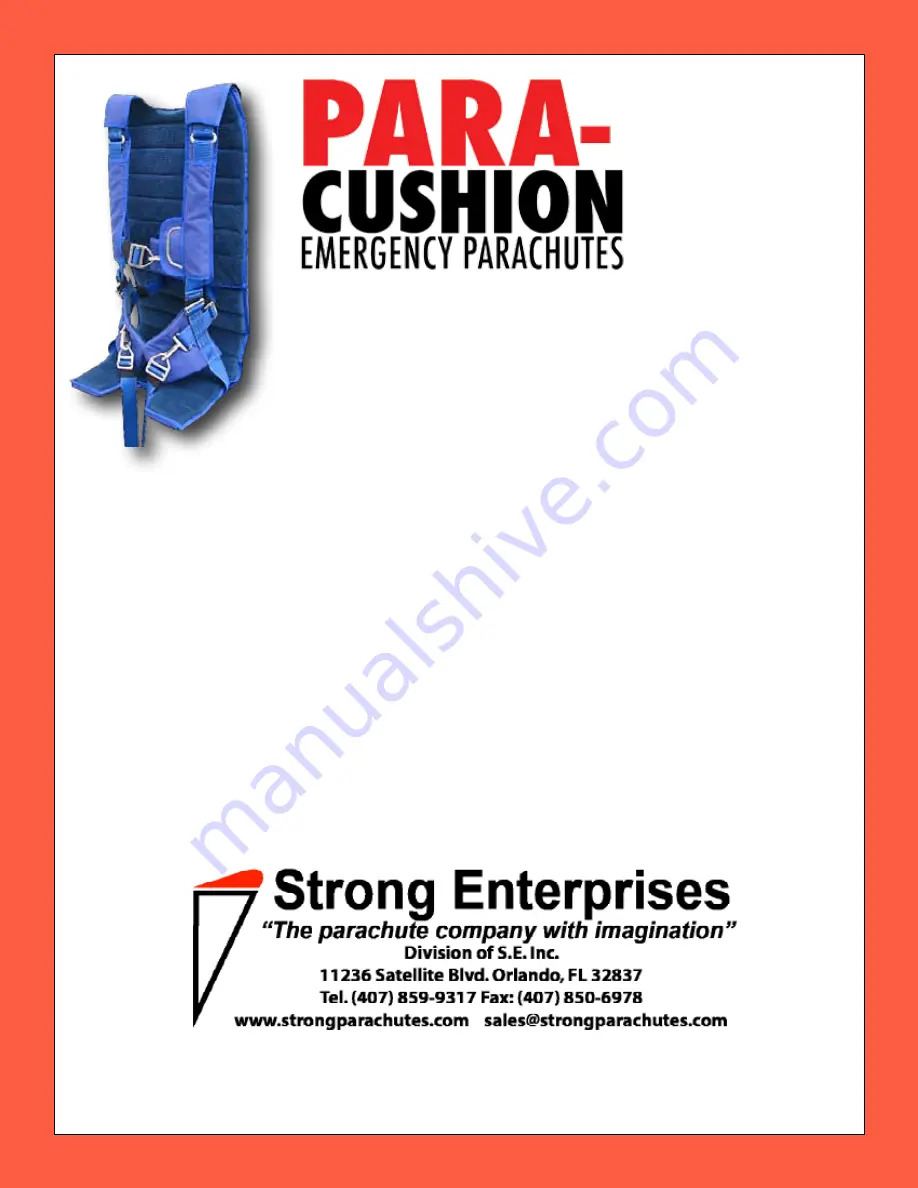
Para-Cushion
Model 305 Chair
Part number: 124255
with
26ft. Mid-Lite Canopy
Part number: 420550
Revision E:
August 2013
Manual P/N 510088
Price $25.00
US Patent 3,908,937
Страница 1: ... s Manual For packing and maintenance of Para Cushion Model 305 Chair Part number 124255 with 26ft Mid Lite Canopy Part number 420550 Revision E August 2013 Manual P N 510088 Price 25 00 US Patent 3 908 937 ...
Страница 2: ...iderable risk of personal injury or death If you are not willing to assume that risk please return the parachute to the dealer where it was purchased for a full refund DISCLAIMER There are NO WARRANTIES which extend beyond the description of the parachutes in this manual and neither the seller nor any agent of the seller has made any affirmation of fact or promise with respect to the parachutes ex...
Страница 3: ... 6 1 12 How to get out of the aircraft 7 1 13 How to open your Parachute 7 1 14 How to Steer 7 1 15 Landing and Recovery 7 1 16 Reporting of Equipment Improvement Recommendations 8 2 305 Chair Model Description 9 2 1 Parts List 10 3 Required Packing Tools 11 4 Prepare Parachute for Packing 12 5 Pre Packing Inspection 12 6 Packing the 305 Chair Model 13 6 1 Folding the Parachute 13 6 2 Securing the...
Страница 4: ...y persons up to 254 lbs 115kg fully equipped person clothes and equipment including parachute at up to 150 knots IAS 1 4 Parachute Repack Interval Your Para Cushion Chair 305 is designed for a 365 day repack cycle Your countries laws may dictate a stricter schedule check your local regulations The Para Cushion Chair 305 must be packed by an FAA certificated parachute rigger or foreign equivalent w...
Страница 5: ...k FAA FAR 65 129 requires that no parachute be packed maintained or altered in any manner that deviates from procedures approved by the manufacturer The parachute should be left unopened inside its protective container until ready for use When you take your Para Cushion to your rigger for servicing they will be glad to allow you to pull the ripcord yourself give you a functional demonstration and ...
Страница 6: ...n the three adjustment points and slip your arms through the main lift web the vertical straps in front much like putting on a jacket Next reach between your legs pick up each leg strap untwist them if necessary and snap them in place on each side of the lower portion of the main lift webs Lean forward pull the leg straps below your hips and tighten them snugly yet comfortably around your thighs F...
Страница 7: ...o open while you re still aboard the wind may inflate it dragging you out or into the tail Also it may entangle with the aircraft There are no other rules the aircraft may be tumbling spinning or inverted Simply get yourself out any way you can Clear the aircraft and pull your ripcord immediately There is enough oxygen to breath and you ll be descending into denser air 1 13 How to Open Your Parach...
Страница 8: ...ou may be dragged Pull in the lines closest to the ground to spill some air and then run around the canopy to collapse it In most cases you can maneuver the canopy as necessary to avoid as many obstacles as possible In the event of a tree or power line landing keep your feet together so you don t straddle a limb or wire Be prepared to slide through and hit the ground afterwards You should be able ...
Страница 9: ...roximately 16 5 lb 7 5 kg This back mounted container is built to extend from the shoulders of the user to just above the knees This long design allows the parachute to be packed in a larger area keeping the system as thin as possible Confor Foam padding throughout the system allows the user to comfortably sustain flight for many long hours The parachute assembly is designed to be used in airplane...
Страница 10: ...37 Tel 407 859 9317 Fax 407 850 6978 www strongparachutes com Harness and Container Assembly 121100 2 1 Parts List 26 foot Mid Lite 420550 Ripcord Assembly 611366 Pilot Chute Lil Grabber 790121 Locking Loop 861047 black with Mid Lite Cap for Pilot Chute 799030 Carrying Bag 816006 Owner s Manual 510088 ...
Страница 11: ...7 Tel 407 859 9317 Fax 407 850 6978 www strongparachutes com 3 0 Required Packing Tools A Shot Bags at least 4 B Line Separator 1 ea C Pilot Chute Locking Rod 1 ea D Pilot Chute Locking Strap 1 ea E T handles 3 ea F Pull Up Cords 3 ea G Tension Plate 1 ea H Tension Hook 1 ea I Fid 1 ea A B C D E F G H I ...
Страница 12: ...tion Always perform the following inspection prior to packing Inspect the entire assembly for any damage Inspect pilot chute and bridle Check that the Larks head knot on the pilot chute is secure Inspect Apex area Check over entire canopy for damage Inspect lines for damage Check line sequence and control lines Perform a complete suspension line continuity check Check the barrels on 6 rapide link ...
Страница 13: ... the PCC 305 Emergency Parachute 6 1 1 Lay harness container and canopy down on the table with the wearer side facing down Inspect entire assembly for completeness and any damage Flake canopy and pleat in the normal manner with an equal number of gores to each side Diaper should be between table and canopy 6 1 2 Fold skirt up 90º on each side parallel to the radial seams ...
Страница 14: ...2837 Tel 407 859 9317 Fax 407 850 6978 www strongparachutes com 6 1 3 Fold the canopy into thirds by bringing the sides up to the middle First right side and then left 6 1 4 Long fold the canopy into fifths long and tight bringing the right side just past center then folding the left side over center ...
Страница 15: ...el 407 859 9317 Fax 407 850 6978 www strongparachutes com 6 2 Securing the Diaper 6 2 1 Spread diaper out flat Bring lines on the LEFT HAND GROUP ONLY loosely up over skirt WARNING DO NOT tuck the lines inside the folded canopy Tucking the lines in the canopy can cause serious burns to the canopy and lines ...
Страница 16: ...t of line from left line group WARNING Put only the left line group of lines inside the diaper Otherwise the purpose of the diaper will be defeated allowing it to release before all lines are unstowed 6 2 3 Continue to secure the diaper by bringing remaining rubber bands through their respective grommets and locking in place with 1 1 2 inch bights of line from left line group Note If using shorter...
Страница 17: ... com 6 3 Riser Placement 6 3 1 Lay risers in the container and spread the links so they are not on top of one another Take a bight of line immediately above the links and stow in rubber bands 6 4 First Line Stow 6 4 1 Right line group will be 14 16 longer than the left line group Bring excess line to container end keeping lines even from canopy to container ...
Страница 18: ...ess length of line from the right riser will have only one half the total number of suspension lines Stow this excess from the right line group on the right side of the container in the upper right inboard rubber band To do this route the lines diagonally from the first stow to the top of the container and stow using the rubber band closest to the center of the pack tray Note When the 3 stow diape...
Страница 19: ...chutes com 6 6 Remaining Line Stows 6 6 1 Proceed with stowing the remainder of the lines The next stow is in the upper left corner of the container 6 6 2 Continue stowing down up down until a total of five rubber band stows are on the left side of the container There should be two stows in the top left corner and three stows in the bottom left corner ...
Страница 20: ...side of the pack from inboard left to outboard right until all but enough line to allow for skirt placement is stowed If after the last stow at the top more than 16 of line remain a short stow may be made at the top of the container This will be adjacent to the previous line stow without the corresponding stow in the bottom of the container We recommend the use of the 1 1 4 rubber bands but altern...
Страница 21: ...ay be twisted slightly to reduce lumps stow the canopy flat not turned on edge Fold canopy 90 down the left side of the container then back up Position this fold between the side flap of the container and the central divider flap that protects the three grommets in the base of the container Size the bottom part of the fold by laying it on top of the pocket The end of the fold should extend to with...
Страница 22: ...All folds should be fairly loose to evenly distribute the bulk of the canopy throughout the pack Without disturbing the folds split and fan the canopy evenly over the width of the pocket Distribute the canopy uniformly into the pocket to prevent lumps Feel the outside of the pocket for lumps and adjust accordingly 6 8 Closing the Container 6 8 1 To close make sure the protector flaps around the gr...
Страница 23: ... in between the coils of the spring Continue until the pilot chute is fully compressed and lock with locking strap Note Locking rod and strap should be at 90 angle to closing loops 6 8 3 S fold pilot chute bridle and place under left side flap Pass the pull up cords 3 through the closing loops in the pilot chute cap and the closing loop that is attached to the left side flap Next center the pilot ...
Страница 24: ...11236 Satellite Blvd Orlando FL 32837 Tel 407 859 9317 Fax 407 850 6978 www strongparachutes com 6 8 4 Hold the pilot chute in position with one hand and flip the container over onto its back 6 8 5 Draw the pull up cords through the grommets by removing the T handles ...
Страница 25: ...rds slowly to avoid burns 6 8 7 Turn rig over and remove pilot chute locking rod and strap Use a fid to tuck the excess pilot chute fabric under the rim of the cap Dress the pack neatly and seal the bottom pin Complete the data card and your rigger s logbook Be sure the ripcord handle is secure in its pocket When the pack job is finished the pilot chute should be centered on the back and sunk down...
Страница 26: ...t Suspension Lines No limit PILOT CHUTE CAP Replace when Spandura fabric becomes worn LOCKING Replace one time per year Length for Para Cushion Model 305 Chair locking loop is 8 5 inches tolerance 0 1 4 inch Replace if out of tolerance or worn BRIDLE Damaged bridles should be replaced CONTAINER Standard military single side patches or replacement of the damaged area is authorized HARNESS Any porti...
Страница 27: ...e the loop by snipping the hand tacking Install a new locking loop by hand tacking the Type 4 tape to the pilot chute top do not hand tack the canopy of the pilot chute followed by a good surgeon s knot Position new loop so that Type 4 material is between loop and pilot chute Note Pilot chute loop must be placed as close to dead center as possible Being off even a couple of degrees may cause the p...
Страница 28: ... the cap and you can see just where 180º is and where your other hole should go 8 4 Once the holes are cut install the new cap over the loop by aligning the loop ends with the holes in the Spandura cap and pulling the loop through the holes with your hand tack needle Hand tack the new cap in place at 90º angle to the loop Note Be careful not to catch the pilot chute canopy cloth below the stitch l...
Страница 29: ...ine after the rest of the lines are pulled tight 9 2 Figure 8 the line through the grommet and secure with an overhand knot If the steering line is thin as in the Mid Lite or Lite a second figure 8 may be necessary to fill up the grommet hole 9 3 Mate the Velcro to secure the toggle to the riser 9 4 For original Para Cushions old style that utilize a metal ring instead of cloth toggles route the s...
Страница 30: ...30 Strong Enterprises owner s manual Para Cushion model 305 Chair 11236 Satellite Blvd Orlando FL 32837 Tel 407 859 9317 Fax 407 850 6978 www strongparachutes com Notes ...
Страница 31: ......
Страница 32: ... canopy once you have landed in case of high winds water or tree landing Quick Ejector Snaps PN 099113 3 each or PN 099112 2 each Military Style hardware replaces B 12 snaps Allows you to lift the gate and eject the hardware instead of reaching under and lifting Custom Monogram PN 099105 We can monogram your name N number Company Name Nose Art or anything you can imagine Space provided 6 X 2 5 Lum...