background image

Manual Revision: 10/17/2014

For the most up-to-date information, please visit: www.startech.com

DE:

 Bedienungsanleitung - de.startech.com

FR:

 Guide de l'utilisateur - fr.startech.com

ES:

 Guía del usuario - es.startech.com

IT:

 Guida per l'uso - it.startech.com

NL:

 Gebruiksaanwijzing - nl.startech.com

PT:

 Guia do usuário - pt.startech.com
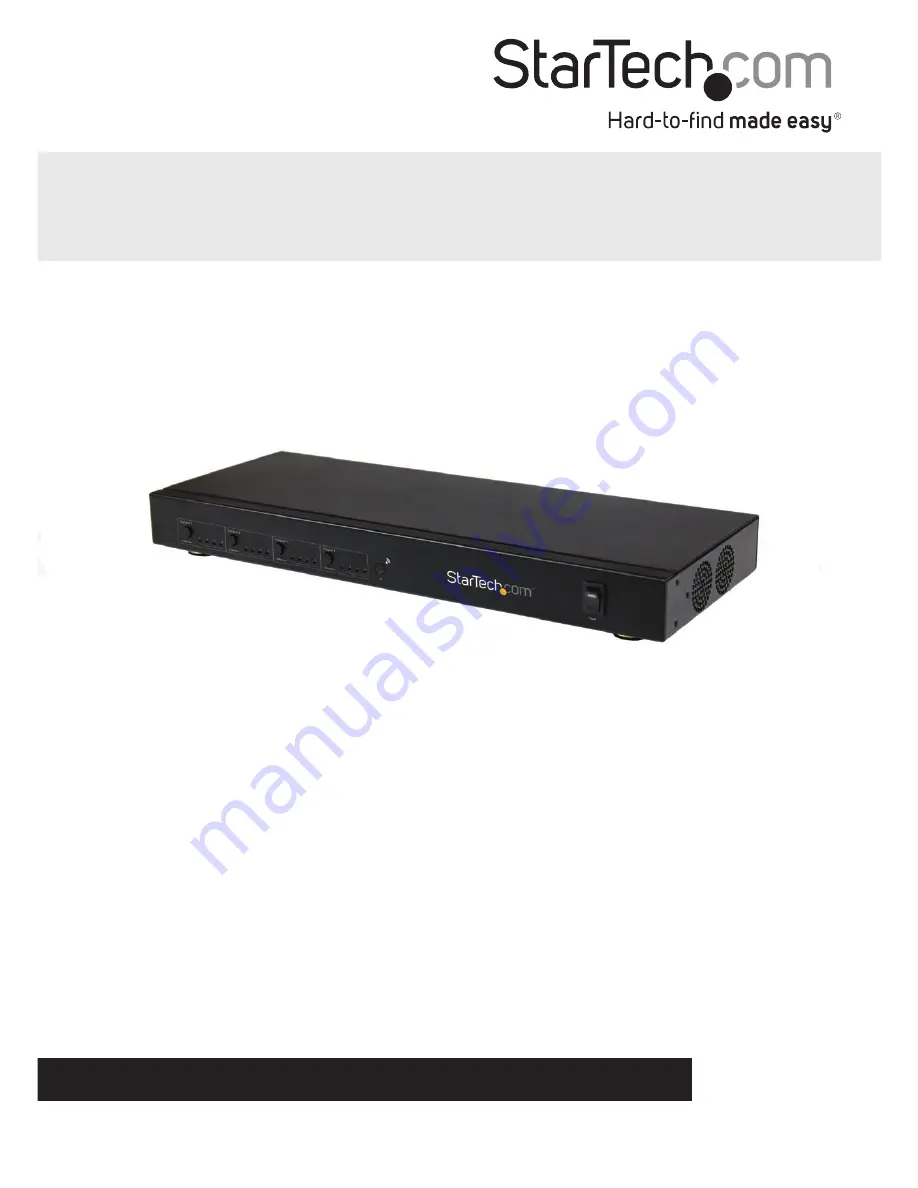
ST424HDBT 
STHDBTRX

4x4 HDMI® Over Cat5 Matrix Switch – 230ft (70M) 

HDMI® Receiver with IR for ST424HDBT

*ST424HDBT shown

Summary of Contents for ST424HDBT

Page 1: ... de startech com FR Guide de l utilisateur fr startech com ES Guía del usuario es startech com IT Guida per l uso it startech com NL Gebruiksaanwijzing nl startech com PT Guia do usuário pt startech com ST424HDBT STHDBTRX 4x4 HDMI Over Cat5 Matrix Switch 230ft 70M HDMI Receiver with IR for ST424HDBT ST424HDBT shown ...

Page 2: ...receiving antenna Increase the separation between the equipment and receiver Connect the equipment into an outlet on a circuit different from that to which the receiver is connected Consult the dealer or an experienced radio TV technician for help Use ofTrademarks RegisteredTrademarks and other Protected Names and Symbols This manual may make reference to trademarks registered trademarks and other...

Page 3: ...on 6 Manual Matrix Operation 6 Remote Control Operation 6 RS232 Serial Operation 7 IP Internet Protocol Operation 21 IP Information Software Installation 24 IP Information Software Operation 24 EDID Emulation Configuration 26 What is EDID EDID Emulation 26 How can I determine the best EDID emulation setting for all of my displays 26 EDID Function Table 27 Setting EDID Configuration 28 Specificatio...

Page 4: ...tput 4 select button w LED indicator 5 IR sensor 6 Power switch Back View 1 Serial port 2 LAN port 3 EDID switch 4 Power Jack 5 IR extender ports 1 through 4 6 IR receiver ports 1 through 4 7 Cat5 local HDMI output ports 1 8 Cat5 local HDMI output ports 2 9 HDMI input port 1 10 HDMI input port 2 11 HDMI input port 3 12 HDMI input port 4 13 Cat5 local HDMI output ports 3 14 Cat5 local HDMI output p...

Page 5: ... Manual 2 STHDBTRX Receiver Unit Front View 1 HDCP signal indicator LED 2 Link LED 3 Mode LED 4 Power LED 5 IR Receiver port 6 IR Transmitter port Back View 1 Power jack 2 Link port RJ 45 Connector 3 HDMI out port ...

Page 6: ...eceiver unit 1 x Mounting brackets 1 x IR kit transmitter receiver 1 x Universal Power Adapter NA UK EU AUS 1 x Quick Install Guide System Requirements Up to 4 x Video source devices i e computer Blu ray Player Up to 4 x HDMI enabled display device i e television projector Up to 4 x STHDBTRX HDMI Receiver units sold separately Up to 8 x M M HDMI cables for displays and video sources Additional cab...

Page 7: ...ports on your local displays i e televisions projectors d Optional If using the Extender kit to transmit an infrared IR device signal and the device receiving the IR signal is on the Receiver side Connect the IR Transmitter Cable included with each STHDBTRX Receiver Unit to the IR Receiver port that corresponds with remote device that being controlled on the Matrix Unit and position the extended I...

Page 8: ...HDMI cable not included from the Receiver unit to the video input port on the remote display device i e Television Projector c Optional If using the Matrix switch to transmit an infrared IR device signal and the device receiving the IR signal is on the Transmitter side Connect the IR Transmitter Cable to the IR Transmitter port on the Receiver unit and position the IR sensor where the remote contr...

Page 9: ...Control Operation 1 Each output port is represented by the number above each of the button groups Use the group of buttons that corresponds with the numbered output display you wish to change 2 Press the number of the input source number that corresponds with the numbered input device you wish to be displayed on that specific numbered output port or Press the left or right arrow buttons to toggle ...

Page 10: ... 1 Download latest software from the StarTech com website 2 Open the software folder located inside the zipped download file run the file called COMCTL4x4 320 Vx x exe 3 The control interface is now displayed with the option to connect via serial or Internet Protocol ...

Page 11: ...n 1 The Message section is displayed in the top left hand corner of the software and allows you to monitor or configure the options listed below a The Receive window is located at the top of the Message section and shows messages received from ST424HDBT ...

Page 12: ... the operation results in the receive window b The set IP address button is located toward the middle left of the message section below the Receive Window Click the button to choose whether you want your network to assign an IP address automatically using DHCP or to define manually ...

Page 13: ...lick the bullet that says Use the following IP address and enter your desired IP address into the IP address box below c The UTP set button is located next to the IP address button From the UTP set button you can set the four UTP output ports to single UTP mode or dual UTP mode ...

Page 14: ...command box and send button is located at the bottom of the message section You can manually type commands in the command box using specific control codes See Control Command Format and click the send button to action your command ...

Page 15: ... 2 The Com Status section is displayed at the bottom of the software and allows you to monitor or configure the communication options listed below a The Connect state is located toward the bottom left of the message section ...

Page 16: ...BT successfully or not depending on which is bulleted b The Com Select drop down menu is displayed at the bottom of the software The Com select drop down menu enables you to select the COM port that corresponds with the serial port on your computer that the ST424HDBT is physically plugged into ...

Page 17: ...com section between your computer and the ST424HDBT Note If the Connection State is set to Disconnect you will have an option to Connect If the Connection State is set to Connected you will have an option to Disconnect 3 The remote control Section is located to the right and allows you to switch the output devices attached to the switch remotely using the software ...

Page 18: ...f buttons that correspond with the numbered output display you wish to change b Press the number of the input source number that corresponds with the numbered input device you wish to be displayed on that specific numbered output port or Press the left or right arrow buttons to toggle between input sources numerically ...

Page 19: ... selection will appear on the command box in the message section but will be actioned automatically meaning you do not need to press the Send button Note the operation results will be displayed in the receive window as confirmation the operation has been completed ...

Page 20: ... party software is not supported by StarTech com Com Port Settings Baud Rate 9600 bps Data bits 8 bits Parity None Stop bits 1 bit Flow control None Outport1 57 41 1 09 2 1D 3 1F 4 0D Outport2 1B 11 1 17 2 12 3 59 4 08 Outport3 55 48 1 5E 2 06 3 05 4 03 Outport4 07 40 1 18 2 44 3 0F 4 51 Control Code Command Format cir _ code cir is the key word _ is Space Code is the Control code is carriage retu...

Page 21: ... 0x46 0x0D 0x0A Output 1 select in4 0x63 0x69 0x72 0x20 0x30 0x44 0x0D 0x0A Output 2 previous 0x63 0x69 0x72 0x20 0x31 0x42 0x0D 0x0A Output 2 next 0x63 0x69 0x72 0x20 0x31 0x31 0x0D 0x0A Output 2 select in1 0x63 0x69 0x72 0x20 0x31 0x37 0x0D 0x0A Output 2 select in2 0x63 0x69 0x72 0x20 0x31 0x32 0x0D 0x0A Output 2 select in3 0x63 0x69 0x72 0x20 0x35 0x39 0x0D 0x0A Output 2 select in4 0x63 0x69 0x...

Page 22: ...t in4 0x63 0x69 0x72 0x20 0x35 0x31 0x0D 0x0A Command Feedback Format When a control command is received by the ST424HDBT it will send feedback to show which input port is selected The return status format is as follows For example if you send cir 09 to the ST424HDBT once received it will feedback s13 meaning Output1 selects Input4 Output to Input Return status OP1 IP1 s10 OP1 IP2 s11 OP1 IP3 s12 ...

Page 23: ...tus of the OP both OP1 and OP2 Example when you send the above command to the ST424HDBT it will feedback s1xs2ys3zs4a which means OP1 selects IP x 1 OP2 selects IP y 1 OP3 selects IP z 1 OP4 selects IP a 1 s12s23s33s40 means OP1 selects IP3 OP2 selects IP4 OP3 selects IP4 and OP4 selects IP1 Web Password Reset The command length is 4 bytes rpw rpw is the key word is carriage return When you send t...

Page 24: ...l Operation 1 Open a web browser on a computer connected to your local network 2 Type the IP address of the ST424HDBT into the address bar in your web browser and press enter Note If you do not know the IP address of the ST424HDBT it can be obtained using the IP Information Software Please see IP Information Software Installation and Operation for instructions 3 The home page for the ST424HDBT wil...

Page 25: ... device for each video output port using the output field on the top right side Each Output port has a section with numbered buttons representing each of the video input devices Click the number that represents the output port for your desired change ...

Page 26: ... The Refresh button will reload the page showing your current configuration 7 You can change the IR Input location for each IR output port using the IR output field on the bottom right side Each IR Output port has a section with numbered buttons representing each of the IR input locations Click the number that represents the output port for your desired change ...

Page 27: ...etwork IP Information Software Operation 1 Once the software is launched it will search your network for all attached ST424HDBT Matrix switch extenders A list of all extenders attached to your network will be displayed If the device is new to your network the device IP address will be listed If the device has been seen before the software will show the device name 2 To display the device name rath...

Page 28: ...r network Double click Assign IP to assign an IP address 5 The assign IP box will appear enter your desired IP information and click the OK button 6 The previous window will be displayed Click the Search button followed by the Read Device button in order to update your device list with the new IP information ...

Page 29: ...ports multiple displays that may have different specifications maximum resolution audio support etc the EDID Emulation function on the HDMI extender switch enables you to manually set an EDID signal that is ideal for all of your connected displays How can I determine the best EDID emulation setting for all of my displays Review the specifications for each of your attached display devices and find ...

Page 30: ... stereo audio and support for 3D video 1080p Stereo Audio Off On Off Communicates EDID settings for a 1080p video resolution with 2 channel stereo audio Default Setting 1080i Stereo Audio Off On On Communicates EDID settings for a 1080i video resolution with 2 channel stereo audio 1080p 5 1 Surround Sound On Off Off Communicates EDID settings for a 1080p video resolution with 5 1 channel Surround ...

Page 31: ...g the EDID Switch set the dip switches to your desired EDID Emulation Setting as specified in the EDID Function Table 2 Press and hold the Output 1 selection button for several seconds until the LED indicator flashes 3 Your desired EDID settings is now set ...

Page 32: ...ial Control 1 x IRDA Infrared Female 3 5mm 1 x DC Power LEDs 1 x Power Signal Input 4 x Output 1 Display Selection 4x Output 2 Display Selection 4x Output 3 Display Selection 4x Output 4 Display Selection 1x Output 1 UPT Activity rear 1x Output 2 UPT Activity rear 1x Output 3 UPT Activity rear 1x Output 4 UPT Activity rear 1x LAN Activity Rear Max Resolution 1920x1200 1080p Max CAT5 Cable Length 2...

Page 33: ...e returned for repair or replacement with equivalent products at our discretion The warranty covers parts and labor costs only StarTech com does not warrant its products from defects or damages arising from misuse abuse alteration or normal wear and tear Limitation of Liability In no event shall the liability of StarTech com Ltd and StarTech com USA LLP or their officers directors employees or age...

Page 34: ...rts and we quickly deliver them wherever they need to go Just talk to one of our tech advisors or visit our website You ll be connected to the products you need in no time Visit www startech com for complete information on all StarTech com products and to access exclusive resources and time saving tools StarTech com is an ISO 9001 Registered manufacturer of connectivity and technology parts StarTe...

Reviews: