Stanley EL, Manual
Introducing Stanley EL, the ultimate user manual designed to simplify your experience with cutting-edge technology. With easy-to-follow instructions and comprehensive details, this manual ensures you master your product effortlessly. Download this free manual from manualshive.com and unlock the full potential of your Stanley EL device.
Share
Download


Reviews:
No comments
Related manuals for EL
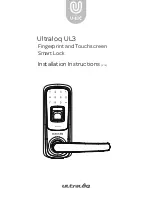
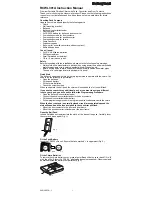
Ultraloq UL3
Brand: U-tec Pages: 16

LockerLock LL 200
Brand: Häfele Pages: 64

DL1200 Trilogy
Brand: Major Manufacturing Pages: 3

Low Profile 52 series
Brand: Kaba Mas Pages: 16

50022
Brand: Glutz Pages: 4

HZ 43-F Series
Brand: Dorma Pages: 4

Yale Smart Latch
Brand: Assa Abloy Pages: 2

SZW-02
Brand: Satel Pages: 4

DEADBOLT 728F Z
Brand: LOCKLY GUARD Pages: 80

KFV Genius A
Brand: eKey Pages: 2
RCWL301A
Brand: Honeywell Pages: 8
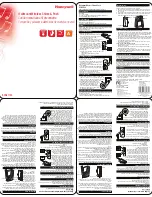
RCWL110A
Brand: Honeywell Pages: 1

RPWL200A
Brand: Honeywell Pages: 1

RPWL201A
Brand: Honeywell Pages: 1

RPWL302A
Brand: Honeywell Pages: 1

RPW311A
Brand: Honeywell Pages: 1

L3
Brand: Rousseau Pages: 2

NS1D12F
Brand: CHIEF Pages: 8


