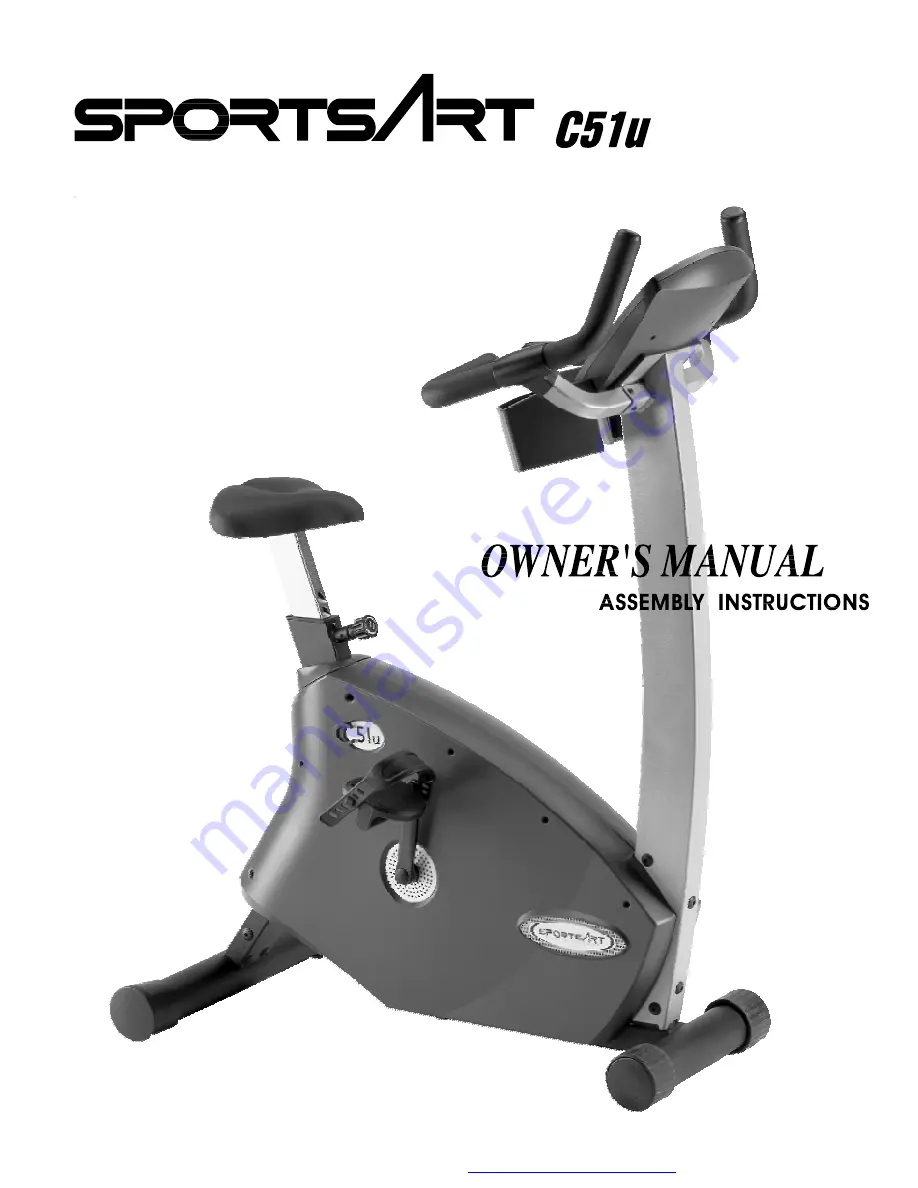
background image

PDF created with FinePrint pdfFactory Pro trial version 

http://www.pdffactory.com

Summary of Contents for C51U

Page 1: ...PDF created with FinePrint pdfFactory Pro trial version http www pdffactory com...

Page 2: ...EXERCISING ON YOUR CYCLE Understanding the electronics package Display function Basic operation E PROGRAMS Cool down mode Manual program Hill program Random program INT1 program INT2 program F MAINTA...

Page 3: ...r high heels Tie all long hair back Do not rock the unit from side to side and use care when mounting and dismounting the unit Do not stand on the unit Do not use any accessories that are not specific...

Page 4: ...ther you are a first time user of an exercise cycle or a seasoned pro understanding the correct use of the equipment will enhance your ability to achieve your exercise goals safely and successfully 2...

Page 5: ...1 Four 1 4 x L1 2 bolts Handle Bar Assembly 2 Four 1 4 Internal Serrated Washer Handle Bar Assembly 3 Four 5 16 x L1 2 bolts Rear Cross Frame 4 Five 5 16 x L1 2 bolts Upright Post Assembly 5 One 5 16...

Page 6: ...ou begin 1 Take out the cycle frame and make sure all packing materials are removed from the unit 2 Place the cycle upright on a level flat surface 3 Thread the ribbon cable through the Upright Post S...

Page 7: ...t with its bolts See Fig 4 Note 1 When connecting Upright Post to Main frame please make sure that Ribbon Cable is free from it 2 Place Serrated Washer A between the bolt and Upright Post as indicated...

Page 8: ...k Arms Install Pedals on the correct side of the bike Tighten the left pedal by turning counterclockwise Tighten the right pedal by turning clockwise A combination wrench is included in the tool kit p...

Page 9: ...dy the bike Connect Power Cable to main power block See Fig 7 Turn Height Adjustment Knob A counterclockwise until it s loose then adjust seat height to the desired position Tighten the knob into posi...

Page 10: ...se until it s loose then pull out the knob to adjust seat height to the desired position Tighten the knob into position to secure the seat See Fig 9 Your C51U cycle is assembled and ready to use 8 FIG...

Page 11: ...ANCE LEVEL WATTS HR optional Right window DISTANCE CAL SPEED RPM 3 MODE left To switch between TIME RESISTANCE LEVEL WATTS SCAN 4 Programs MANUAL HILL RANDOM INT1 INT2 5 USER WEIGHT Input data for ide...

Page 12: ...is optional I SCAN right Displays DISTANCE CAL SPEED RPM in a 4 seconds interval A MODE left side button To choose between information TIME HR optional RESISTANCE LEVEL WATTS SCAN B MODE right side bu...

Page 13: ...and DISTANCE will be displayed in their corresponding windows and by pushing the MODE button the accumulative information for other functions WATTS and CALORIES will be displayed The total workout ti...

Page 14: ...displayed is TIME WATTS DISTANCE and CALORIES Average HR is also displayed HR is optional Once displayed the electronics will proceed to COOL DOWN mode Following the displayed accumulative data the cy...

Page 15: ...PDF created with pdfFactory trial version www pdffactory com...

Page 16: ...t will continue for one minute You then can set the resistance level for second section after completing the first one These settings will remain until changed Upon completion of the second section th...

Page 17: ...n is dependent on your fitness level In general it is recommended that you maintain your heart rate in the training zone for at least 10 minutes to realize an aerobic benefit As your fitness level inp...

Reviews: