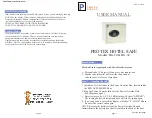
SPORTS AFIELD SA-HD5-BIO, Instruction Manual
Get the most out of your SPORTS AFIELD SA-HD5-BIO with the free Instruction Manual download available at manualshive.com. This manual provides essential information for optimal use of the product, ensuring you have all the details needed to maximize your outdoor experience. Download your manual today for hassle-free adventuring.
Share
Download


Reviews:
No comments
Related manuals for SA-HD5-BIO
RT 650
Brand: ratiotec Pages: 16
3
Brand: ParcelHome Pages: 2
DCP Series
Brand: Saga Pages: 7
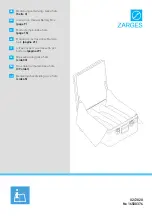
K 470
Brand: zarges Pages: 52
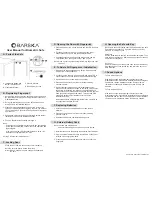
Biometric Safe
Brand: Barska Pages: 2
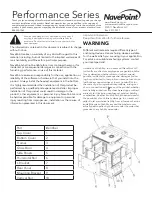
Basic Series
Brand: NavePoint Pages: 5
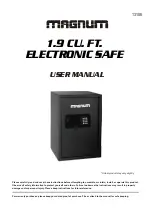
13106
Brand: Magnum Pages: 10
BG-34
Brand: Protex Pages: 2
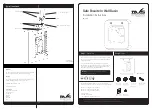
VR01-085
Brand: DVS Pages: 2

GA-E45
Brand: G21 Pages: 20
X075
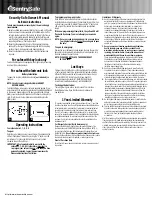
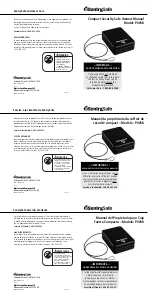
Brand: SentrySafe Pages: 4
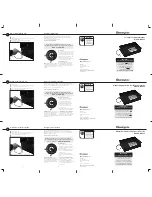
PL048E
Brand: SentrySafe Pages: 2
59549
Brand: Union Pages: 8

SAFE COMPACT III
Brand: HJH office Pages: 38
HS30103630
Brand: Homak Pages: 12
62976
Brand: Union Pages: 8
SAFE 10 BOX
Brand: Indel B Pages: 40
P005K
Brand: SentrySafe Pages: 2


