background image

Capital City Computing, LLC 

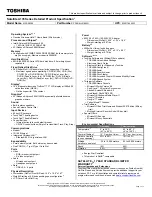
Service Manual for Sony Vaio PCG – 7X2L 


Tools Needed 

-


small screw driver 

-


small flat head screw driver or letter opener 


How to remove and replace the hard disk drive (HDD) 
NOTE: 

I replaced a TOSHIBA MK8034GSX 80GB 5400 RPM 8MB Cache 2.5" SATA 

1.5Gb/s Notebook Hard Drive with a Seagate Momentus 7200.4 ST9500420AS 500GB 
7200 RPM 16MB Cache 2.5" SATA 3.0Gb/s Internal Notebook Hard Drive.


1.


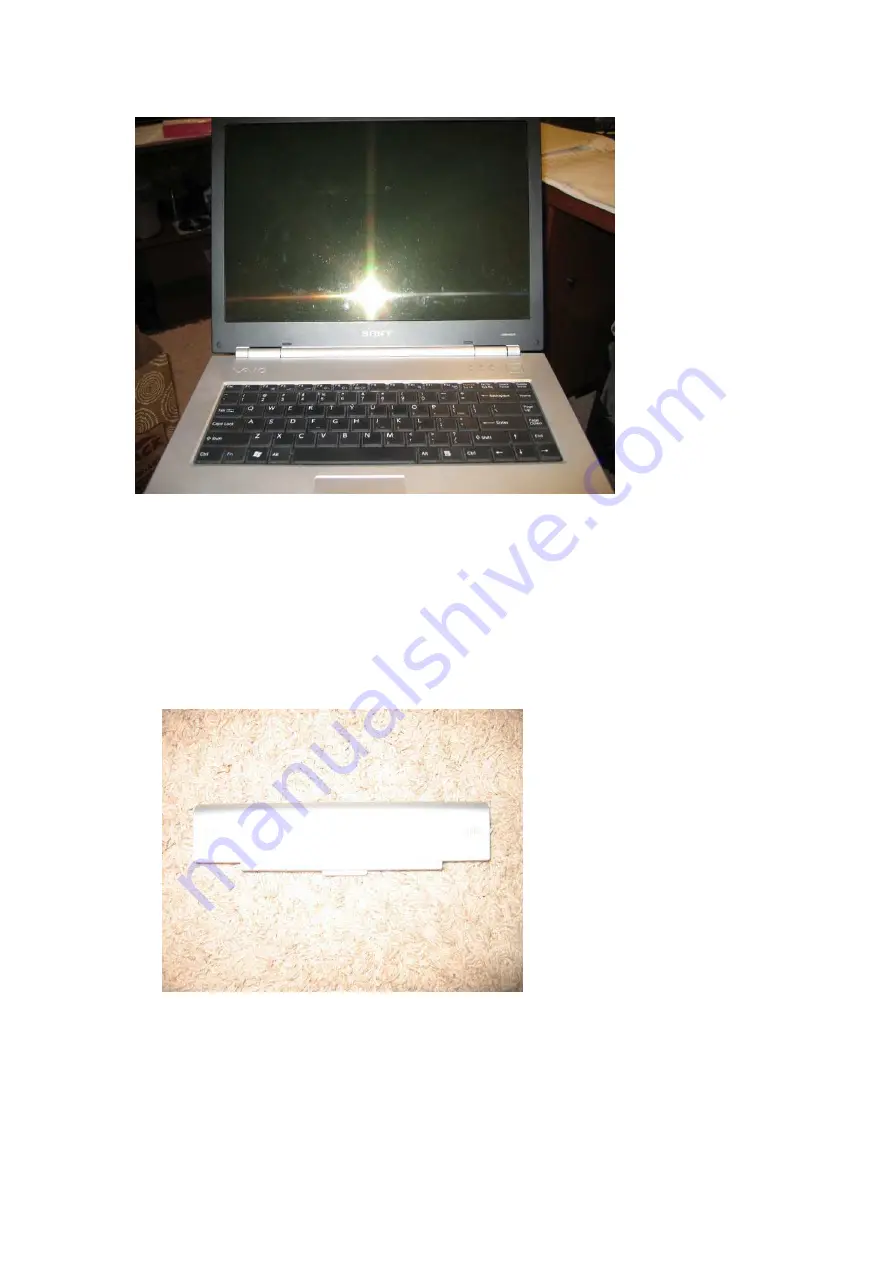
Disconnect power and remove battery. 


2.


Turn the laptop over and remove all the screws on the bottom. 

All manuals and user guides at all-guides.com

all-guides.com

Summary of Contents for Vaio PCG - 7X2L

Page 1: ...e HDD NOTE I replaced a TOSHIBA MK8034GSX 80GB 5400 RPM 8MB Cache 2 5 SATA 1 5Gb s Notebook Hard Drive with a Seagate Momentus 7200 4 ST9500420AS 500GB 7200 RPM 16MB Cache 2 5 SATA 3 0Gb s Internal Notebook Hard Drive 1 Disconnect power and remove battery 2 Turn the laptop over and remove all the screws on the bottom All manuals and user guides at all guides com a l l g u i d e s c o m ...

Page 2: ...Capital City Computing LLC 3 Remove the memory cover All manuals and user guides at all guides com ...

Page 3: ...3 black screws underneath the DVD drive Note the size of the screws 7 Remove the 3 screws underneath the battery cover Note the size of the screws 8 Remove keyboard by using letter opener to press in 5 plastic tabs at bottom of keys Work your way from right to left All manuals and user guides at all guides com ...

Page 4: ...lack edge of keyboard 10 Repeat step 9 for each plastic tab 11 Remove keyboard ribbon cable by carefully sliding and lifting up on the black part of the black and white connector The black ribbon cable will easily slide free from the connector All manuals and user guides at all guides com ...

Page 5: ...e touchpad ribbon cable by lifting up on the black part of the black and white connector Pull the blue tab on the ribbon cable 14 Use blade of letter opener to carefully pry adjoined plastic cover open I found that if you start by the DVD player it is easier to pry open and make your way around the edge of laptop All manuals and user guides at all guides com ...

Page 6: ...nnector NOTE The HDD is located in the silver case located underneath the left palm rest or on the left front side of the laptop 17 Remove the four screws from the side of the HDD 18 Perform imaging of the existing old HDD to the new HDD I used a SATA to USB connector and Acronis True Image to copy the data All manuals and user guides at all guides com a l l g u i d e s c o m ...

Page 7: ...Capital City Computing LLC 19 Insert the four screws into the side of the HDD 20 Repeat the steps in reverse order All manuals and user guides at all guides com ...

Reviews: