Sony S1, Integration Manual
The Sony S1 is a cutting-edge device featuring exceptional specifications and functionalities. Unlock the true potential of your Sony S1 by accessing its comprehensive manual, available for free download at manualshive.com. Explore its numerous capabilities and make the most out of your user experience with ease.
Share
Download


Reviews:
No comments
Related manuals for S1
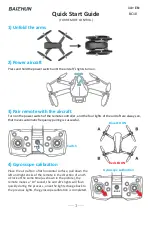
BC 10
Brand: BAICHUN Pages: 6
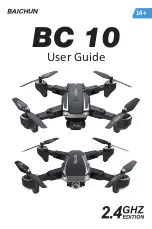
BC 10
Brand: BAICHUN Pages: 12
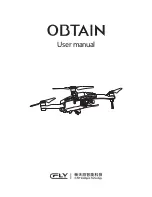
obtain
Brand: C-Fly Pages: 18
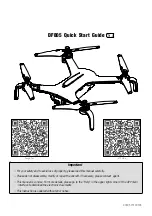
DF805
Brand: C-Fly Pages: 8
Aura
Brand: KD interactive Pages: 4

Mobula6
Brand: Happymodel Pages: 2

TQ Performance Drone RtF
Brand: Reely Pages: 32

353081 2007
Brand: DELTA-SPORT Pages: 126

SKY HERO MDR002
Brand: Manta Pages: 26

ROBOMASTER TT Swarm Combo
Brand: dji Pages: 2

S-900/Zenmuse
Brand: dji Pages: 28

520S
Brand: Eachine Pages: 18

QBot 2
Brand: Quanser Pages: 27

HULKVTX
Brand: Darwin Pages: 12

XRACER
Brand: tbs electronics Pages: 38

Runner 250 PRO
Brand: Walkera Pages: 19

25972
Brand: Vivitar Pages: 16

ONAGOfly Series
Brand: ONAGO FLY Pages: 4


