Sony RDR-GX120, Operating Instructions Manual
The Sony RDR-GX120 Operating Instructions Manual is essential for seamless setup and optimal usage of your device. Easily download this comprehensive manual for free at manualshive.com, providing you with step-by-step instructions and valuable insights, ensuring you make the most of your Sony RDR-GX120 experience.
Share
Download


Reviews:
No comments
Related manuals for RDR-GX120
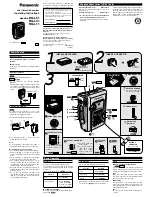
RQ-L51
Brand: Panasonic Pages: 2
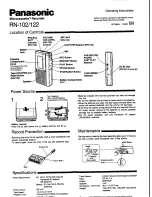
RN-102
Brand: Panasonic Pages: 2
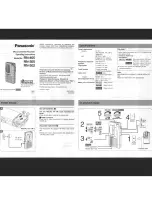
RN-405
Brand: Panasonic Pages: 4
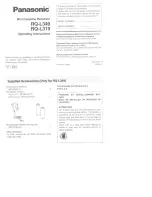
RQ-L349
Brand: Panasonic Pages: 7

RQ-L319
Brand: Panasonic Pages: 7
RN-505
Brand: Panasonic Pages: 6
transcriber - RR 930 Microcassette
Brand: Panasonic Pages: 12
RR830 - Desktop Cassette Transcriber
Brand: Panasonic Pages: 12

Tiny16 A44
Brand: EDIC-mini Pages: 8

DS320 - Digital Voice Recorder
Brand: Olympus Pages: 60

RW-800
Brand: Teac Pages: 28

DR-115
Brand: Jensen Pages: 18

DVD 5076
Brand: UNITED Pages: 71

Diga DMR-EH68
Brand: Panasonic Pages: 2

DMR-EX77EG
Brand: Panasonic Pages: 100

Tiny+ A77
Brand: EM Pages: 7

AUDIO RECORDER
Brand: Tascam Pages: 2

WS 300M - 256 MB Digital Voice Recorder
Brand: Olympus Pages: 88


