Smiths Hotline, Manual
Introducing Smiths Hotline - the ultimate solution for manual seekers. Say goodbye to endless searches and hello to hassle-free downloads! Our user-friendly platform allows you to access a diverse range of free product manuals. Find your manual, hit download, and enhance your user experience. Visit manualshive.com now!
Share
Download


Reviews:
No comments
Related manuals for Hotline
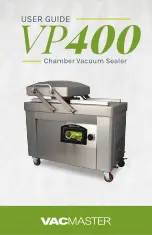
VP400
Brand: Vacmaster Pages: 24

HEATED OUTDOOR CUSHION
Brand: Vagaborn Pages: 7

FKR-200A
Brand: Sealer Sales Pages: 16

C199 Series
Brand: Metro DataVac Pages: 19

RCWB-1220I
Brand: Royal Catering Pages: 11

14209
Brand: Lakeland Pages: 4

562
Brand: 3M Pages: 4

3M Matic 120af
Brand: 3M Pages: 82

Freshkeeper 500
Brand: Oliso Pages: 28

4452828
Brand: KitchenAid Pages: 6

9800208
Brand: Antunes Pages: 14

H-161
Brand: U-Line Pages: 12
KIR-SE1SW
Brand: Sanyo Pages: 1

WDC30D
Brand: Thermador Pages: 24

SNS 760 Pro-L
Brand: Shield N Seal Pages: 9

H-1200 115V
Brand: level 1 Pages: 82

DO632V
Brand: Domo Pages: 18

DO331L
Brand: Domo Pages: 68


