background image

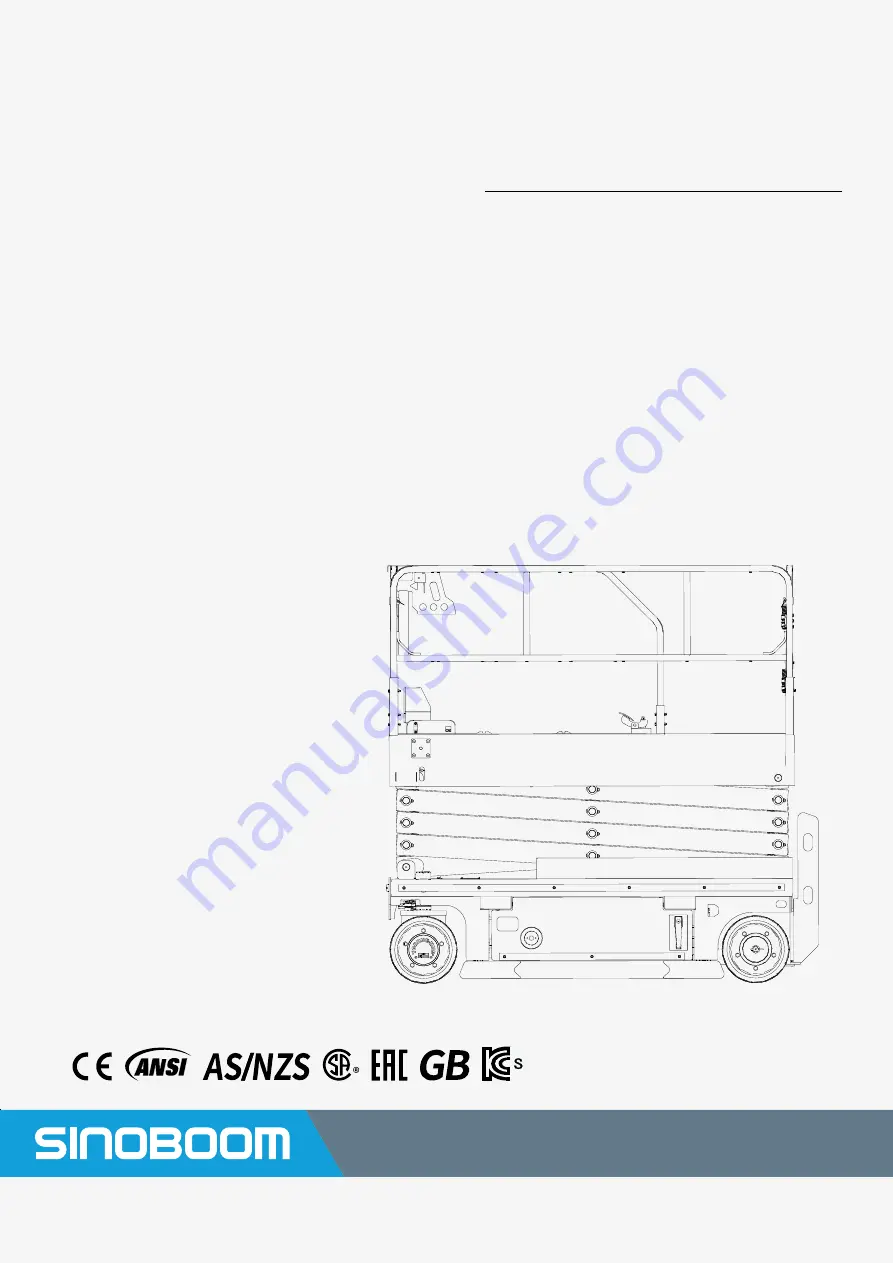
GTJZ0612E/0612E/2146E

GTJZ0812E/0812E/2746E

GTJZ1012E/1012E/3346E

GTJZ1212E/1212E/4047E

Maintenance
Manual

Part No.501048110002

Rev: A

Jul.2020

GTJZ

0608E (2132E)

GTJZ

0808E (2732E)

GTJZ

0808E (2732E)

GTJZ

0808E (2732E)

长沙市宁乡高新技术产业园区金洲大道东

128 号

0731-87116111            hr@sinoboom

. com. cn            ww

w.sinoboom. com. cn     

Always  For B et t er A ccess Solution s

我们一直在追求新的高 度

尺寸:

210×285mm

20mm

20mm

产品说明书

PRODU

CT MAN

UAL

Summary of Contents for GTJZ0612E

Page 1: ...6E GTJZ0812E 0812E 2746E GTJZ1012E 1012E 3346E GTJZ1212E 1212E 4047E Maintenance Manual Part No 501048110002 Rev A Jul 2020 G T JZ 0608E 2132E G T JZ 0808E 2732E G T JZ 0808E 2732E G T JZ 0808E 2732E...

Page 2: ......

Page 3: ...are known to the State of California to cause cancer and birth defects or other reproductive harm To minimize exposure avoid breathing exhaust do not idle the engine except as necessary service your v...

Page 4: ...28 East Jinzhou Avenue Ningxiang High tech Industrial Park Changsha Hunan China Zip Code 410600 Copyright Hunan Sinoboom Intelligent Equipment CO Ltd All Rights Reserved The final interpretation right...

Page 5: ...rom 0105200101 to present GTJZ1012E GTJZ1012E 3346E From 0104800133 to present GTJZ1212E GTJZ1212E 4047E From 0104900113 to present NOTE Product model is applied in product nameplate for distinction o...

Page 6: ...This Page Intentionally Left Blank...

Page 7: ...ers the basic parts information of one or more products Therefore please use this manual according to your needs If you find problems in the manual or have suggestions for improve ment feel free to sh...

Page 8: ...This Page Intentionally Left Blank...

Page 9: ...fter Using the Machine 2 10 3 System Descriptions 3 1 Power 3 1 Hydraulic System 3 1 Electrical System 3 1 Machine Control System 3 1 Safety Measures 3 1 4 Maintenance 4 1 Conducting a Pre delivery In...

Page 10: ...2 Removing the Lifting Oil Cylinder 5 2 Chassis Components 5 3 Removing the Drive Deceleration Motor 5 3 Removing the Front Wheel Bracket 5 3 Removing the Steering Cylinder 5 4 Removing the Battery 5...

Page 11: ...machine The operator is re sponsible for reading understanding and implementing the maintenance and safety procedures in this manual and for following the manufacturer s instructions before beginning...

Page 12: ...Jul 2020 iv GTJZ0612E 0812E 1012E 1212E Maintenance Manual This Page Intentionally Left Blank...

Page 13: ...le guards retracted 0 1mm 4in Ground clearance pothole guards deployed 25mm 0 98in Tire size diameter width type 380 125mm Solid 15 5in solid Platform dimension Length Width height 2 3 1 15 1 1m 7ft 6...

Page 14: ...door 0 m s indoor 12 5 m s outdoor 0 mph indoor 28mph outdoor Max allowable altitude 1000m 3281ft Allowable ambient temperature lead acid batteries 10 to 40 14 to 104 Allowable ambient temperature lit...

Page 15: ...b Max platform occupancy indoor outdoor 2 person Drive speed stowed 0 4 km h 0 2 5 mph Drive speed raised 0 0 8 km h 0 0 5 mph Uptime in a no load state 33 38 s Downtime in a no load state 35 40 s Gra...

Page 16: ...state indoor outdoor 2715kg 5985lb Table 1 3 GTJZ1012E Specifications MEASURE GTJZ1012E METRIC 3346E IMPERIAL DIMENSION PARAMETERS Max platform height 10m 32ft 10in Max working height 12m 39ft 4 5in M...

Page 17: ...US Hydraulic system capacity including tank 34L 7 5 gal imperial 9 gal US Hydraulic system pressure 21MPa 3046 Psi Battery specification quantity voltage capacity 4 6V 240Ah System voltage 24VDC Cont...

Page 18: ...m 0 98in Tire size diameter width type 380 125mm Solid 15 5in solid Platform dimension Length Width height 2 3 1 15 1 1m 7ft 6 5in 3ft 9in 3ft 7in PERFORMANCE PARAMETERS Rated load capacity of platfor...

Page 19: ...04 Max allowable ambient relative humidity 90 Storage condition Stored at 20 to 50 4 to 122 in a well ventilated environ ment with 90 relative humidity 20 68 and away from rain sun corrosive gas and i...

Page 20: ...4 8 MPa 3597 Psi DRIVE ELECTRIC MOTOR DRIVE DECELERATION MOTOR Voltage 24V Speed ratio 45 13 1 Power 1 5 kw 1 48 HP FUNCTIONAL VALVES Lift relief valve pressure 21 MPa 3046 Psi Steer relief valve pres...

Page 21: ...9 6 ft lb 140 10 Nm 103 7 ft lb M36 2 150 12 Nm 111 9 ft lb 180 12 Nm 133 9 ft lb M42 2 260 16 Nm 192 12 ft lb M45 2 240 15 Nm 177 11 ft lb M52 2 250 16 Nm 184 12 ft lb 280 18 Nm 207 13 ft lb HYDRAULI...

Page 22: ...Nm 55 4 ft lb 95 6 Nm 70 4 ft lb 70 5 Nm 52 4 ft lb M22 1 5 90 6 Nm 66 4 ft lb 140 8 Nm 103 6 ft lb 100 10 Nm 74 7 ft lb M27 2 120 8 Nm 89 6 ft lb 185 12 Nm 136 9 ft lb 160 10 Nm 118 7 ft lb M30 2 140...

Page 23: ...e following specifications Table 1 9 Hydraulic Fitting Torque Unified Thread Standard UNC UNF THREAD SIZE INSTALLED INTO ALUMINUM INSTALLED INTO STEEL O RING O RING L LIGHT DUTY 7 16 20 21 2 Nm 15 2 f...

Page 24: ...NOMINAL DIAMETER MM PITCH MM CLASS 8 8 CLASS 10 9 CLASS 12 9 5 0 8 7 Nm 5 ft lb 9 Nm 7 ft lb 10 Nm 7 ft lb 6 1 12 Nm 9 ft lb 15 Nm 11 ft lb 18 Nm 13 ft lb 8 1 25 30 Nm 22 ft lb 35 Nm 26 ft lb 42 Nm 3...

Page 25: ...Nm 27 ft lb 51 Nm 38 ft lb 7 16 14 5 8 60 Nm 44 ft lb 82 Nm 60 ft lb 1 2 13 3 4 90 Nm 66 ft lb 130 Nm 96 ft lb 9 16 12 13 16 130 Nm 96 ft lb 180 Nm 133 ft lb 5 8 11 15 16 178 Nm 131 ft lb 250 Nm 184...

Page 26: ...Jul 2020 1 14 GTJZ0612E 0812E 1012E 1212E Maintenance Manual This Page Intentionally Left Blank PERFORMANCE PARAMETERS...

Page 27: ...that if not avoided could result in minor or moderate injury NOTICE Indicates a situation that can cause damage to the engine personal property and or the environment or cause the equipment to operate...

Page 28: ...f Do not use the machine as a ground wire during welding and polishing operations Table 2 1 Voltage Phase to Phase kV Minimum Safe Distance m ft 0 50 3 05 10 50 200 4 60 15 200 350 6 10 20 350 500 7 6...

Page 29: ...E 400N 90 lbf indoor 200 N 45 lbf outdoor TIPPING HAZARDS Do not change any machine parts that may affect safety and stability Do not replace key parts that af fect machine stability with differ ent w...

Page 30: ...wering the platform Do not change the level or limit switch Running speed should not exceed 0 8 km h 0 5 mph when the plat form rises If the machine can be used out doors never operate it during stron...

Page 31: ...moderate gale Whole trees in motion Effort needed to walk against the wind 8 17 2 20 7 39 46 Fresh gale Twigs broken from trees Cars veer on road 9 20 8 24 4 47 54 Strong gale Light structure damage...

Page 32: ...tery that weighs less than the original lead acid battery 40 kg 88 lb or lithium battery 160 kg 353 lb about GTJZ1212E The battery not only provides power it also serves as a counterweight The battery...

Page 33: ...hine Pay attention to the extended plat form when moving the machine Check the work area to avoid ground and overhead obstruc tions or other possible risks Be sure to exercise caution when using the p...

Page 34: ...e requirements in this manual and the Maintenance Manual UNSAFE OPERATION HAZARDS Do not use the machine if it is damaged or not in proper operat ing condition Thoroughly inspect and test for all func...

Page 35: ...operating condition before using Be sure to use the appropriate number of personnel and proper lifting methods when changing the battery NOTICE After charging the battery be sure that The battery cabl...

Page 36: ...is manual and the Main tenance Manual WELDING HAZARDS Comply with the welder manufac turer s recommendations for pro cedures concerning proper use of the welder Welding leads or cables may only be con...

Page 37: ...he power unit The battery is charged from an external power supply MACHINE CONTROL SYSTEM The functions of the machine are controlled with two controllers in this system A controller is located on the...

Page 38: ...Jul 2020 3 2 GTJZ0612E 0812E 1012E 1212E Maintenance Manual This Page Intentionally Left Blank SYSTEM DESCRIPTIONS...

Page 39: ...ns Park the machine on flat level firm ground Keep the machine in the stowed position Ensure the key switch of the ground controller is in the OFF position and remove the key to pre vent unauthorized...

Page 40: ...nance schedule Table 4 2 INSPECTION INTERVAL INSPECTION PROCEDURES Every day or every 8 hours A Every quarter or every 250 hours A B Every half a year or every 500 hours A B C Every year or every 1000...

Page 41: ...ic Oil Level A 5 Inspect Hydraulic Oil Leakage A 6 Functional Tests A 7 Inspect Emergency Low ering Function A 8 Test Braking Device A 9 Full Lifting and Full Low ering Time Test A 10 Testing Travelin...

Page 42: ...Checklist C Procedures Items YES Machine is in Good Condition NO Machine Has Damage or Malfunction REPAIRED Ma chine Has Been Repaired Problem Description C 1 Replace Hydraulic Oil Tank Air Filter Ch...

Page 43: ...roperly guide operators which can lead to unsafe operations Refer to the decal instructions in the Operation Manual and use the decals list and graphic to determine the correct placement of the decal...

Page 44: ...dded according to customer requirements upon factory delivery but cannot be mixed A 5 Inspect Hydraulic Oil Leakage Preventing hydraulic oil leakage is important for safe and proper operation of the m...

Page 45: ...Emergency Stop Function 1 Put the emergency stop button on the ground into the OFF position by pressing it Ensure all func tions shut down 2 Pull out the emergency stop button to the ON position Test...

Page 46: ...kward En sure that all walking and lifting functions stop working Testing the Lifting and Lowering Functions 1 Press the lifting lowering button The button should illuminate 2 Hold the enabling key on...

Page 47: ...if the brakes make a grind ing sound or other abnormal noise The machine is braked by the front wheel 1 The machine only carries one person and is in the state of fully retracted 2 Turn the key switch...

Page 48: ...E If the machine takes less than 135 seconds to travel 30 m 98 4 ft stop the machine and deter mine the cause 6 Press the walking and steering button then press the high low speed button The slow mode...

Page 49: ...of the machine and then drive the machine onto the two boards The wooden boards should measure L W H 50 mm 100 mm 100 mm 2 in 4 in 4 in 9 Change the machine s walking function to a plat form lifting...

Page 50: ...tform is able to lift to the highest position When the platform load is greater than or equal to 380 kg 838 lb if the platform lifting height is greater than 1 m 3 3 ft or 10 of the height that can be...

Page 51: ...sing the platform con troller After 5 seconds the platform will continue to lower Table 4 9 Models Height GTJZ0612E 1 7 2 3 m 5 6 7 5 ft GTJZ0812E 2 2 6 m 6 6 8 5 ft GTJZ1012E 2 5 3 1 m 8 2 10 2 ft GT...

Page 52: ...rger from the AC outlet before inspecting electrical wires Contacting live wire conductors could result in death or serious injury 1 Inspect electrical wires for damage or corrosion in the following a...

Page 53: ...it to the locking position NOTICE When inspecting the retaining nut replace the split pin frequently Never reuse the split pin B 3 Inspect Battery NOTE Perform this procedure every 125 hours Good bat...

Page 54: ...ive Connect the charging plug to 220V socket Result The battery should be recharged normally and the charge indicator should illuminate INSPECT THE MAINTENANCE FREE BATTERIES Wear protective clothing...

Page 55: ...omply with this warning may result in injury or even death Method 1 1 Wedge the tires to prevent the machine from rolling 2 Ensure the area is free of obstructions 3 Make sure the battery power OFF sw...

Page 56: ...raulic components to ensure no leakage exists CHECKLIST D PROCEDURES D 1 Inspect Scissor Arm Installation Bearing Effectively maintaining the scissor arm installation bearing is important for proper o...

Page 57: ...be unable to operate properly if the hydraulic oil and the filter screen become dirty and the hydraulic parts may be damaged after repeated use of dirty hydraulic oil Replace the hydraulic oil when th...

Page 58: ...tform is not deformed or cracked Scissor arm Be sure the scissor arm assembly is not deformed or cracked and there is no damage to the crush pads between the scissors Lift cylinder Be sure there is no...

Page 59: ...r ELECTRICAL SHOCK HAZARD Be sure to disconnect the battery from the machine and the charger from the AC outlet before performing this procedure Contact with live conductors could result in death or s...

Page 60: ...c system and electric sys tem connecting the scissor arm with the chassis NOTICE While removing the rubber hose and connector be sure to remove and mark the O rings at the end of the rubber hose or ho...

Page 61: ...t the machine and properly rated jack stands to support the machine while lifted NOTICE Be sure to disconnect the battery charger and main power from the machine before removing the drive motor 1 Remo...

Page 62: ...fitting it must be tightened according to the specified torque See Hydraulic Hose and Fitting Specifications page 1 9 BURN AND HIGH PRESSURE HAZARDS Allow the hydraulic components to cool to room tem...

Page 63: ...and plug the rubber hoses and fittings on the pump and tag the machine 4 Remove the mounting bolts of the hydraulic pump and carefully remove the hydraulic pump Removing the Hydraulic Oil Tank BURN AN...

Page 64: ...s page 1 9 1 Immerse the valve into clean oil and lubricate the O ring 2 Screw in the cartridge valve by hand until the O ring contacts the valve block Tighten as per the speci fied torque 3 Install t...

Page 65: ...block For details see Installing the Cartridge Valve page 5 6 2 Connect a pressure gauge 0 40 MPa 0 5 800 psi to the system pressure measuring port 3 Remove the platform controller from the platform O...

Page 66: ...00 30 0000 16 0000 16 0000 MP CHARGE QF 19 9977 8 4982 17 4787 14 7538 46 7096 14 7538 34 4087 28 5682 28 5682 34 3393 28 5682 46 7096 28 5682 46 7096 28 5682 32 0000 30 0000 16 0000 16 0000 19 9977 8...

Page 67: ...JZ0612E 0812E 1012E 1212E Maintenance Manual 5 9 Jul 2020 Hydraulic Schematic Diagram GTJZ0612E 0812E hydraulic schematic diagram M P M Steer cylinder Y1 Y2 Y3 T1 T2 CSE BS AS Lift cylinder Load senso...

Page 68: ...1212E Maintenance Manual MAINTENANCE PROCEDURES GTJZ1012E 1212E hydraulic schematic diagram M Y1 Y2 Y3 B A CSE T1 T2 CSE BS AS Y5 C Load sensor options Y4 CSE D C A B M1 M2 M P Lower Lift cylinder Up...

Page 69: ...ause sparks or flames away from the battery to prevent explosion Always wear protective glasses or goggles and protective clothing when working with batteries You must follow the battery manufacturer...

Page 70: ...ion Inspect the battery The top of the battery and terminal connections must be kept clean and free from dust and corrosion and must remain dry Liquid on top of the battery could indicate there is too...

Page 71: ...Do not equalize other batteries The conditions for equalizing a battery are as follows Verify whether the battery is flooded wet battery Inspect the electrolyte level height to ensure that the positi...

Page 72: ...lowing values a problem could exist with the battery 7V for 6V battery the voltage difference between the battery and any other batteries in the battery rack is larger than 0 5V 14V for 12V battery th...

Page 73: ...ls or connectors The battery terminal and related accessories contain lead and lead components Wash your hands after handling them Use and Care of Lithium Battery The requirements for the use and care...

Page 74: ...for outdoor use Indoor machine is strictly prohibited for outdoor use For outdoor machine the ground controller can choose indoor mode and outdoor mode Select outdoor mode the maximum working platfor...

Page 75: ...limit switches Check wires to the switches check the down limit switch and connections 20 BMS Comm Fault Disable Lifting and Driving BMS Comm Fault Check communications cable connections and other wir...

Page 76: ...ble Button ON Disable Platform Control Platform Joystick Enable Switch ON at power up Fault Ensure that nothing is holding the Enable switch closed Also check the neutral zone parameters If OK conside...

Page 77: ...Controller Motor Short Fault Disable All Motion Motor Controller Motor Short Fault Check wiring first then cycle power If needed replace controller 64 Motor Controller SRO Fault Disable Lifting and Dr...

Page 78: ...Controller 75 Motor Controller Pump Motor Fault Disable All Motion Motor Controller Pump Motor Fault Check connections to the Pump Motor Cycle power to the lift and if that does not resolve the issue...

Page 79: ...e to the vehicle frame 90 Over 90 Load Warning Warning Only Over 90 Load Warning Platform is getting close to its limit of weight Consider not adding more load 91 Left Motor Field Short Disable Liftin...

Page 80: ...her the Deltatech plug of ground controller is firm or correct Operation of the ground controller is invalid The key switch has not been turned to the operation of the ground control position The key...

Page 81: ...warning appears when the machine has no load The load has not been calibrated this is the first lifting lowering Re calibrate the load coefficient Lift and lower it several times The forward function...

Page 82: ...ad sensor is incorrect The sensor is not in good condition The machine moves and then stops intermittently The battery level is low the calibration is incorrect Re calibrate the parameters The battery...

Page 83: ...8 46 7096 14 7538 34 4087 28 5682 28 5682 34 3393 28 5682 46 7096 28 5682 46 7096 28 5682 32 0000 30 0000 16 0000 16 0000 CHARGE CHARGE SQ Li 28 5682 28 5682 34 3393 28 5682 46 7096 28 5682 46 7096 28...

Page 84: ...MAINTENANCE PROCEDURES Symbol Description Symbol Description Storage battery Lithium battery Fuse Li 46 7096 14 7538 34 4087 34 3393 28 5682 16 0373 46 8000 Li 14 7538 46 7096 14 7538 34 4087 34 3393...

Page 85: ...el angle sensor 3 1 U4 7 04 P B MP Pump control motor BATT 12 14 14 3 4 15 5 11 2 T1 MC Motor controller B T2 17 312 313 314 317 316 1 Drive reducer left Drive reducer right 315 07 210 13 04 Main cont...

Page 86: ...Jul 2020 5 28 GTJZ0612E 0812E 1012E 1212E Maintenance Manual MAINTENANCE PROCEDURES...

Page 87: ...307 Angle sensor Platform control box A 14 A 34 A 35 A 23 A 12 A 22 A 16 A 26 A 13 A 24 A 21 A 6 A 19 A 30 A 18 A 10 A 32 A 33 A 20 A 4 A 5 215 Pressure sensor 07 A 25 A 15 Turn left front wheel Turn...

Page 88: ...Jul 2020 5 30 GTJZ0612E 0812E 1012E 1212E Maintenance Manual This Page Intentionally Left Blank MAINTENANCE PROCEDURES...

Page 89: ...Functional Inspection Machine Buyer Renter Inspector Signature Inspector Title Inspector Company NOTE 1 Prepare the machine before delivery which includes performing a pre delivery inspection followi...

Page 90: ...Jul 2020 A 2 GTJZ0612E 0812E 1012E 1212E Maintenance Manual This Page Intentionally Left Blank MAINTENANCE PROCEDURES...

Page 91: ...oose or Lost Parts A 4 Inspect Hydraulic Oil Level A 5 Inspect Hydraulic Oil Leakage A 6 Functional Tests A 7 Inspect Emergency Low ering Function A 8 Test Braking Device A 9 Full Lifting and Full Low...

Page 92: ...ation System B 6 Inspect Brake Manual Release Function Checklist C Procedures Items YES Machine is in Good Condition NO Machine Has Damage or Malfunction REPAIRED Ma chine Has Been Repaired Problem De...

Page 93: ...ch inspection Store the completed tables for 10 years or until the machine is no longer in use or as required by machine owner company custodian 3 Use the table to record the results After each sectio...

Page 94: ...td 112 Robinson Road 03 01 Robinson 112 Singapore 068902 50 358 Clarendon St South Melbourne VIC 3205 Australia E mail au sinoboom com Hunan Sinoboom Intelligent Equipment CO Ltd No 128 East Jinzhou A...

Reviews: