Simrad S-band HSC SRT, Installation Manual Addendum
The Simrad S-band HSC SRT product installation manual addendum is a valuable resource for obtaining detailed instructions on setting up and installing this advanced marine radar system. Conveniently available for free download, users can easily access the manual from our website to ensure a seamless installation process.
Share
Download


Reviews:
No comments
Related manuals for S-band HSC SRT

DSB-650TX
Brand: D-Link Pages: 10

DHP-P500AV
Brand: D-Link Pages: 2

DU-520
Brand: D-Link Pages: 13

DBT-122
Brand: D-Link Pages: 2

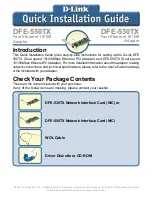
DFE-570TX
Brand: D-Link Pages: 19

D DPH-50U DPH-50U
Brand: D-Link Pages: 43
DFE-550TX
Brand: D-Link Pages: 4

DGE-660TD
Brand: D-Link Pages: 12

DFE-528TX
Brand: D-Link Pages: 8

DGE-560SX
Brand: D-Link Pages: 4

DFE-538TX
Brand: D-Link Pages: 4

DFE-538TX
Brand: D-Link Pages: 5

DUB-E100
Brand: D-Link Pages: 8
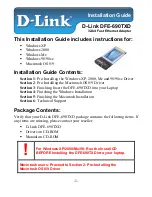
DFE-690TXD
Brand: D-Link Pages: 10

DHP-308AV
Brand: D-Link Pages: 2

WNHD3004 - High Performance Wireless-N HD Home Theatre Adapter
Brand: NETGEAR Pages: 23

BTM511
Brand: Laird Pages: 46

CB-USB20PL
Brand: Vantec Pages: 4


