SIGNIFY 704964, Instruction Manual
"SIGNIFY 704964 Instruction Manual: Easily access this comprehensive user manual for your SIGNIFY 704964 product. Download it for free from our website, offering a convenient way to understand the features, troubleshoot issues, and maximize your product's performance. Empower yourself with this essential manual to unlock the full potential of your SIGNIFY 704964."
Share
Download


Reviews:
No comments
Related manuals for 704964

Jump
Brand: Dashr Pages: 2

CL05
Brand: Fenix Pages: 4
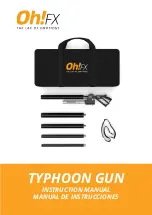
TYPHOON
Brand: Oh!FX Pages: 8

Tear Down Tray
Brand: OEM Tools Pages: 4

081504
Brand: Westinghouse Pages: 12

Six Post Deluxe
Brand: Bison Pages: 2

BST8407MB
Brand: Quoizel Pages: 2

O2 Technology Dream Cap
Brand: Altitude Dream Pages: 4

MO3559
Brand: MOB Pages: 3

FTC9010EK
Brand: Quoizel Pages: 2

UFUN-50003
Brand: LIGMAN Pages: 2
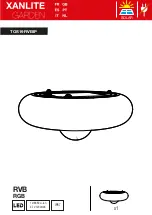
TOS19RVBIP
Brand: XanLite Pages: 4

T23120
Brand: Grizzly Pages: 6

Extreme 426cm
Brand: JumpXfun Pages: 28

ROOK 2
Brand: Triple Seven Pages: 23

LIQ 70-AB7L-LR/11000-730 14G1S
Brand: Trilux Pages: 17

23151SK-PTX
Brand: ABSCO SHEDS Pages: 19

DPEZ5F0
Brand: Gama Sonic Pages: 4


