background image

Simple data sample and store to USB
with the SDM3000 series of DMMs

In some applications, it can be helpful to collect data for a period of time
and then analyze the data using a spreadsheet program like Microsoft Excel©.

In this operating tip, we are going to show you step-by-step instructions on
setting up a SIGLENT SDM3000 series DMM (SDM3045X, SDM3055, or SDM3065X) to
save a set number of samples to an external USB memory device and then plot
it using Excel©.

Setup:

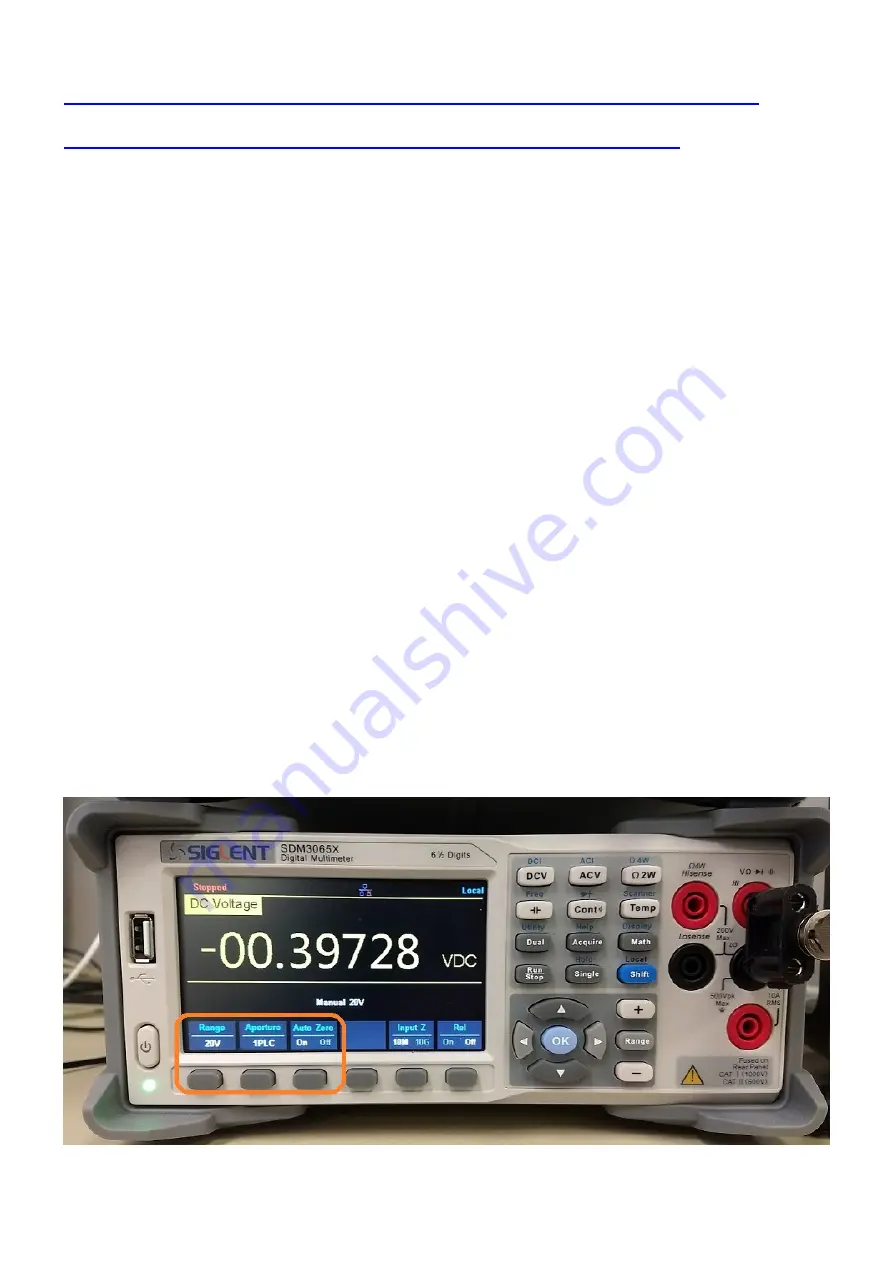
Configure the meter for the measurement of interest.

In this example, we want to measure DCV

1.

2. 20 V fixed range

3. Set the measurement aperture to 1 PLC. This is sometimes referred to as
the NPLC or measurement integration time.. higher values for NPLC = slower
but more accurate measurements.

1 NPLC is 1 Power Line Cycle.. or 1/60 Hz here in North America.

NOTE: You can also disable AutoZero to measure faster, but this disables
the AutoZero reference measurement for each sample. Over time (and
varying temperature), the readings will drift and increase inaccuracies.

4. Connect the inputs of the DMM to the signal source that you wish to
measure


Summary of Contents for SDM3000 Series

Page 1: ...ing Excel Setup Configure the meter for the measurement of interest In this example we want to measure DCV 1 2 20 V fixed range 3 Set the measurement aperture to 1 PLC This is sometimes referred to as...

Page 2: ...Stop to stop data collection This is indicated by a red 1 Stopped indication on the display 2 Clear the memory buffer by pressing Math Statistics Clear Readings The number of stored samples is shown...

Page 3: ...the sample trigger to the desired number In this example we are going to set the sample count to 100 using the Up Down Left Right keypad NOTE Left adds decimal places right subtracts Up adds digits a...

Page 4: ...Single button to start the acquisition When the meter is collecting data there will be a flashing green dot and the word trig on the display The sample count will also increment as each measurement i...

Page 5: ...umber should equal to the setpoint in step 3 6 You can insert a USB stick FAT32 format into the front panel USB port and wait for the device to be recognized now or at any point from now till the actu...

Page 6: ...Set current Path to External by pressing Browse and use the Up Down range arrows to highlight external and press select External will only appear when a USB memory stick FAT32 format is inserted into...

Page 7: ......

Page 8: ...ight arrows to select values 12 Remove the USB stick and open in a spreadsheet program Here you can see all of the voltages stored on the memory stick NOTE The data does not currently store timestamp...

Page 9: ...total test time by the number of points collected and then manually enter the calculated timestamps for each point...

Reviews: