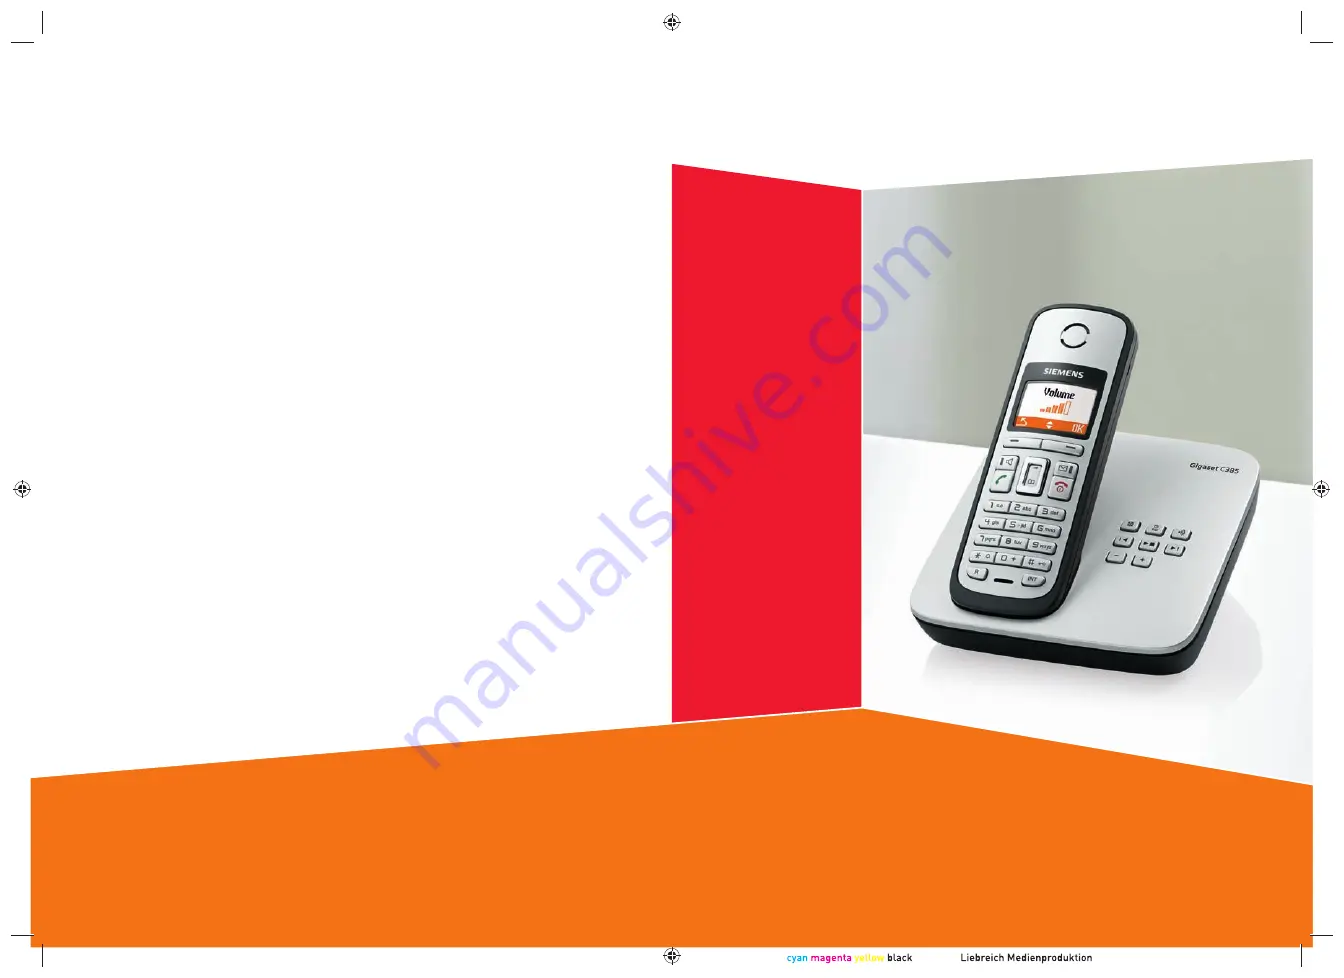
background image

s

Gigaset

Gigaset


C385

Ba Cover C380_C385 Kombi.indd   2-3

Ba Cover C380_C385 Kombi.indd   2-3

21.04.2008   14:26:52 Uhr

21.04.2008   14:26:52 Uhr

Issued by

Gigaset Communications GmbH 

Schlavenhorst 66, D-46395 Bocholt

Gigaset Communications GmbH is a trademark licensee of Siemens AG

© Gigaset Communications GmbH 2008

All rights reserved.

Subject to availability. Rights of modifications reserved.

www.gigaset.com

Summary of Contents for Gigaset C385

Page 1: ...8 14 26 52 Uhr 21 04 2008 14 26 52 Uhr Issued by Gigaset Communications GmbH Schlavenhorst 66 D 46395 Bocholt Gigaset Communications GmbH is a trademark licensee of Siemens AG Gigaset Communications GmbH 2008 All rights reserved Subject to availability Rights of modifications reserved www gigaset com ...

Page 2: ...ff press and hold With an existing connection Switch between dial pulsing touch tone dialling press briefly 11 Key 1 page 39 Dial answer machine C385 only network mailbox press and hold 12 Connection socket for headset page 15 13 Talk key Answer a call open last number redial list press briefly start dialling press and hold When writing an SMS send SMS 14 Handsfree key Switch between earpiece and ...

Page 3: ... the playback press briefly Play back new and old messages press and hold LED flashes At least one new message is present LED flickers Memory is full 4 Skip to next message press once or next message but one press twice 5 Skip back to beginning of message press once or to previous message press twice 6 Delete current message 7 Adjust volume during message playback ð quieter ñ louder While an exter...

Page 4: ...ay keys 17 Keys on the keypad 18 Correcting incorrect entries 18 Menu guidance 18 Activating deactivating the handset 19 Activating deactivating the keypad lock 19 Illustration of operating steps in the user guide 20 Menu tree 21 Making calls 23 Making an external call 23 Ending a call 23 Answering a call 23 Calling Line Identification 23 Handsfree talking 24 Muting 24 Using the directory and list...

Page 5: ...andsets 41 De registering handsets 42 Locating a handset paging 42 Making internal calls 42 Listening in to an external call conference 43 Handset settings 43 Changing date and time 43 Changing the display language 43 Setting the display 44 Activating deactivating auto answer 44 Changing the handsfree earpiece volume 44 Changing ringer tones 44 Advisory tones 45 Restoring the handset to the factor...

Page 6: ...19 C385_A585IVZ fm 17 10 2008 Version 4 29 10 2007 Appendix 52 Care 52 Contact with liquid 52 Specifications 52 Writing and editing text 54 Accessories 55 Mounting the base station to the wall 58 Mounting the charging cradle to the wall 58 Index 59 ...

Page 7: ... technical conditions in your particular environment e g doctor s surgery Do not hold the rear of the handset to your ear when it is ringing or when the handsfree function is activated Otherwise you risk serious and permanent damage to your hearing The handset may cause an unpleasant humming noise in hearing aids Do not install the base station or charging cradle in bathrooms or shower rooms The b...

Page 8: ...se station 2 one mains adapter 3 one Gigaset C38H handset 4 one phone cord 5 two batteries 6 one battery cover 7 one belt clip 8 one user guide If you have purchased a model with multiple handsets the package should contain two batter ies a battery cover a belt clip and a charging cradle 9 with mains adapter J for each additional hand set 2 1 3 4 5 7 6 or 8 9 J ...

Page 9: ...w to mount the base station and charging cradle to a wall see page 58 Please note u Never expose the telephone to the influence of heat sources direct sunlight or other electrical devices u Protect your Gigaset from moisture dust corrosive liquids and vapours Connecting the base station First connect the mains adapter 1 Then connect the telephone jack 2 and insert the cables into the cableducts Pl...

Page 10: ... Version 4 29 10 2007 Connecting the charging cradle if included Plug the mains adapter into the plug socket 2 Connect the flat plug of the mains adapter 1 If you need to disconnect the plug from the charging cradle press the release button 1 and disconnect the plug 2 1 2 1 2 ...

Page 11: ...could result in sig nificant health risks and personal injury For example the batteries could explode The phone could also malfunction or be damaged as a result of using batteries that are not of the recommended type Gigaset Communications GmbH is a trademark licensee of Siemens AG Insert the batter ies the right way round The polarity is indicated in on the battery compartment First insert the ba...

Page 12: ...ernal handset number appears on the display e g INT 2 If the inter nal numbers 1 4 are already assigned to other devices the number 4 will be overwritten Handset is registering ë Ð V Þ Menu Before you can use the phone you must first register the handset to the base station Place the handset with the display facing up in the base station The handset registers automatically Registration can take up...

Page 13: ... Please note Only place the handset in the base station or charging cradle that is intended for it Please note u After the first battery charge and discharge you may replace your hand set in its base station or charging cradle after every call u Always repeat the charging and discharging procedure if you remove the batteries from the handset and reinsert them u The batteries may warm up during cha...

Page 14: ... calls and so that the alarm can be used Press the key below Menu on the display screen to open the main menu Press the bottom of the control key until the Settings menu item appears Þ Menu Settings Ç U OK Press the key below OK on the display screen to confirm your selection Date Time Ç U OK The Date Time menu item appears on the display Press the key below OK on the display screen to open the in...

Page 15: ...s marked Enter day month and year as an 8 digit number via the handset e g Q Q2QQN for 01 10 08 If you want to correct an entry press the top or bottom of the control key to toggle between fields Press the key below OK on the display screen to confirm your selection Enter Time 07 15 Ç T OK Ç T OK Press and hold the end call key a to return to the idle status The display shows Saved You will hear a...

Page 16: ... be dis played in the header Your answer machine is set with a pre recorded announcement Your phone is now ready for use Connecting the headset You can connect various headset types with 2 5 mm jack connector including HAMA Plantronics M40 MX100 and MX150 A compatibility list of tested headsets can be found on the Internet at www plantronics com productfinder Please note The range icon is only dis...

Page 17: ... read the section entitled Using the phone page 17 If you have any questions about using your phone please read the tips on troubleshooting page 49 or contact our Customer Care team page 49 Information on is located here Setting the ringer tone melody and volume page 44 Setting the handset volume page 44 Recording a personal message for the answer machine page 35 Setting Eco Mode Eco Mode page 40 ...

Page 18: ...ry tones page 45 In the main menu in submenus and lists t s Scroll up down line by line In input fields Use the control key to move the cursor to the left t or right s During an external call s Open the directory t Adjust the loudspeaker volume for earpiece and handsfree mode Display keys The function of the display keys changes depending on the particular operat ing situation Example Important di...

Page 19: ...to open the main menu The main menu functions are shown on the display as a list with name and icon To access a function i e to open the corresponding submenu next menu level Navigate to the function using the control key q Press the display key OK Submenus The functions in the submenus are displayed as lists To access a function Scroll to the function with the control key q and press OK Or Enter ...

Page 20: ... end call key again to switch the handset on Activating deactivating the keypad lock The keypad lock prevents any inadvertent use of the phone Press and hold the hash key to activate or deactivate the keypad lock You will hear the confirmation tone When the keypad lock is activated you will see the Ø icon on the display and a message when you press a key The keypad lock is deactivated automaticall...

Page 21: ...ay key Menu to open the main menu Press the bottom of the control key s until the Settings menu item appears on the display Þ Menu Press the display key OK to con firm your selection Auto Answer Ç U OK The Auto Answer menu item appears on the display Press the display key OK to acti vate deactivate the function on Handset Ç U OK Settings Ç U OK Press the bottom of the control key s until the Hands...

Page 22: ...ing page 32 1 3 Outgoing page 31 1 4 Settings 1 4 1 Service Centres page 33 4 ì Alarm Clock 4 1 Activation page 41 4 2 Wake up time page 41 5 þ Voice Mail 5 1 Set Key 1 5 1 1 Network Mailbox page 39 5 1 2 Answer Machine page 39 5 2 Answerphone page 35 5 3 Call Screening 5 3 1 Handset page 37 5 3 2 Base page 37 5 4 Announcements 5 4 1 Record Announcement page 35 5 4 2 Play Announcement page 35 5 4 ...

Page 23: ...2 5 Battery Low page 45 7 3 Handset 7 3 1 Display page 44 7 3 2 Language page 43 7 3 3 Auto Answer page 44 7 3 4 Register Handset page 41 7 3 5 Reset Handset page 46 7 4 Base 7 4 1 Audio Settings C385 base station only page 46 7 4 2 Calls List Type page 28 7 4 3 System PIN page 46 7 4 4 Base Reset page 47 7 4 5 Additional Features 7 4 5 1 Repeater Mode page 46 7 4 5 3 Eco Mode page 40 7 4 5 4 Eco ...

Page 24: ...t Silent You can take the call as long as it is displayed on the screen Calling Line Identification When you receive a call the caller s number is displayed on the screen if the following conditions are met u Your network provider supports CLIP CLI CLI Calling Line Identification the caller s number is transmitted CLIP Calling Line Identification Presentation the caller s number is displayed u You...

Page 25: ...now someone else is listening Switching between earpiece and handsfree mode d Press the handsfree key During a call and when listening to the answer machine Gigaset C385 only acti vate or deactivate handsfree mode If you wish to place the handset in the charging cradle during a call Press and hold the handsfree key d while placing the handset in the base station If the handsfree key d does not lig...

Page 26: ...ectory s Menu New Entry Enter the number and press OK Enter the name and press OK Order of directory entries The directory entries are usually sorted in alphabetical order Spaces and digits take first priority The sort order is as follows 1 Space 2 Digits 0 9 3 Letters alphabetical 4 Other characters To get round the alphabetical order of the entries insert a space or a digit in front of the name ...

Page 27: ...ered to the same base station u The other handset and the base station can send and receive directory entries s q select entry Menu open menu Send Entry Send List Enter the internal number of the receiving handset and press OK Successful transmission is acknowledged with the message Entry copied You can transfer several individual entries one after the other by responding OK to the Next entry prom...

Page 28: ...and the fast access is set for the net work mailbox page 39 u Call history The message key f will flash as soon as a new entry is received in a list switches off when the key is pressed The message You have new messages appears in the dis play in idle status List selection The lists displayed after pressing the mes sage key f depend on whether there are any new messages f key does not flash no new...

Page 29: ...machine list Play back begins New messages are placed after old messages when they have been played back You can scroll through the list with q List entry Example of a list entry u Status of entry In the calls list New Call new missed call Old Call entry already read Call recv call taken In the answer machine list Answer M Gigaset C385 the answer machine took the call A message was left New Msg Gi...

Page 30: ...s an entry in the without preselection list u The preselection number is prefixed if the first digits of the dialled number match only one entry in the with preselection list Saving preselection numbers Menu Settings Base Preselection Preselection Number Enter or edit preselection number call by call number OK Press the display key The entry is saved a Press and hold idle status Save or change ent...

Page 31: ...9 10 2007 Displaying the call duration The duration of a call is displayed u during the conversation u until about three seconds after the call has ended if you do not replace the handset in the base station or charging cradle Please note The actual duration of the call can vary from that shown by a few seconds ...

Page 32: ... SMS Service Centre page 33 Information on writing an SMS can be found in the appendix page 54 An SMS may contain up to 160 characters Please note u If your phone is connected to a PABX please read page 33 u To receive SMS messages you must be registered with your service provider Writing sending an SMS Menu SMS Write Message Write an SMS For how to enter text page 54 Menu Send Text Select and pre...

Page 33: ...er it has been read you should regularly delete SMS messages from the list Incoming message list The incoming message list contains u All received SMS messages starting with the latest u SMS messages that could not be sent due to an error New SMS messages are signalled on all Gigaset C45 handsets by a message in the display the flashing message key f and an advisory tone Opening the incoming messa...

Page 34: ... changing SMS centres You should find out about the services and special functions offered by your service provider before you make a new application and before you delete preconfigured phone numbers Menu SMS Settings Service Centres q Select an SMS centre e g SMS centre 1 and press OK You have the following options Active Send Srvc Cent If the SMS messages are to be sent through this SMS centre p...

Page 35: ...ou cannot send messages 1 You have not requested the CLIP service Calling Line Identification Presentation Ask your service provider to enable this service 2 SMS transmission has been interrupted e g by a call Re send the SMS 3 Network provider does not support this feature 4 No number or an invalid number is entered for the SMS centre set as the active send service centre Enter the number page 33...

Page 36: ...t is used if no per sonal announcement is available If the memory is full a corresponding message will appear on the display and the answer machine is automatically deac tivated It activates again automatically when you delete old messages Recording your own announcement Menu Voice Mail Announcements Record Announcement OK Press the display key to start the recording You hear the ready tone short ...

Page 37: ... list page 28 Stopping and controlling playback During message playback 2 Pause playback Press 2 again to resume or Menu Stop playback Press OK to resume t or Return to the start of the cur rent message Press twice to go back to the previous message s or 3 Skip to the next message Press twice to skip to the next but one message If playback is interrupted for over a minute the answer machine return...

Page 38: ... Auto mode the following applies for call acceptance u If there are no new messages the answer machine answers a call after 18 seconds u If new messages are present the answer machine accepts a call after just 10 seconds Menu Voice Mail Ring Delay q Select an option Immediately 10 sec 18 sec 30 sec Auto and press OK on a Press and hold idle status Setting the recording time You can set the maximum...

Page 39: ...e answer machine and playing back messages Dial your own number 9 When you hear your announcement press 9 and enter the system PIN You will be informed whether any new messages have been recorded The mes sages are now played back You can now operate the answer machine with the key pad The following keys are used for operation A To return to the start of the current message Press twice to go back t...

Page 40: ...x e g the T Home voice mailbox Ask your network provider about this Configuring fast access for the network mailbox and entering the network mailbox number Menu Voice Mail Set Key 1 Network Mailbox Select and press OK on Enter the network mailbox number and press OK a Press and hold idle status The setting for fast access applies to all handsets Calling the network mailbox Press and hold You are c...

Page 41: ...o Mode 100 transmission power deactivation in standby mode Activate deactivate Eco Mode Eco Mode Menu Settings Base Additional Features Eco Mode Eco Mode OK Press the display key on Status displays Display icon Ð i Ñ Ò flashes Reception strength good to low no reception Eco Mode enabled displayedinsteadofthe reception strength icon when in idle status Icon green Eco Mode enabled Please note u With...

Page 42: ... Off Press the display key Using several handsets Registering handsets You can register up to four handsets on your base station For how to register your handset automat ically page 11 If automatic registration does not work you will have to register the handset man ually Manualregistration of Gigaset C38Hto Gigaset C380 C385 You must activate manual registration of the handset on both the handset...

Page 43: ...on or press the talk key c on the handset Making internal calls Internal calls to other handsets registered on the same base station are free Calling other handsets k Start internal call The display shows Insert INT No Enter the internal number of the receiving handset and press OK The handset is called or All Press the display key and OK All handsets are called Ending a call a Press the end call ...

Page 44: ...l display information to that effect You want to listen in to the external call c Press and hold the talk key You are linked into the call All participants hear a signal tone Conference Call appears in the display Ending listening in a An internal participant presses the end call key All participants hear a signal tone This does not affect the connection between the other internal participants and...

Page 45: ...dsfree earpiece volume You can adjust the volume for handsfree talking to one of five settings 1 5 e g volume 3 Š and the earpiece volume to one of three 1 3 e g volume 2 Setting the volume during a call The setting applies to the current mode earpiece or hands free You are conducting an external call t Press the control key q Set the volume The setting will automatically be saved after approx 3 s...

Page 46: ...appears in the display Reactivating the ringer Press and hold the star key in idle status Advisory tones Your handset uses advisory tones to tell you about different activities and statuses The following tones can be activated and deactivated independently of each other u Advisory tones Key click every key press is con firmed Confirmation tone rising tone sequence at the end of an entry setting wh...

Page 47: ...tars Enter your new system PIN and press OK a Press and hold idle status Resetting the system PIN If you have forgotten the system PIN you can reset it to the original code 0000 by resetting the base station to its default set tings This will also reset every other setting see Restoring the base station to the factory settings page 47 Changing ringer tones u Volume You can choose between five volu...

Page 48: ...settings are reset u All lists are deleted u The system PIN is reset to the original code 0000 u Eco Mode is deactivated Only the date and time are retained Resetting the base station via the menu Menu Settings Base Base Reset OK Press the display key to confirm Resetting the base station using a key on the base station Disconnect the power cord from the base station Hold down the registration pag...

Page 49: ... ms 4 250 ms 5 300 ms 6 600 ms 7 800 ms a Press and hold idle status Setting pauses Changing pause after line seizure You can change the length of pause that is inserted between pressing the talk key c and sending the number Menu M 4 O O Enter digit for the pause length 1 1 sec 2 3 sec 3 7 sec and press OK a Press and hold idle status Changing the pause after the recall key You can change the leng...

Page 50: ...1 The handset is not switched on Press and hold the end call key a 2 The batteries are flat Charge or replace the batteries page 10 Base flashes in the display 1 The handset is outside the range of the base station Move the handset closer to the base station The base station s range is reduced because Eco Mode mode is activated Deactivate Eco Mode page 40 or reduce the distance between the handset...

Page 51: ...id if the device defect is attributable to improper treatment and or failure to comply with information contained in the user guides u This Guarantee shall not apply to or extend to services performed by the authorised dealer or the customer themselves e g installation configu ration software downloads User guides and any software supplied on a separate data medium shall be excluded from the Guara...

Page 52: ...he relevant number is to be found in the accompanying user guide Environment Our environmental mission statement We at Gigaset Communications GmbH carry social responsibility and are actively engaged in the interests of a better world Our ideas technologies and actions serve people society and the environment The aim of our global activity is to secure sus tainable life resources for humanity We a...

Page 53: ...r reuse and recycling of used electrical and electronic equipment For more detailed information about dis posal of your old appliance please con tact your local council refuse centre or the original supplier of the product Appendix Care Wipe the base station charging cradle and handset with a damp cloth do not use solvent or an antistatic cloth Never use a dry cloth This can cause static Contact w...

Page 54: ...ly updated www gigaset com customercare Base station power consumption General specifications Pin connections on the telephone jack Capacity mAh approx 550 650 800 1000 Standby time hours 210 240 305 380 Talktime hours 21 25 31 38 Operating time for 1 5 hrs of calls per day hours 85 100 125 155 Charging time base station hours 9 11 14 17 Charging time charging cradle hours 7 8 10 12 In standby con...

Page 55: ...ress and hold a key the char acters of that key appear in the display and are highlighted one after the other When you release the key the highlighted character is inserted into the input field Setting upper lower case or digits Press the hash key briefly to switch from Abc mode to 123 and from 123 to abc and from abc to Abc upper case 1st letter upper case all others lower case Press the hash key...

Page 56: ...display 65k colours u Illuminated keypad u Handsfree talking u Polyphonic ringer tones u Directory for around 150 entries u SMS precondition CLIP must be enabled u Headset socket www gigaset com gigasetC38H Gigaset A58H handset u Illuminated graphic display u Illuminated keypad u Handsfree talking u Polyphonic ringer tones u Directory for around 150 entries u SMS precondition CLIP must be enabled ...

Page 57: ...inated keypad u Handsfree talking u Polyphonic ringer tones u Directory for around 250 entries u Picture CLIP u SMS precondition CLIP must be enabled u Headset socket u Bluetooth S68H only u Room monitor www gigaset com gigasetS67H www gigaset com gigasetS68H Gigaset SL37H handset u Illuminated graphical colour display 65k colours u Illuminated keypad u Handsfree talking u Polyphonic ringer tones ...

Page 58: ...t u Dust and splash proof casing u Illuminated colour display 4096 colours u Illuminated keypad u Handsfree talking u Polyphonic ringer tones u Directory for around 150 entries u SMS precondition CLIP must be enabled u Headset socket u Room monitor www gigaset com gigasetE45 Gigaset repeater The Gigaset repeater can be used to increase the reception range of your Gigaset handset to the base statio...

Page 59: ...the wall C380 C385 GBR A31008 M2026 L101 1 7619 accessories_SAG fm 17 10 2008 Version 4 29 10 2007 Mounting the base station to the wall Mounting the charging cradle to the wall approx 2 5 mm C380 40 mm C385 46 mm approx 2 5 mm 21 mm ...

Page 60: ...system PIN 46 Battery charging 1 12 display 1 icon 1 11 inserting 10 recommended batteries 52 warning tone 45 C Call accepting 23 ending 23 external 23 internal 42 party listening in 43 picking up from answer machine 36 transferring connecting 42 Call acceptance 37 44 Call duration 23 30 Call history 27 Call screening during recording 37 Call waiting during an internal call 43 Calling external 23 ...

Page 61: ...44 contrast 44 in idle status 18 keys 1 17 network mailbox report 39 number CLI CLIP 23 screensaver 44 setting 44 Disposal 52 DP dial pulsing 48 DTMF touch tone dialling method 48 E Earpiece mode 24 Earpiece volume 44 ECO DECT 40 Eco mode 40 Eco mode 40 End call key 1 23 Ending call 23 Ending see Deactivating Entry saving network mailbox 39 saving changing preselection 29 selecting from directory ...

Page 62: ...cess 1 37 handsfree key 1 hash key 1 19 internal key 1 message key 1 on off key 1 recall key 1 speed dial 26 star key 1 45 talk key 1 23 L Last number redial 27 Liquid 52 List answer machine 27 28 answer machine list 28 call history 27 draft message list SMS 31 incoming message list SMS 32 missed calls 27 28 network mailbox 27 SMS list 27 Locating handset 42 Lock activating deactivating keypad loc...

Page 63: ...9 cancelling 29 Protecting the phone against access 46 Q Questions and answers 49 R Range 8 Recall 48 time 48 Recall key 1 pause after 48 Reception booster see Repeater Recording time answer machine 37 Registering handset 41 Remote operation 38 Repeater 46 Ringer changing 44 setting melody 45 46 setting volume 44 46 S Screen protection see Screensaver Screening a call 43 Screensaver 44 Searching i...

Page 64: ... pin connections 53 Telephone system setting pauses 48 Text message see SMS Touch tone dialling 48 Troubleshooting SMS 34 U Unknown caller 23 V Viewing the network mailbox report 39 Volume earpiece volume 44 handset handsfree volume 44 ringer 44 46 W Warning tone battery 45 Writing SMS 31 Writing and editing a text message 54 ...

Page 65: ......

Reviews: