03/10/20
XL-HP404E(A)_FRONT.fm
TINSEA009AWZZ
Thank you for purchasing this SHARP product.
To obtain the best performance from this product,
please read this manual carefully. It will guide you in
operating your SHARP product.
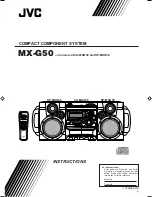
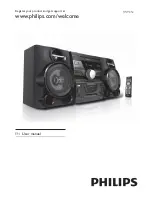
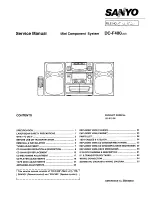
MICRO COMPONENT SYSTEM
XL-HP404E Micro Component System consisting of XL-
HP404E (main unit) and CP-HP404E (speaker system).
XL-HP404E(A) TINSEA009AWZZ
1
MODEL
OPERATION MANUAL
XL-HP404E