background image

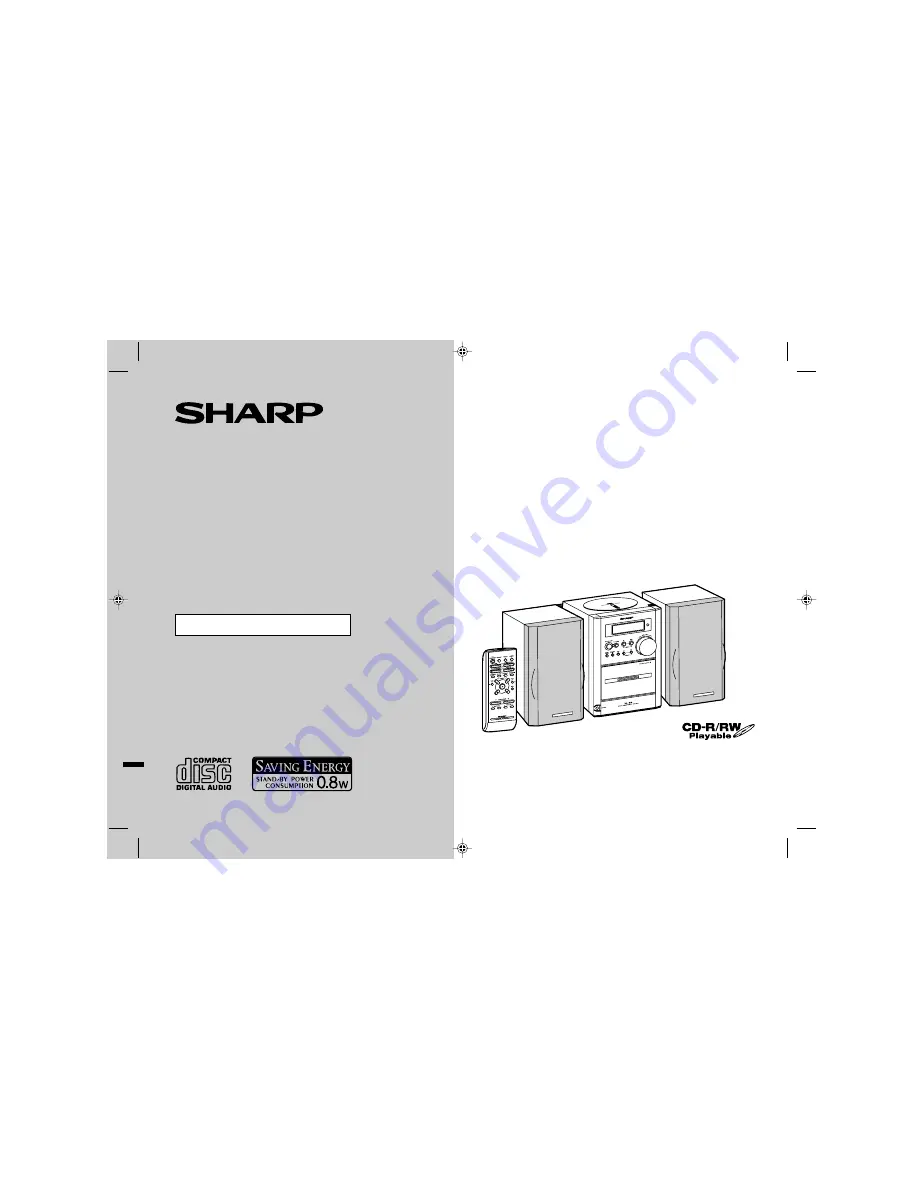
MICRO COMPONENT SYSTEM

MODEL

XL-35W

OPERATION MANUAL

Thank you for purchasing this SHARP product.
To obtain the best performance from this product, 
please read this manual carefully. It will guide you in 
operating your SHARP product.

XL-35W Micro Component System consisting of XL-35W 
(main unit) and CP-XL45H (speaker system).

Summary of Contents for XL-35W

Page 1: ... you for purchasing this SHARP product To obtain the best performance from this product please read this manual carefully It will guide you in operating your SHARP product XL 35W Micro Component System consisting of XL 35W main unit and CP XL45H speaker system ...

Page 2: ...to record Copying or broadcasting such material without permission of the relevant lic ensees or owners of the copyright is prohibited by law SHARP is not in a position to authorise the copying or broadcasting of copy right materials and nothing in this OPERATION MANUAL should be implied as giving that authority For other countries Audio visual material may consist of copyrighted works which must ...

Page 3: ...ation Sound control 11 Setting the clock 12 CD Playback Listening to a CD 13 15 Programmed play 16 Radio Listening to the radio 17 Listening to memorised stations 18 Tape Playback Listening to a cassette tape 19 20 Tape Recording Recording to a cassette tape 21 22 Advanced Features Timer and sleep operation 23 25 Enhancing your system 25 References Troubleshooting chart 26 27 Maintenance 27 Specif...

Page 4: ...efer internal service to your local SHARP service facility The ventilation should not be impeded by covering the ventilation openings with items such as newspapers tablecloths curtains etc No naked flame sources such as lighted candles should be placed on the apparatus Attention should be drawn to the environmental aspects of bat tery disposal This unit should only be used within the range of 5 C ...

Page 5: ...21 22 13 CD Track Down or Fast Reverse Tape Rewind Tuner Preset Down Button 14 15 18 20 14 CD Track Up or Fast Forward Tape Fast Forward Tuner Preset Up Button 14 15 18 20 15 Timer Play Indicator 16 Tape Record Indicator 17 Sleep Indicator 18 CD Random Play Indicator 19 Memory Indicator 20 FM Stereo Mode Indicator 21 FM Stereo Receiving Indicator 22 CD Play Indicator 23 CD Repeat Play Indicator 24...

Page 6: ...e Play Button 13 19 13 CD or Tape Stop Button 14 20 14 Volume Up and Down Buttons 11 23 15 Bass Up and Down Buttons 11 16 Timer Button 23 17 Sleep Button 24 18 Video Auxiliary Button 25 19 Tape Button 19 20 Repeat Button 15 21 Random Button 15 22 CD Track Up Tuner Preset Up Button 12 14 15 18 23 CD Fast Forward Tuning Up Tape Fast Forward Button 15 17 20 24 Tape Record Pause Button 21 22 25 CD Pau...

Page 7: ...ly clean the transmitter on the remote control and the sensor on the unit with a soft cloth Exposing the sensor on the unit to strong light may interfere with operation Change the lighting or the direction of the unit Keep the remote control away from moisture heat shock and vibrations Test of the remote control Check the remote control after checking all connections have been made correctly See p...

Page 8: ...1 fm 7 XL 35W Preparation for Use System connections Left speaker Right speaker Left speaker See page 25 Black White line Right speaker VCR DVD etc RCA lead not supplied AM loop aerial FM aerial To a wall socket See page 9 ...

Page 9: ...istake the right and the left channels The right speaker is the one on the right side when you face the unit Placing the speaker system There is no physical distinction between the right and the left speak ers Note The speaker grilles are not removable Supplied FM aerial Connect the FM aerial wire to the FM 75 OHMS socket and position the FM aerial wire in the direction where the strongest signal ...

Page 10: ...127 V 220 V or 230 V 240 V AC Connecting the AC power lead After checking all the connections have been made correctly connect the AC power lead to the AC power input socket then into the wall socket Notes Unplug the AC power lead from the wall socket if the unit will not be in use for a prolonged period of time Never use a power lead other than the one supplied Use of a power lead other than the ...

Page 11: ...witched and the AC power lead disconnected the AM span will be automatically returned to 9 kHz FM span to 50 kHz If this happens set the span again When the span is switched all the memorised stations will be cancelled 1 Press the ON STAND BY button to turn the power on 2 Press the FUNCTION button until AM appears on the display If AM 531 kHz is displayed it means that AM stations have been adjust...

Page 12: ...the VOL UME button to decrease the volume Adjusting the bass Main unit operation 1 Press the BASS TREBLE button to select BASS 2 Within 5 seconds turn the VOLUME control to adjust the bass Remote control operation Press the BASS or button to adjust the bass Adjusting the treble Main unit operation 1 Press the BASS TREBLE button to select TRE 2 Within 5 seconds turn the VOLUME control to adjust the...

Page 13: ...nd within 3 seconds press the MEMORY button 2 Within 1 minute press the PRESET or button to se lect 24 hour or 12 hour display and then press the MEMO RY button 0 00 The 24 hour display will appear 0 00 23 59 AM 12 00 The 12 hour display will appear AM 12 00 PM 11 59 Note that this can only be set when the unit is first installed or it has been reset Refer to Clearing all the memory reset on page ...

Page 14: ...utton to turn the power on 2 Press the FUNCTION button until CD STOP appears on the display When operating with the remote control press the CD button 3 Press the CD EJECT button to open the CD compart ment 4 Place a CD on the spindle la bel side up 5 Close the CD compartment by firmly pushing the corner marked PUSH CLOSE Total number of tracks Total playing time 6 Press the button to start playba...

Page 15: ... Follow the guidelines below for maximum enjoyment from your CD collec tion and player Do not write on either side of the disc particularly the non label side from which signals are read Do not mark this surface Keep your discs away from direct sunlight heat and excessive moisture Always hold the CDs by the edges Fingerprints dirt or water on the CDs can cause noise or mistracking If a CD is dirty...

Page 16: ...he button during random play you can move to the track selected next by the random operation On the other hand the button does not allow you to move to the previous track The beginning of the track being played will be located Repeat play All tracks or a programmed sequence can be continuously repeated To cancel repeat play Press the REPEAT button again will go out Caution After performing repeat ...

Page 17: ...uence Even if you press the ON STAND BY button to enter the stand by mode or the function is changed from CD to some other function the programmed selections will not be cleared During programme operation random play is not possible 1 Whilst in the stop mode press the MEMORY MEMORY SET button to enter the programming save mode 2 Within 30 seconds press the or button to select the desired track Sel...

Page 18: ...ng indicator 1 Press the ON STAND BY button to turn the power on 2 Press the FUNCTION button until FM or AM appears on the display When operating with the remote control press the TUNER BAND button to select FM or AM 3 Press the TUNING or button to tune in to the desired station Manual tuning Press the TUNING button as many times as required to tune in to the desired station Auto tuning When the T...

Page 19: ...ions in memory in order starting with preset channel 1 4 Within 5 seconds press the MEMO RY SET MEMORY button to store that station in memory If the MEMORY and preset number indicators go out before the station is memorised repeat the operation from step 2 5 Repeat steps 1 4 to set other stations or to change a pre set station When a new station is stored in memory the station previously memorised...

Page 20: ...ck with a pen or a pencil 1 Press the ON STAND BY button to turn the power on 2 Press the FUNCTION button until TAPE appears on the display When operating with the remote control press the TAPE but ton 3 Open the cassette compartment by pushing the area marked PUSH EJECT 4 Load a cassette into the cassette compartment with the side to be played facing toward you 5 Close the cassette compartment by...

Page 21: ...button on the remote control Caution To remove the cassette press the button and then open the compartment Before changing from one tape operation to another press the button If a power failure occurs during tape operation the tape head will remain engaged with the tape and the cassette compartment will not open In this case wait until the power is restored Even if the button is pressed during tap...

Page 22: ... Cassettes have removable tabs that prevent accidental recording or erasing To protect the recorded sound remove the tab after recording Cover the tab hole with the adhesive tape to record on the tape with out the tab Side A Tab for side B Tab for side A 1 Press the ON STAND BY button to turn the power on 2 Press the FUNCTION button until CD STOP appears on the display When operating with the remo...

Page 23: ...lst recording from the radio the recording pause function does not work Erasing a recorded tape 1 Programme tracks see page 16 2 Press the button 3 Press the button 1 Tune in to the desired station see page 17 2 Load a cassette into the cassette compartment with the side to be recorded on facing you Wind past the leader of the tape on which recording cannot be performed 3 Press the button Recordin...

Page 24: ...ss the CLOCK button to check that the clock is set to the correct time Refer to page 12 2 Load a cassette or disc to be played 1 Press the ON STAND BY button to turn the power on 2 Press the CD TUNER BAND or TAPE button to select the desired function If you select TUNER BAND tune in to the desired station 3 Adjust the volume using the VOLUME buttons Do not turn the volume up too high 4 Press the T...

Page 25: ...s the MEMORY but ton The timer playback starting time function and volume will be displayed and then the unit will enter the stand by mode au tomatically will appear and the current time will be displayed To cancel the timer playback Press the ON STAND BY button to turn the power on 7 When the preset time is reached playback will start The volume will increase gradually until it reaches the volume...

Page 26: ... television To record on a tape from VCR etc 1 Set the sleep time steps 1 2 page 24 2 Whilst the sleep timer is set set the desired playback time steps 4 6 pages 23 24 1 Sleep timer setting 2 Timer playback setting Timer playback start time 5 minutes 3 hours Sleep operation will automatically stop 1 Use a connection lead to connect the VCR DVD etc to the VID EO AUX IN sockets When using video equi...

Page 27: ...ted or scratched Playback sounds are skipped or stopped in the mid dle of a track Is the unit located near excessive vibra tions Is the disc very dirty Has condensation formed inside the unit The radio makes un usual noises contin uously Is the unit placed near the TV or comput er Is the FM or AM aerial placed properly Move the aerial away from the AC power lead if it s located nearby Cannot recor...

Page 28: ...a dry cloth Caution Do not use chemicals for cleaning petrol paint thinner etc It may damage the cabinet finish Do not apply oil to the inside of the unit It may cause malfunc tions Cleaning the tape handling parts Dirty heads capstan or pinch roller can cause poor sound and tape jams Clean these parts with a cotton swab moistened with commercial head pinch roller cleaner or isopropyl alcohol When...

Page 29: ...9 3 4 Weight 2 6 kg 5 8 lbs Output power MPO 15 W 7 5 W 7 5 W 10 T H D RMS 10 W 5 W 5 W 10 T H D Output terminals Speakers 4 ohms Headphones 16 50 ohms recommended 32 ohms Input terminals Video Auxiliary audio signal 500 mV 47 k ohms Frequency range FM 88 108 MHz AM 531 1 602 kHz Type Compact disc player Signal readout Non contact 3 beam semiconductor laser pickup D A converter 1 bit D A converter...

Page 30: ...MEMO ...

Page 31: ...MEMO ...

Page 32: ...SHARP CORPORATION 9906 TINSE0121SJZZ 02L N HK 1 ...

Reviews: